Background
Measuring and dispensing an accurate dose of sanitizing chemical for small batch washing can be challenging and sometimes these chemicals are corrosive or otherwise hazardous in their storage concentrations.
The assembly described here should make this task easier and more safe for small producers. With two quarter-turn spigot valves, a 2-foot length of Teflon tube and some electrical tape you can accurately and safely measure and dispense up to 300 mL (10 fl. oz.) of chemical in 10 mL (0.3 fl. oz.) increments. In a 100 gallons of water, +/- 10 ML translates to +/- 3 PPM of Sanidate 5.0, +/- 8 PPM of Tsunami 100, or +/- 3 PPM of Chorlox Bleach.
If you need some help calculating your required dose for various washing batch sizes and products, use this dose calculator. Guidance on chemical concentrations as sold and target mix PPM concentrations depend on the chemical product you are using and the product being washed.
Refer to manufacturer’s documentation for guidance on use:
Sanidate
Tsunami
VigorOX
Germicidal Bleach
I've included only Teflon parts for wetted surfaces below based on material compatibility guidance for peroxyacetic acid, the active ingredient in Sanidate and Tsunami. The product is shipped in polypropylene containers which seems to handle it, but may also only do so for limited periods of time. This doser will see several dozen containers worth of solution in its life, so I think the extra expense for Teflon is worth some added life.
Materials List
Qty 1 - Threaded industrial screw cap for tote. Either 70mm (2-3/4 inch) (for 5 gal tote), 61mm (2-3/8 inch) or 51mm (2 inch) (for 2.5 gal tote), either with 3/4" threaded reducer. $1.00
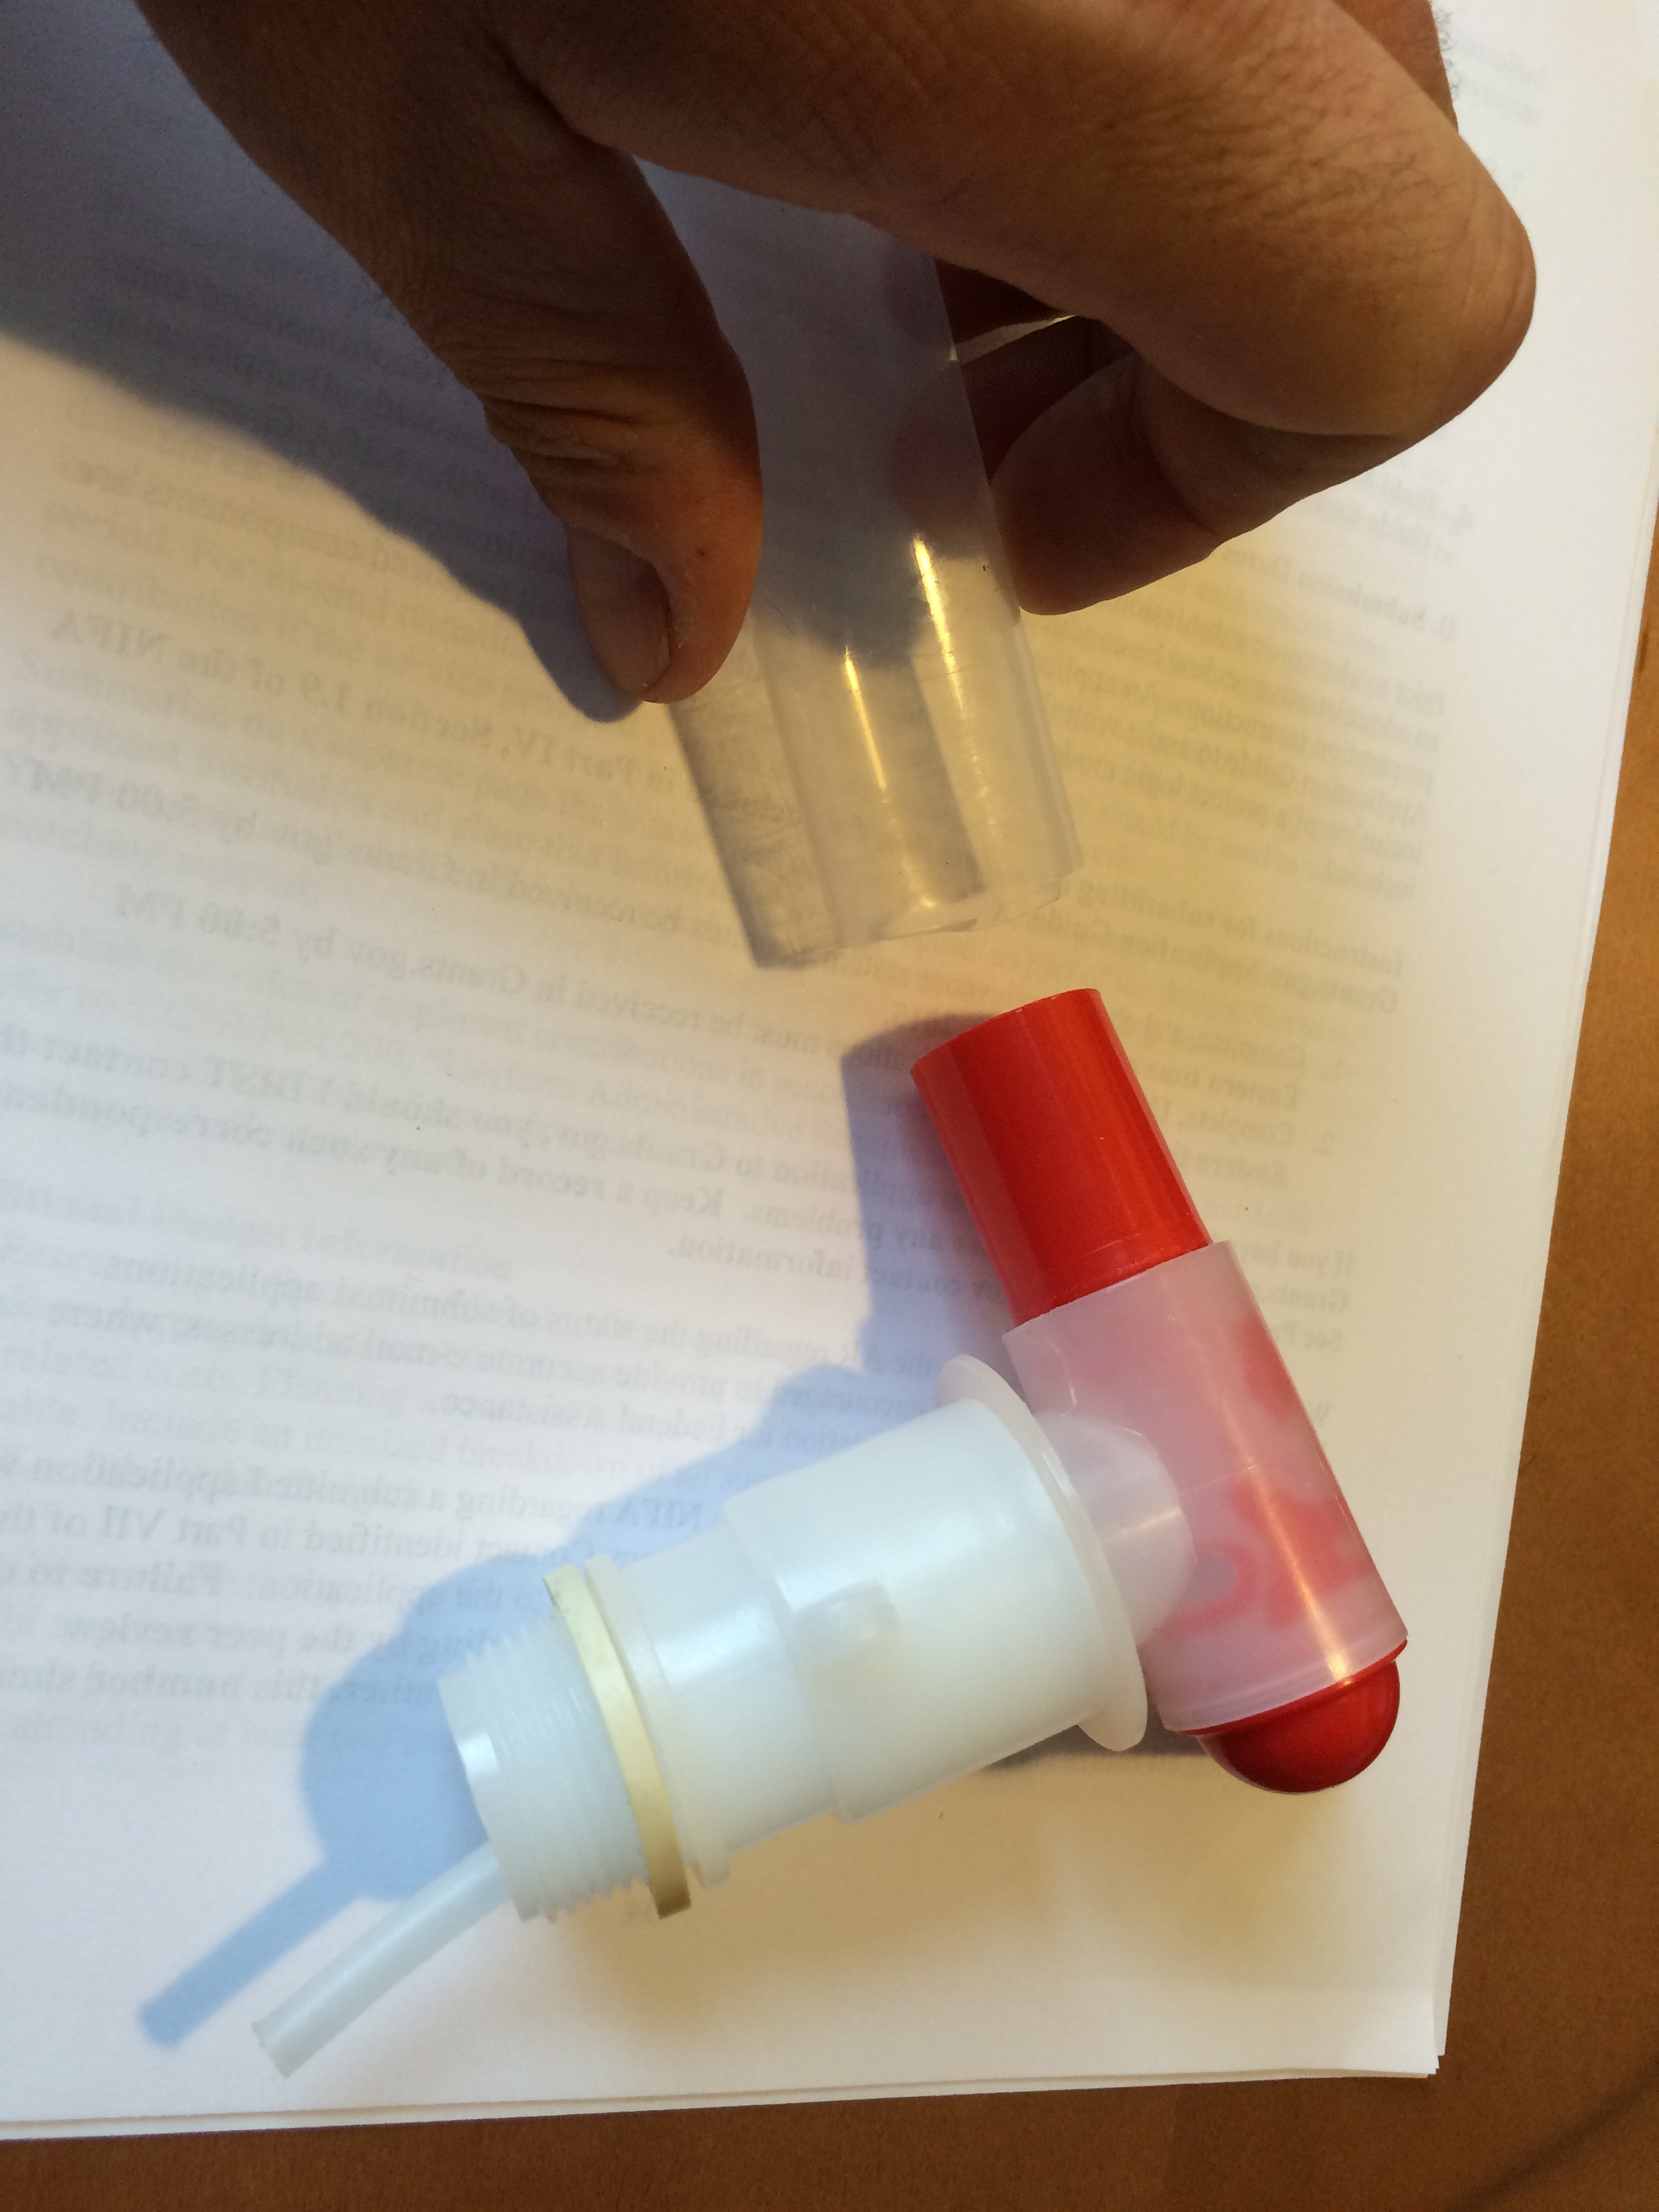
Qty 2 – ¼ Turn 3/4" Male NPT threaded PTFE (Teflon™) Spigot Valve - $10.00 x 2 = $20.00
Qty 1 – 24” L x 1” ID Teflon™ FEP Tubing - $21.72
Qty 2 – 11/16” to 1-1/4” Hose Clamps - $1.79 x 2 = $3.58
Qty 1 - 3/4" Female NPT threaded to 3/4" barb ID hose barb
Qty 1 - to length - 3/4" ID, 1" OD hose for ease of dispensing.
As needed – Electrical tape, cut in thin strips x 3-1/2” long. Or use a permanent market to make increment markings (e.g. Sharpie(TM))
Zip ties – 25 pack $6.49, need 4. - $1.04
or
Mounting clip – Need two, $1.29 each - $2.58
or
Strap roll - 25 feet $4.29 – need about 16 inches – $0.23
Scrap piece of wood to mount on.
To Build
- Start by cutting a few strips of electrical tape about 1/16" thick and 3-1/4" long. This length wraps almost completely around the tube and these strips will be your level markings. You can also use a permanent marker such as a Sharpie(TM).
- Attach one valve to the threaded reducer cap, and tighten securely.
- Next start assembling your tube. I bought a 24inch piece of 1inch ID Teflon tubing. This provides about 300 mL of dosing capacity as noted above. This tubing will slip right over the red end of the Teflon valve noted in the material list above, and can be secured with a hose clamp. Only attach one valve at this time, and make sure it is in the closed position.
- Measure 50 mL of water using a measuring cup. You can use other incremental measures, e.g. 10 mL, 20 mL, etc. In fact, if you have a few doses you routinely use that are odd measures, consider marking those also and labeling them to help the user do it the same way every time. Pour the incremental measure into your tube and hold it plumb.
- Attach a strip of tape at the water level for the first increment or mark with a marker.
- Repeat for additional increments of water, and/or mark specific odd measurements for common dosing mixtures that you use.
- Ensure the other valve is in the closed position. Attach it to the chemical container (which should have a 3/4" NPT fitting to match the valve.) Take care to have the container in an upright position to prevent spills.
- Attach the measurement tube to the valve you just connected to the chemical container and secure with a hose clamp. Don't hesitate to torque these hose clamps down. I'm looking for an adhesive or sealant that will work with the Teflon materials to improve this connection. But this is the best I have for now.
- Consider mounting the measurement assembly to a piece of scrap wood to make it more stable. This may require you laying out the location relative to where you chemical is stored and where you plan to dispense to. I've listed several mounting options above.
- Consider attaching a hose to the bottom (exit) valve using a hose barb attachment to make dispensing easier and less prone to spills.
To Use
- Ensure the bottom valve is closed (these could be better color coded, perhaps a black Sharpie to fill in the side of the valve handle that shows when closed and leave the other one as is (red)). Direct dispensing hose to the wash tank or an intermediate container.
- Open the top valve slowly and carefully to dispense the required dose into the measurement tube.
- Close the top valve.
- Confirm the discharge hose is directed where you want the chemical to go.
- Open the bottom valve and allow chemical to dispense.
- Close the bottom valve.
- Check for leaks and repair as needed.
- Wash hands.