Sweat Box Germination Chamber
Problem Statement/functional need:
Commercial growing operations often use high-cost germination chambers to start their seeds. For the small farm, a low-cost, DIY version which can be put together using readily available materials is needed.
This germination chamber can be put together for $100-350
Functional Description/approach:
Uses a submerged heating element which sits in an auto-filled, aluminum water pan at the bottom of the cabinet. The pan is at the bottom of an insulated box and provides heat and humidity to induce the germination process. Shelves for multiple layers of flats are mounted above the water pan. A thermostat measuring the air temperature inside the chamber is wired to the heating element, turning it on and off as needed. The water supply (3/4" ID reinforced hose with 3/4" hose ends) is attached to a float valve to maintain the water level in the pan and keep the heating element submerged.
Wiring: The heating element is wired with a short section (3-6') of waterproof wire, black to black, white to white, green to the ground screw on the box. The water proof wire passes through the electrical box and is wired, on the other end, to a typical U.S. male cord end. The wire runs out of the metal electrical box and into the germ chamber (freezer) where it is plugged in to the thermostat. The thermostat features a piggy back cord-- the wire coming from the heating element is plugged into one side, the extension cord going to the outlet (power source) is on the other side.
How to use the tool:
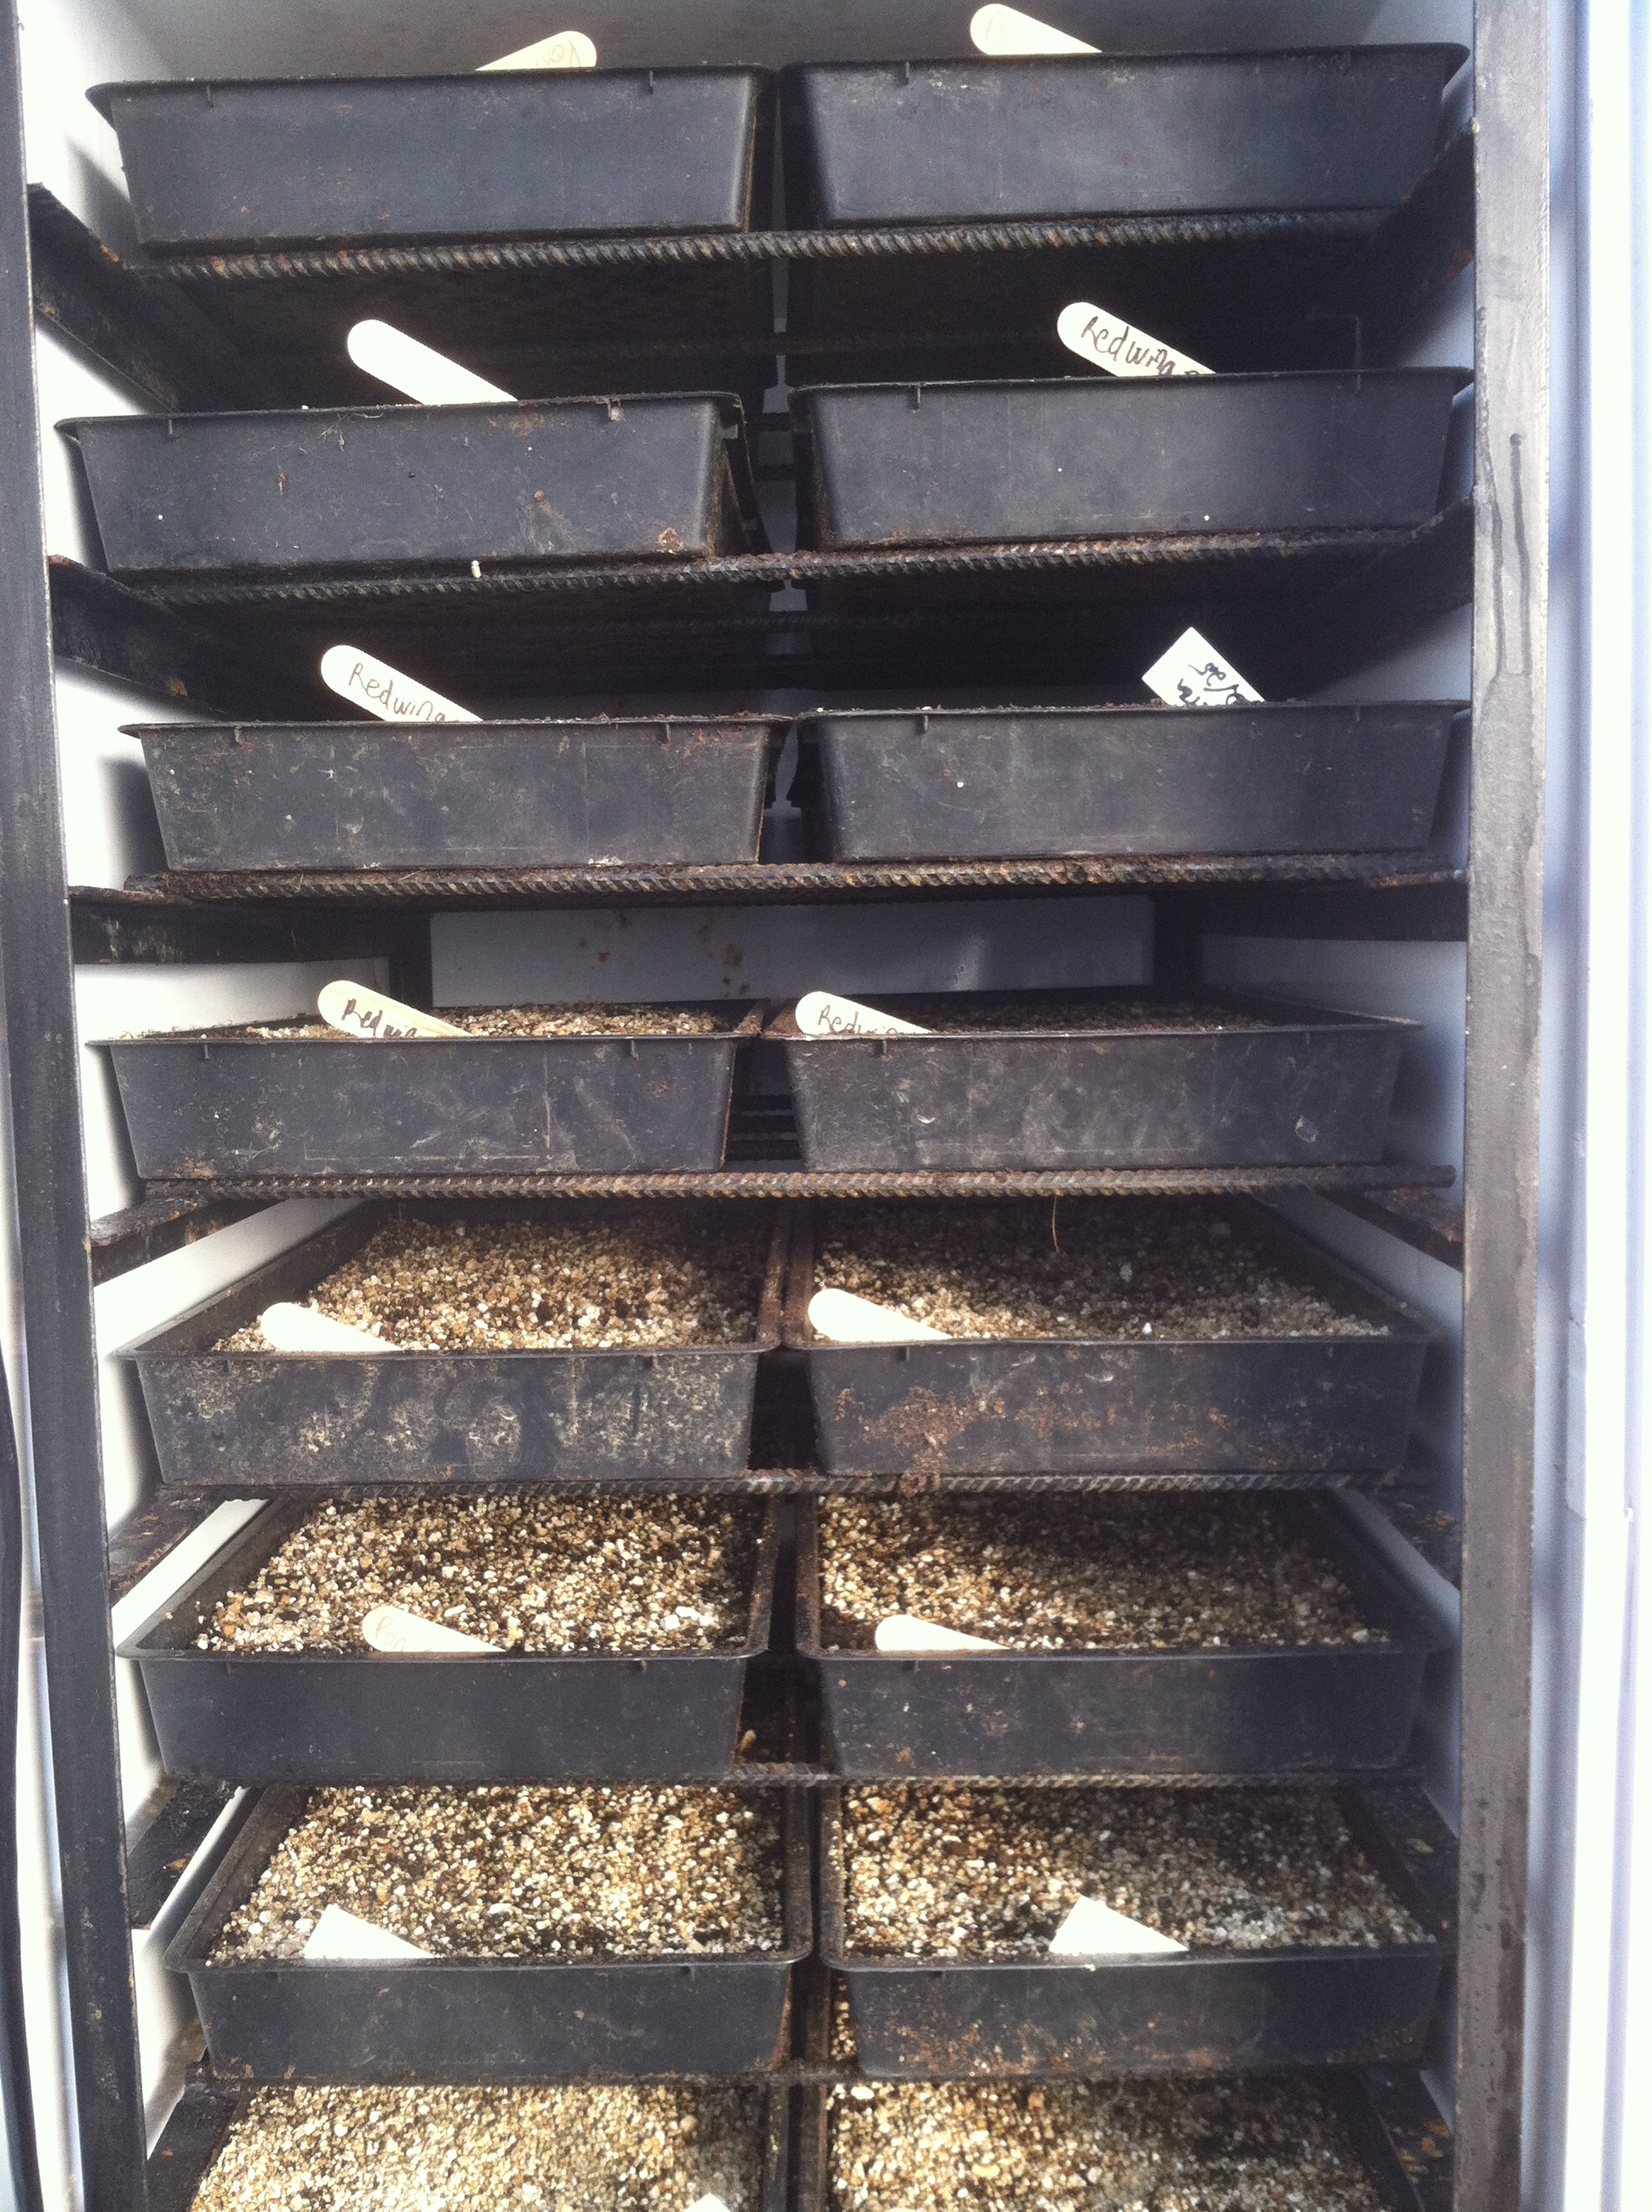
The Germination Chamber is for starting seeds. Seeded flats should be placed on shelves and thermostat set to optimal germination temperature. If multiple types of seeds with different germination requirements are being germinated, select a temperature within the germination range of all seeds. Flats should be checked daily for germination and once germination reaches 40-60%, flats should be removed from the chamber and transferred to a secondary area (see the Roll Top Greenhouse Bench). This can be a heated bench, heated greenhouse, etc. Flats should be removed at this point to prevent seedlings from becoming "leggy" as there is no light present in the germination chamber itself.
Bill of materials and Sourcing:
Parts Gallery:
Construction/how to build:
Ongoing projects:
This initial build was at Evening Song Farm in Shrewsbury, Vt.
Germination Chamber build at Evening Song Farm
Comments
Over kill on heat unless below zero?
So i just did something similar with an upright single glass front True brand pepsi display cooler that had bad compressor.. I put aquarium in bottom, filled iwth warm water, installed 100W adjustable aquarium heater, and took filter out of re-circulated box from aquarium just as an agitator for humidity... glass door faces east so gains benefit of morning sun, white insulated exteriors face south and west and north... I actually had to install an attic fan thermostat and block light from east to cool it because I cooked first round of seeds at 120 degrees for a day...Im amazed at how well it holds in our zone 4a Colorado Februarys
Design Edit: Changeable