Image

This solution is the most simple, effective, and inexpensive way to raise and lower your poly tunnel walls.
Image
Image
Image
Image
Poly Tunnel/Hoop House Wall Support
Problem Statement/functional need:
When it warms up the need to allow air to circulate through the poly tunnel arises. The easiest way to do this is to lift the side walls and the easiest, cheapest, and most effective way to do so is listed below. Other options can be overly complex or breakdown due to weathering.
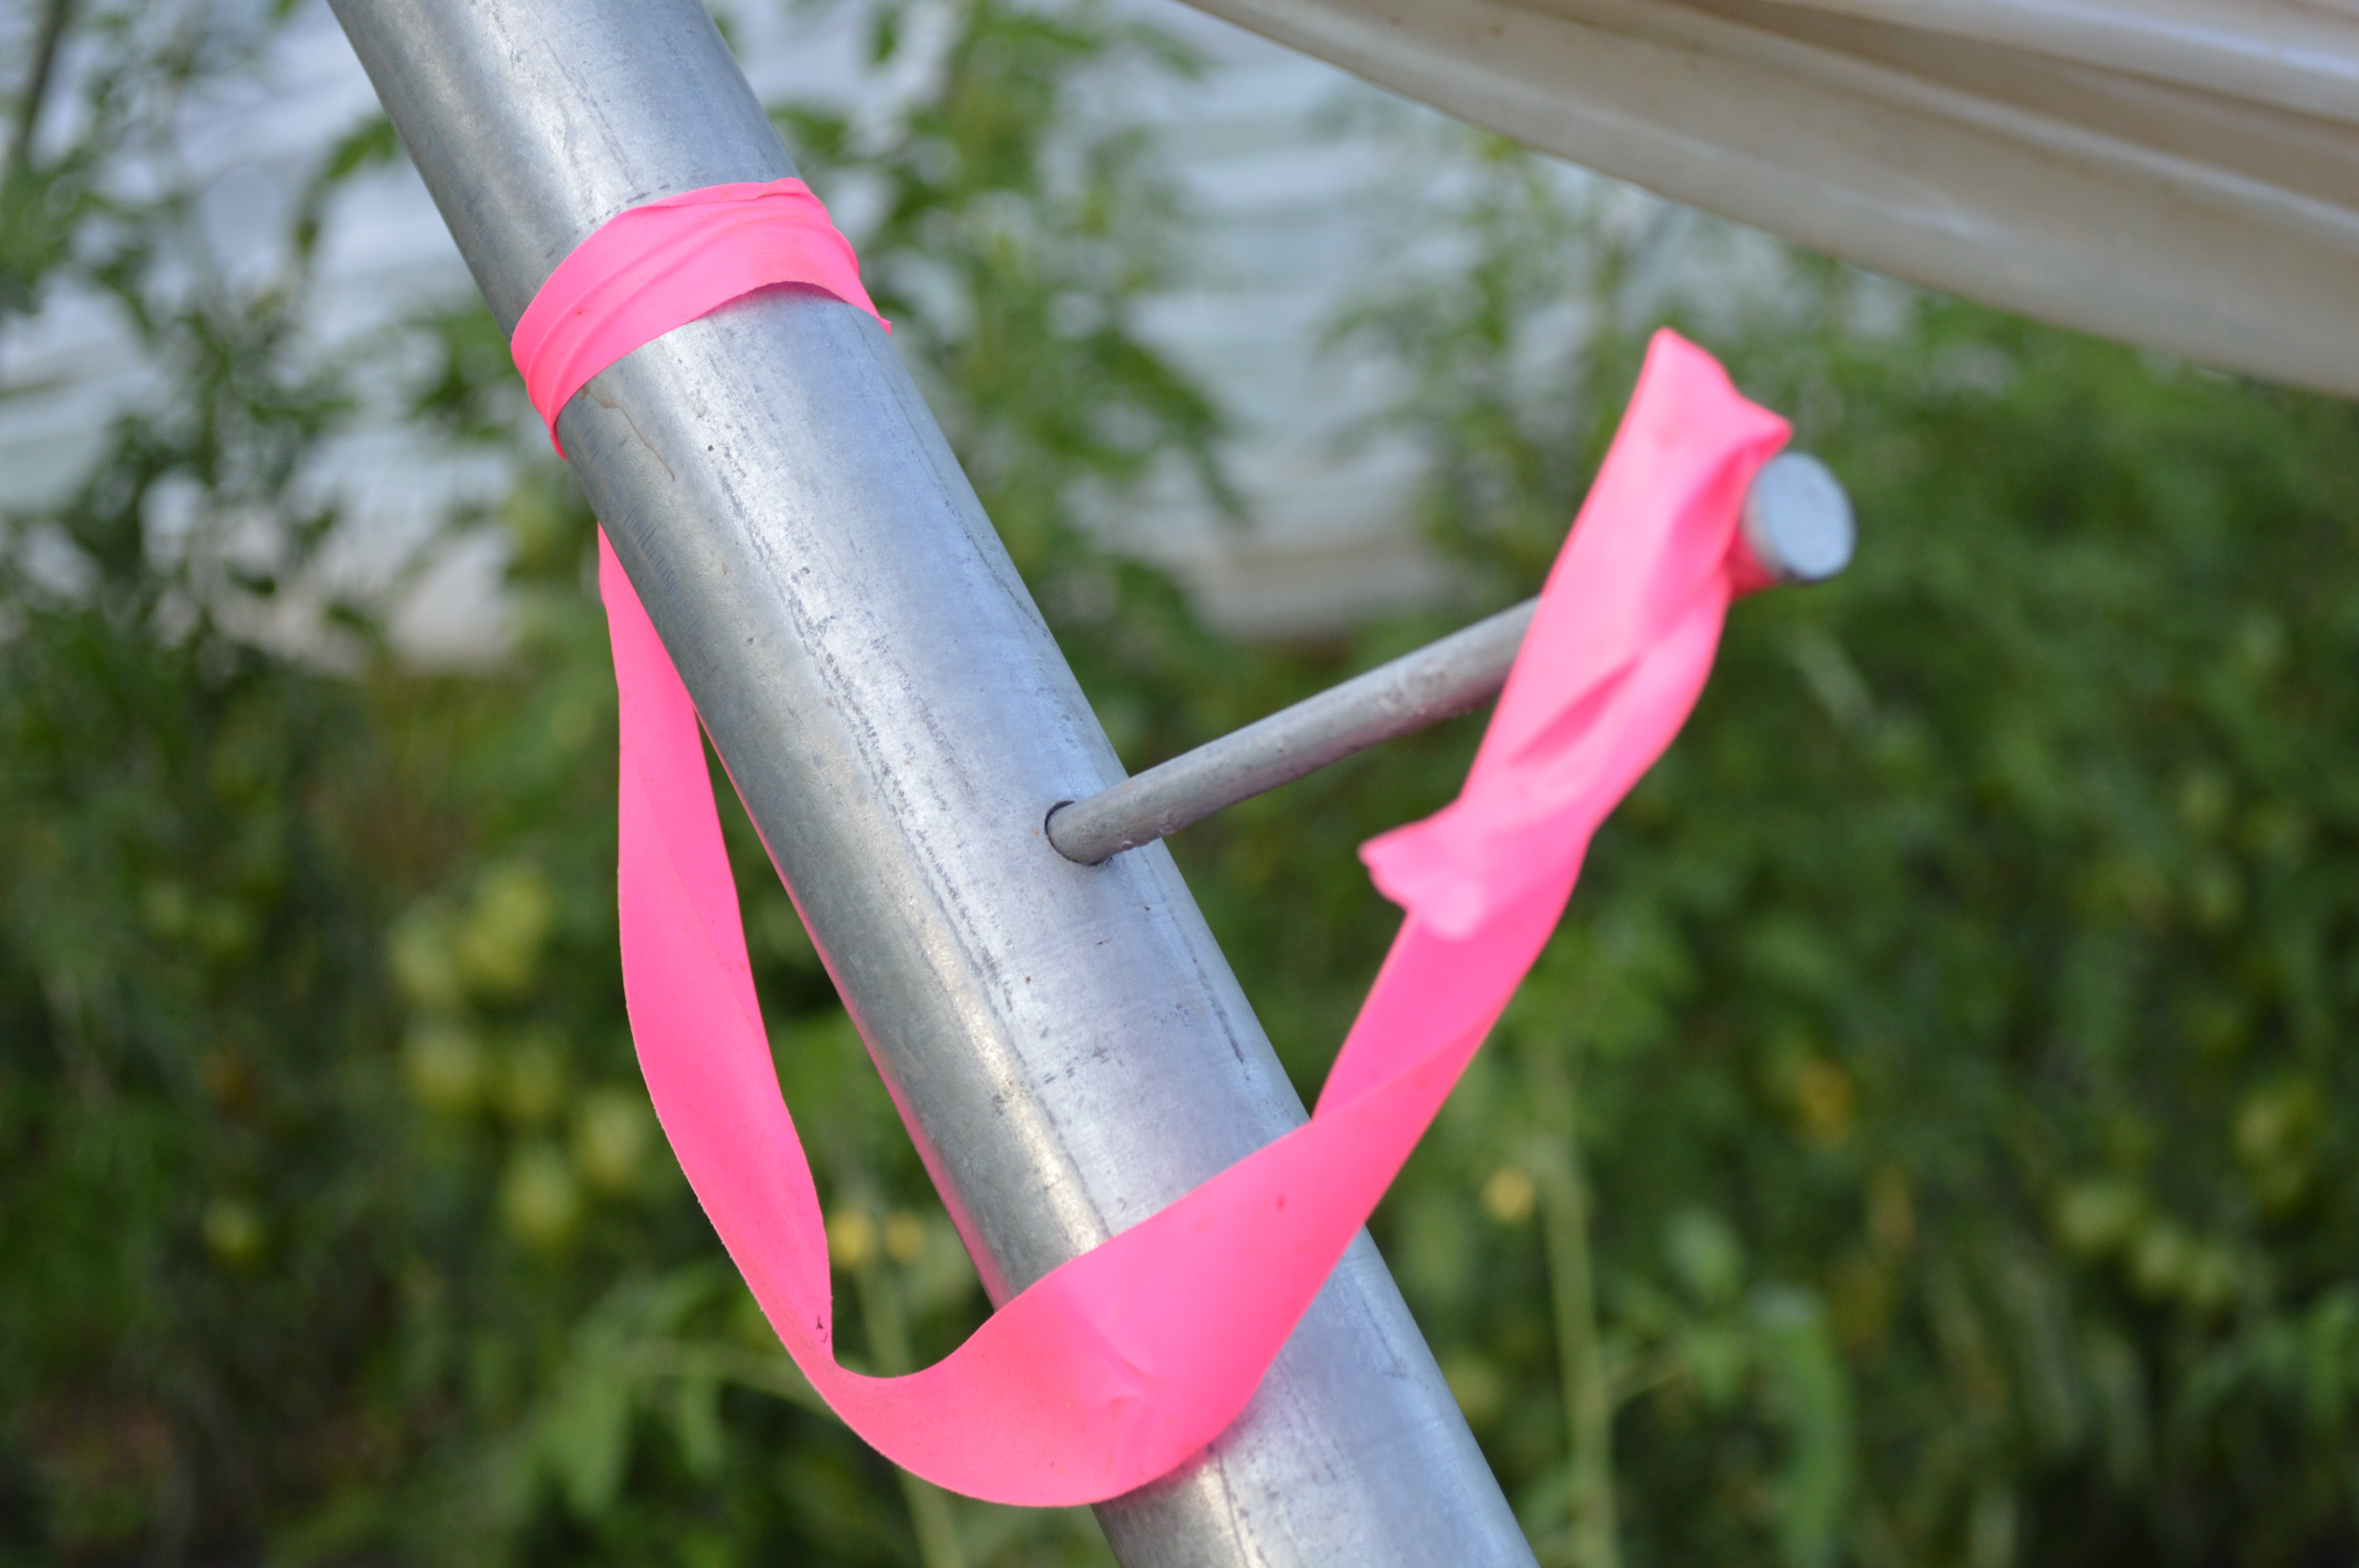
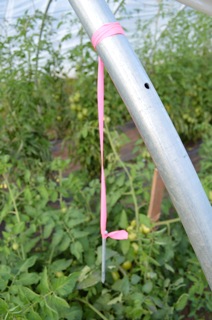
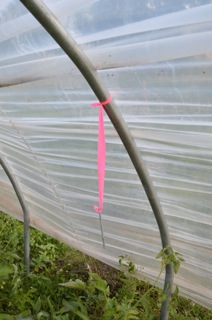
The angle of the hoop house steel creates the optimal angle for the wall to rest on the spike without risk of tear or puncture.
How to use the tool
Lift the poly tunnel wall, place the hanging spike into the hole, and lower the poly wall to rest on the spike.
Materials (per 6 posts)
2 feet high visibility string or ribbon
6" galvanized spike
How to Build:
- Pre-drill a small hole about 3 to four feet up the post. Do not go through both side of the post.
- Drill a larger hole just slightly smaller than the spike.
- Tie one end of the ribbon to the spike and the other to the post above the hole.
- Hammer the spike into the hole. It should be very snug so that it take a lot of effort to get it out by hand. After a few times of taking it in and out you will get the perfect fit. If you drill the hole to big in the first place the spike will be loose in the hole and function poorly.
(Note: Too many holes could weaken your structure. I recommend one hole per 6 posts.)
Comments
Stability in wind?
The normal way I've seen this done is to fasten the lower edge of the plastic to a pipe, usually 2" waste water line with an internal glue in connector. A crank and one end rolls the plastic up.
With this system I can see it getting loose in the wind. If it gets loose, it will tear on the spike.
When the plastic is lowered what anchors it down?