I am a Student and I want a tool to vermicompost food scraps and garden waste for a small farm because vermicomposting can help turn waste into a valuable organic input
Most resources online for vermicomposting units focus around a Rubbermaid bin or tower system. I found this could be labor intensive, and could not process large amounts of waste without multiple bins. A more efficient system to operate on a larger scale is a flow-through system. This is essentially a large bin where waste is added to the top and castings are harvested from the bottom leaving the worms undisturbed inside. However these commercial systems can be expensive. Using the same basic principles one can be made with readily available and recycled materials.

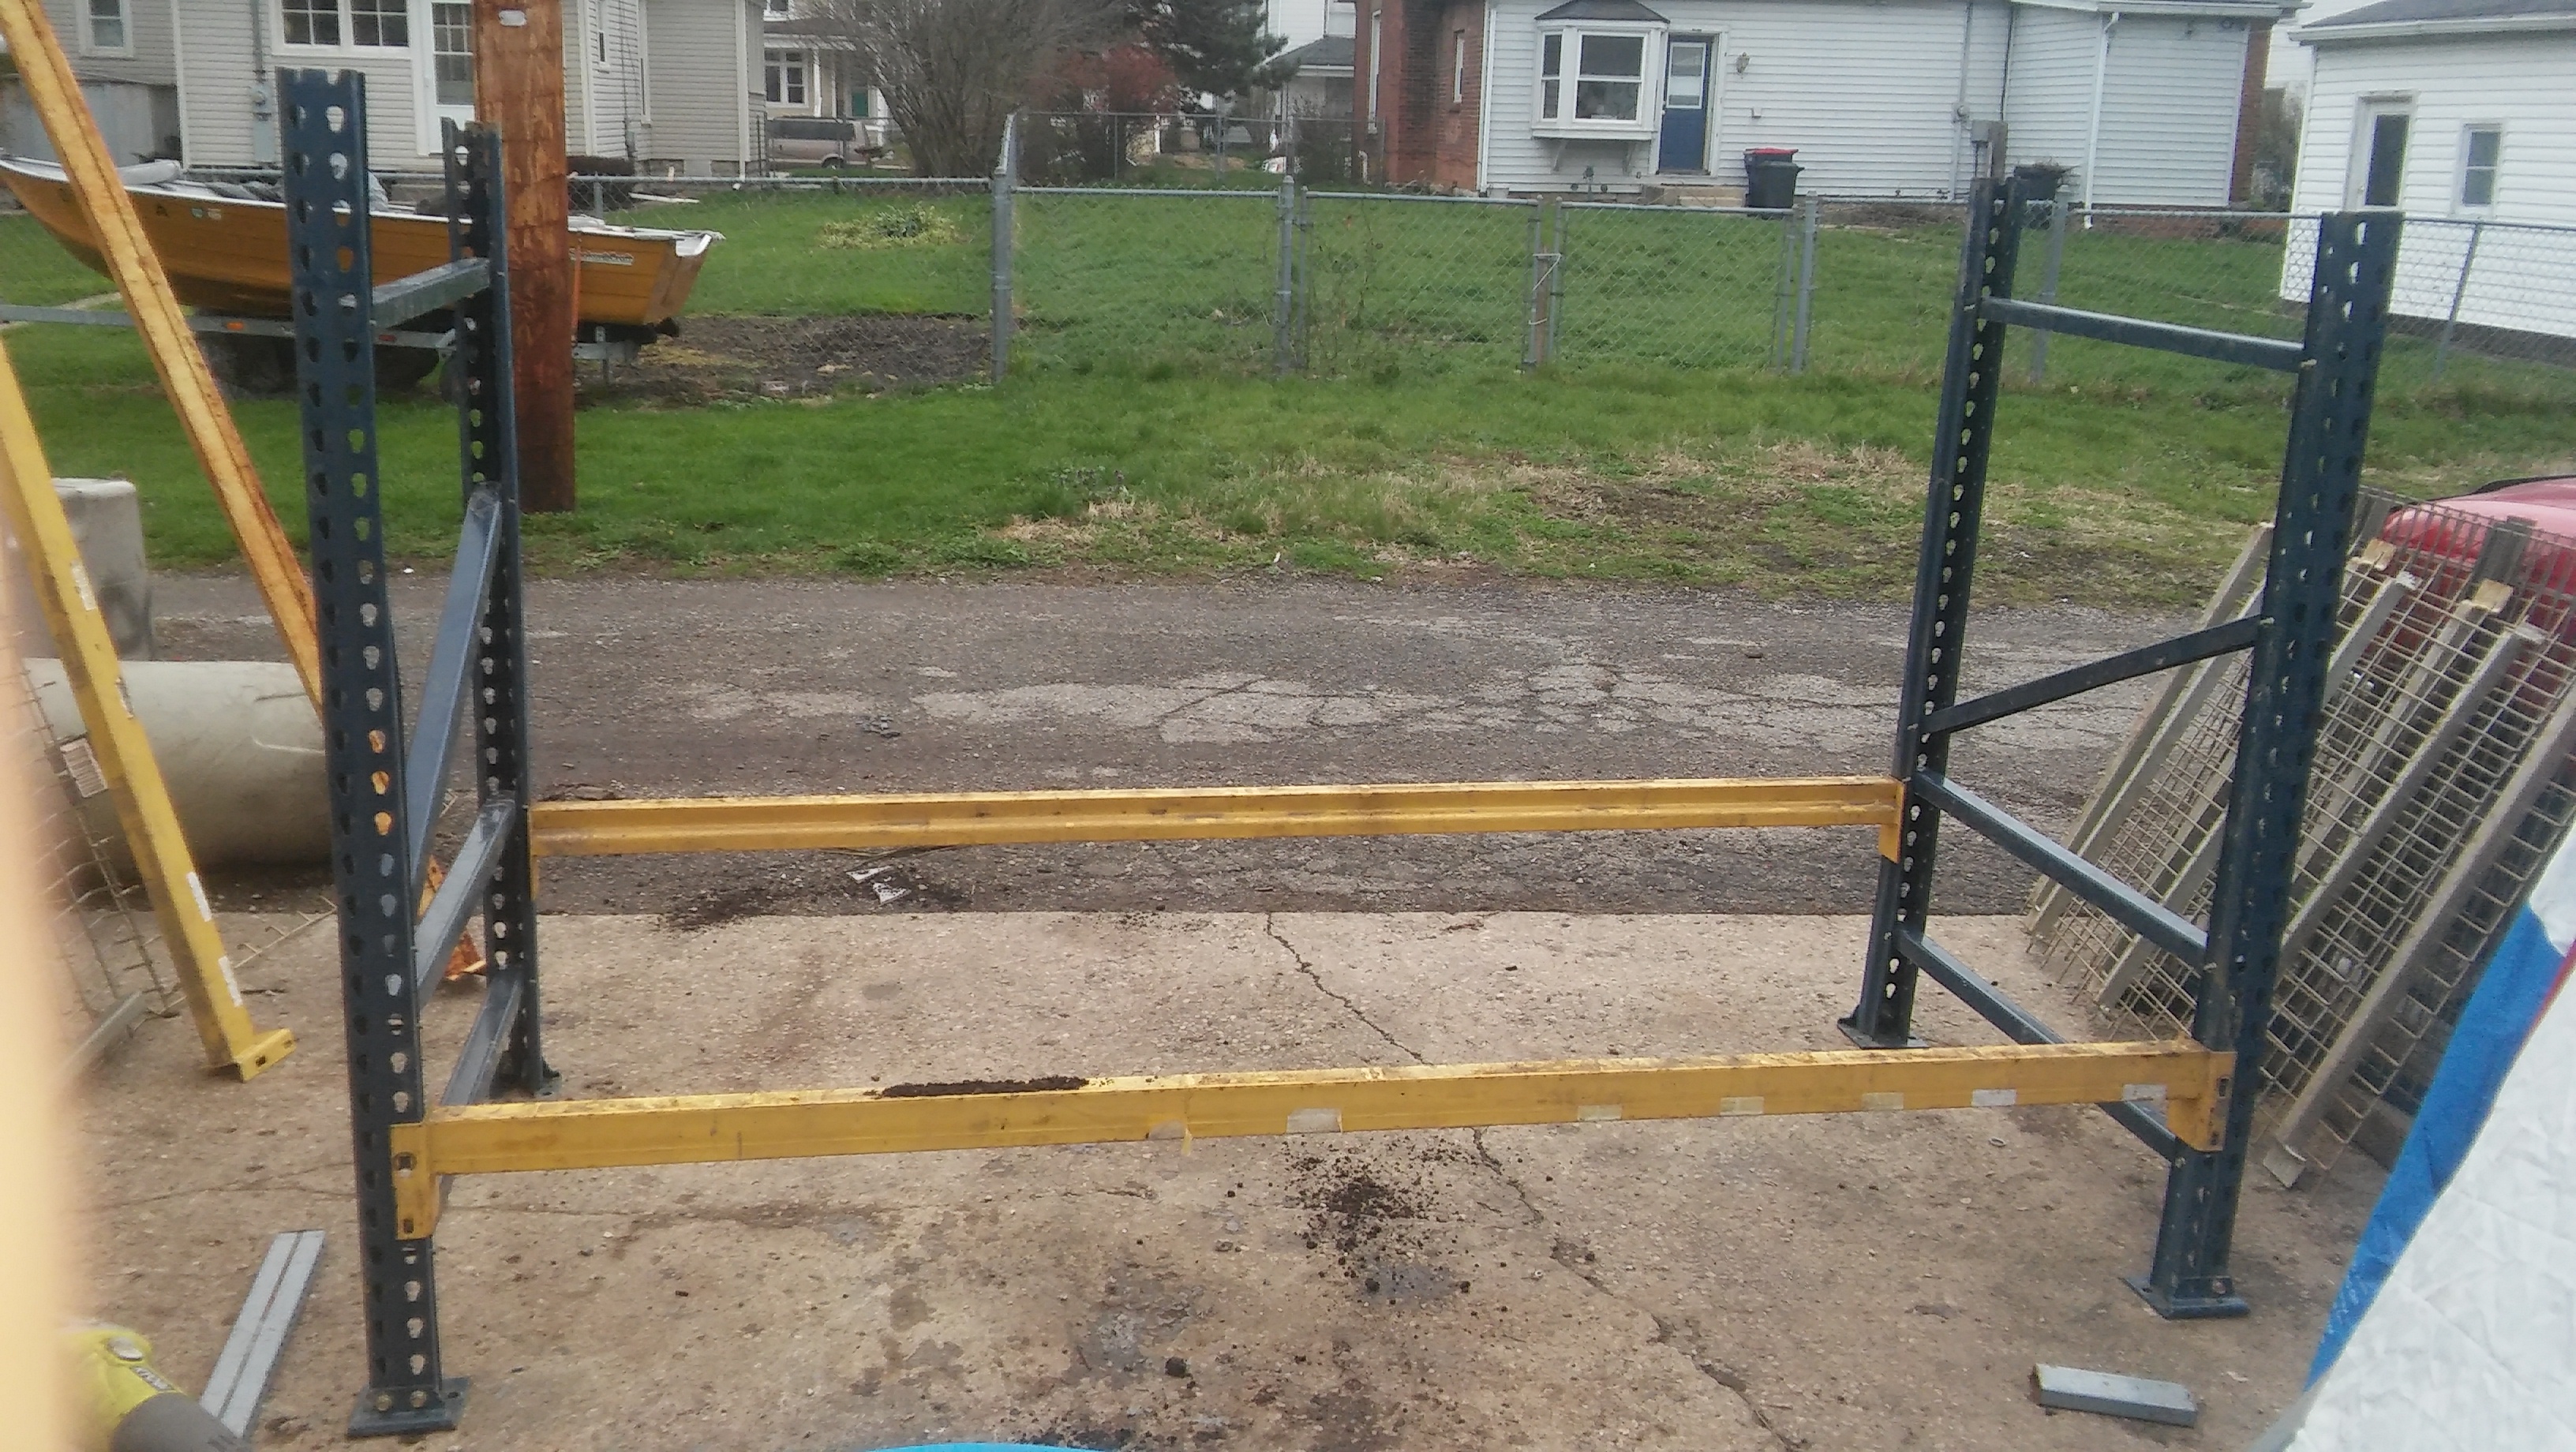

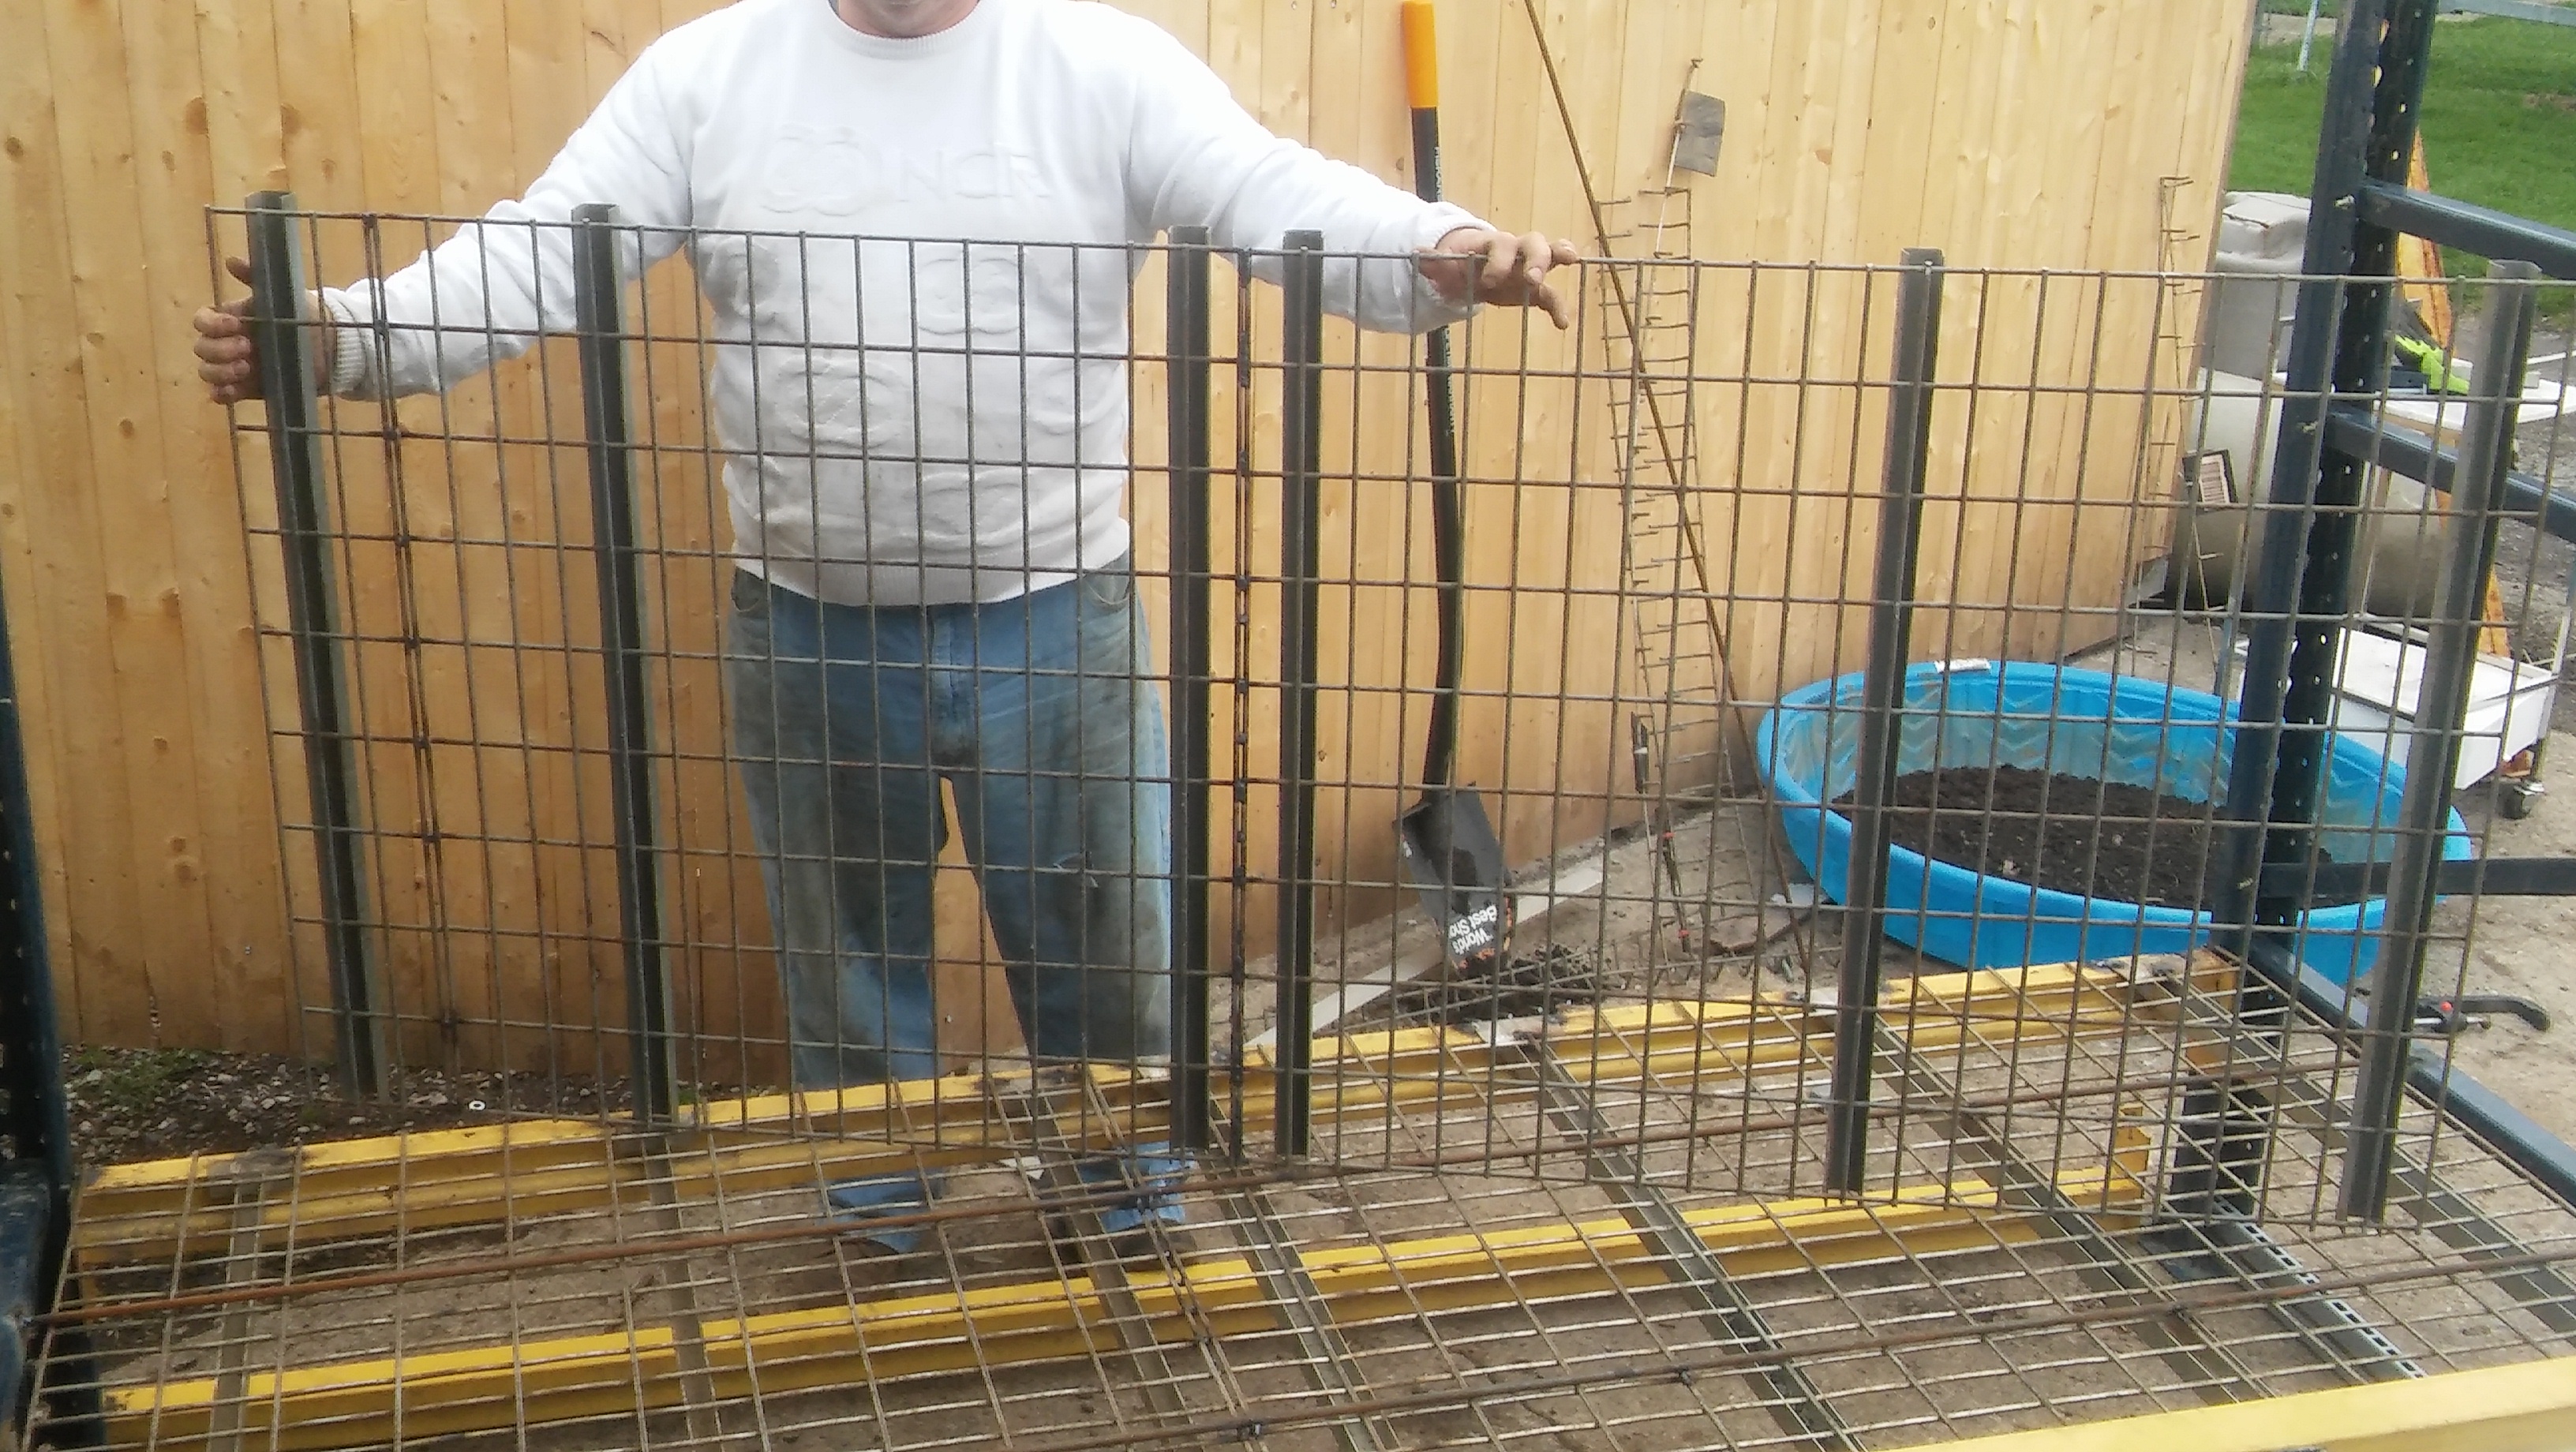
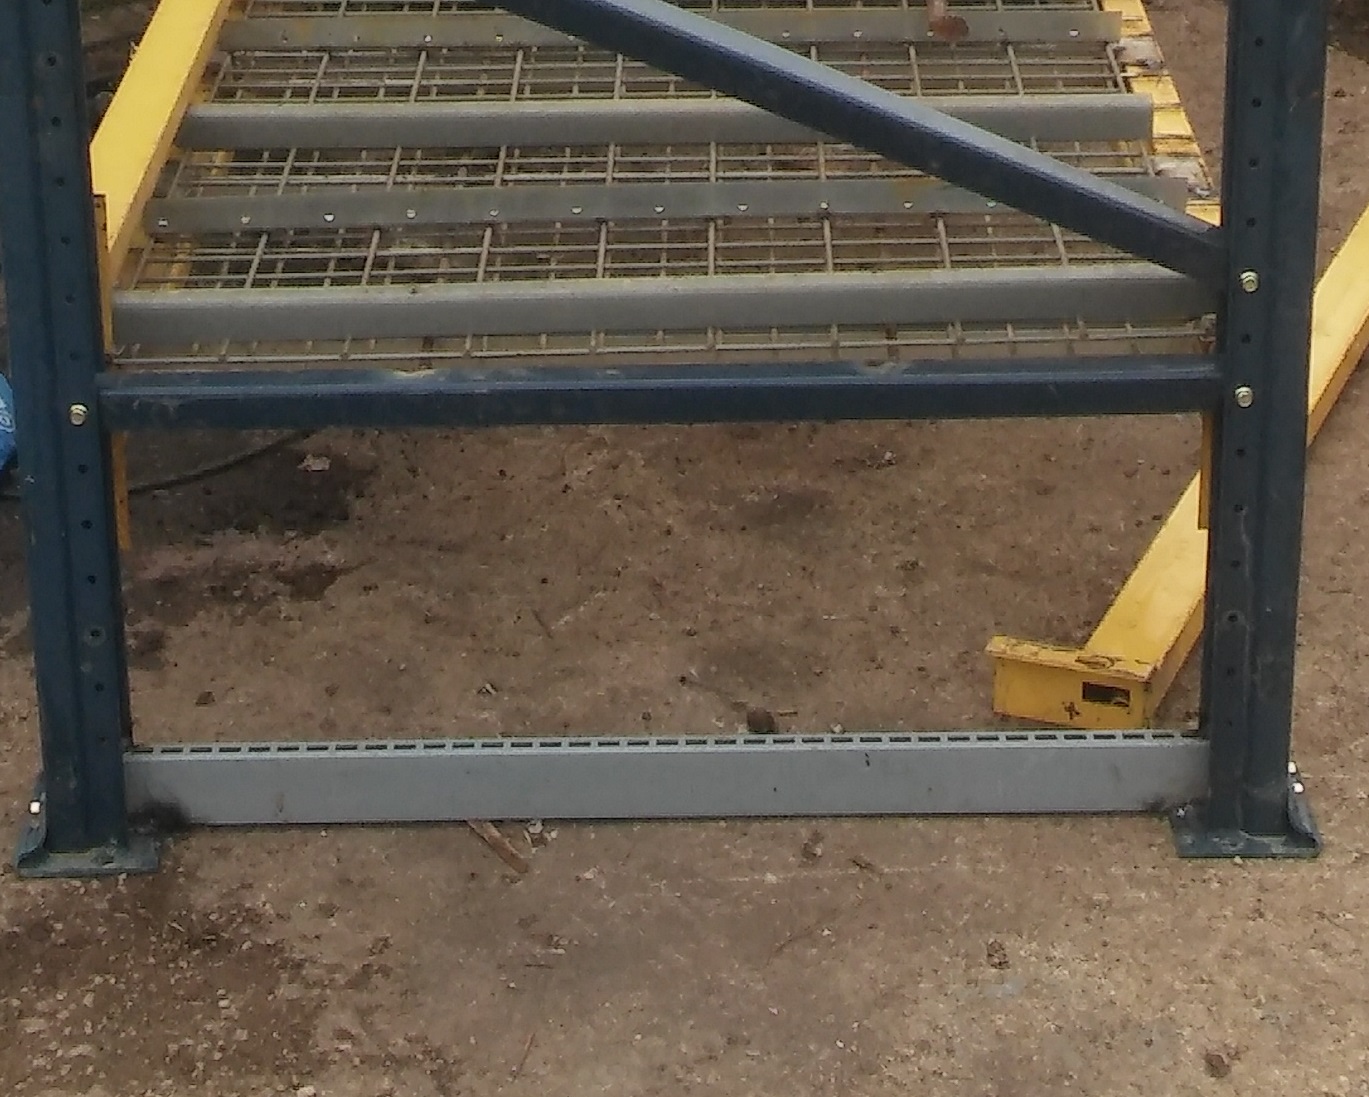
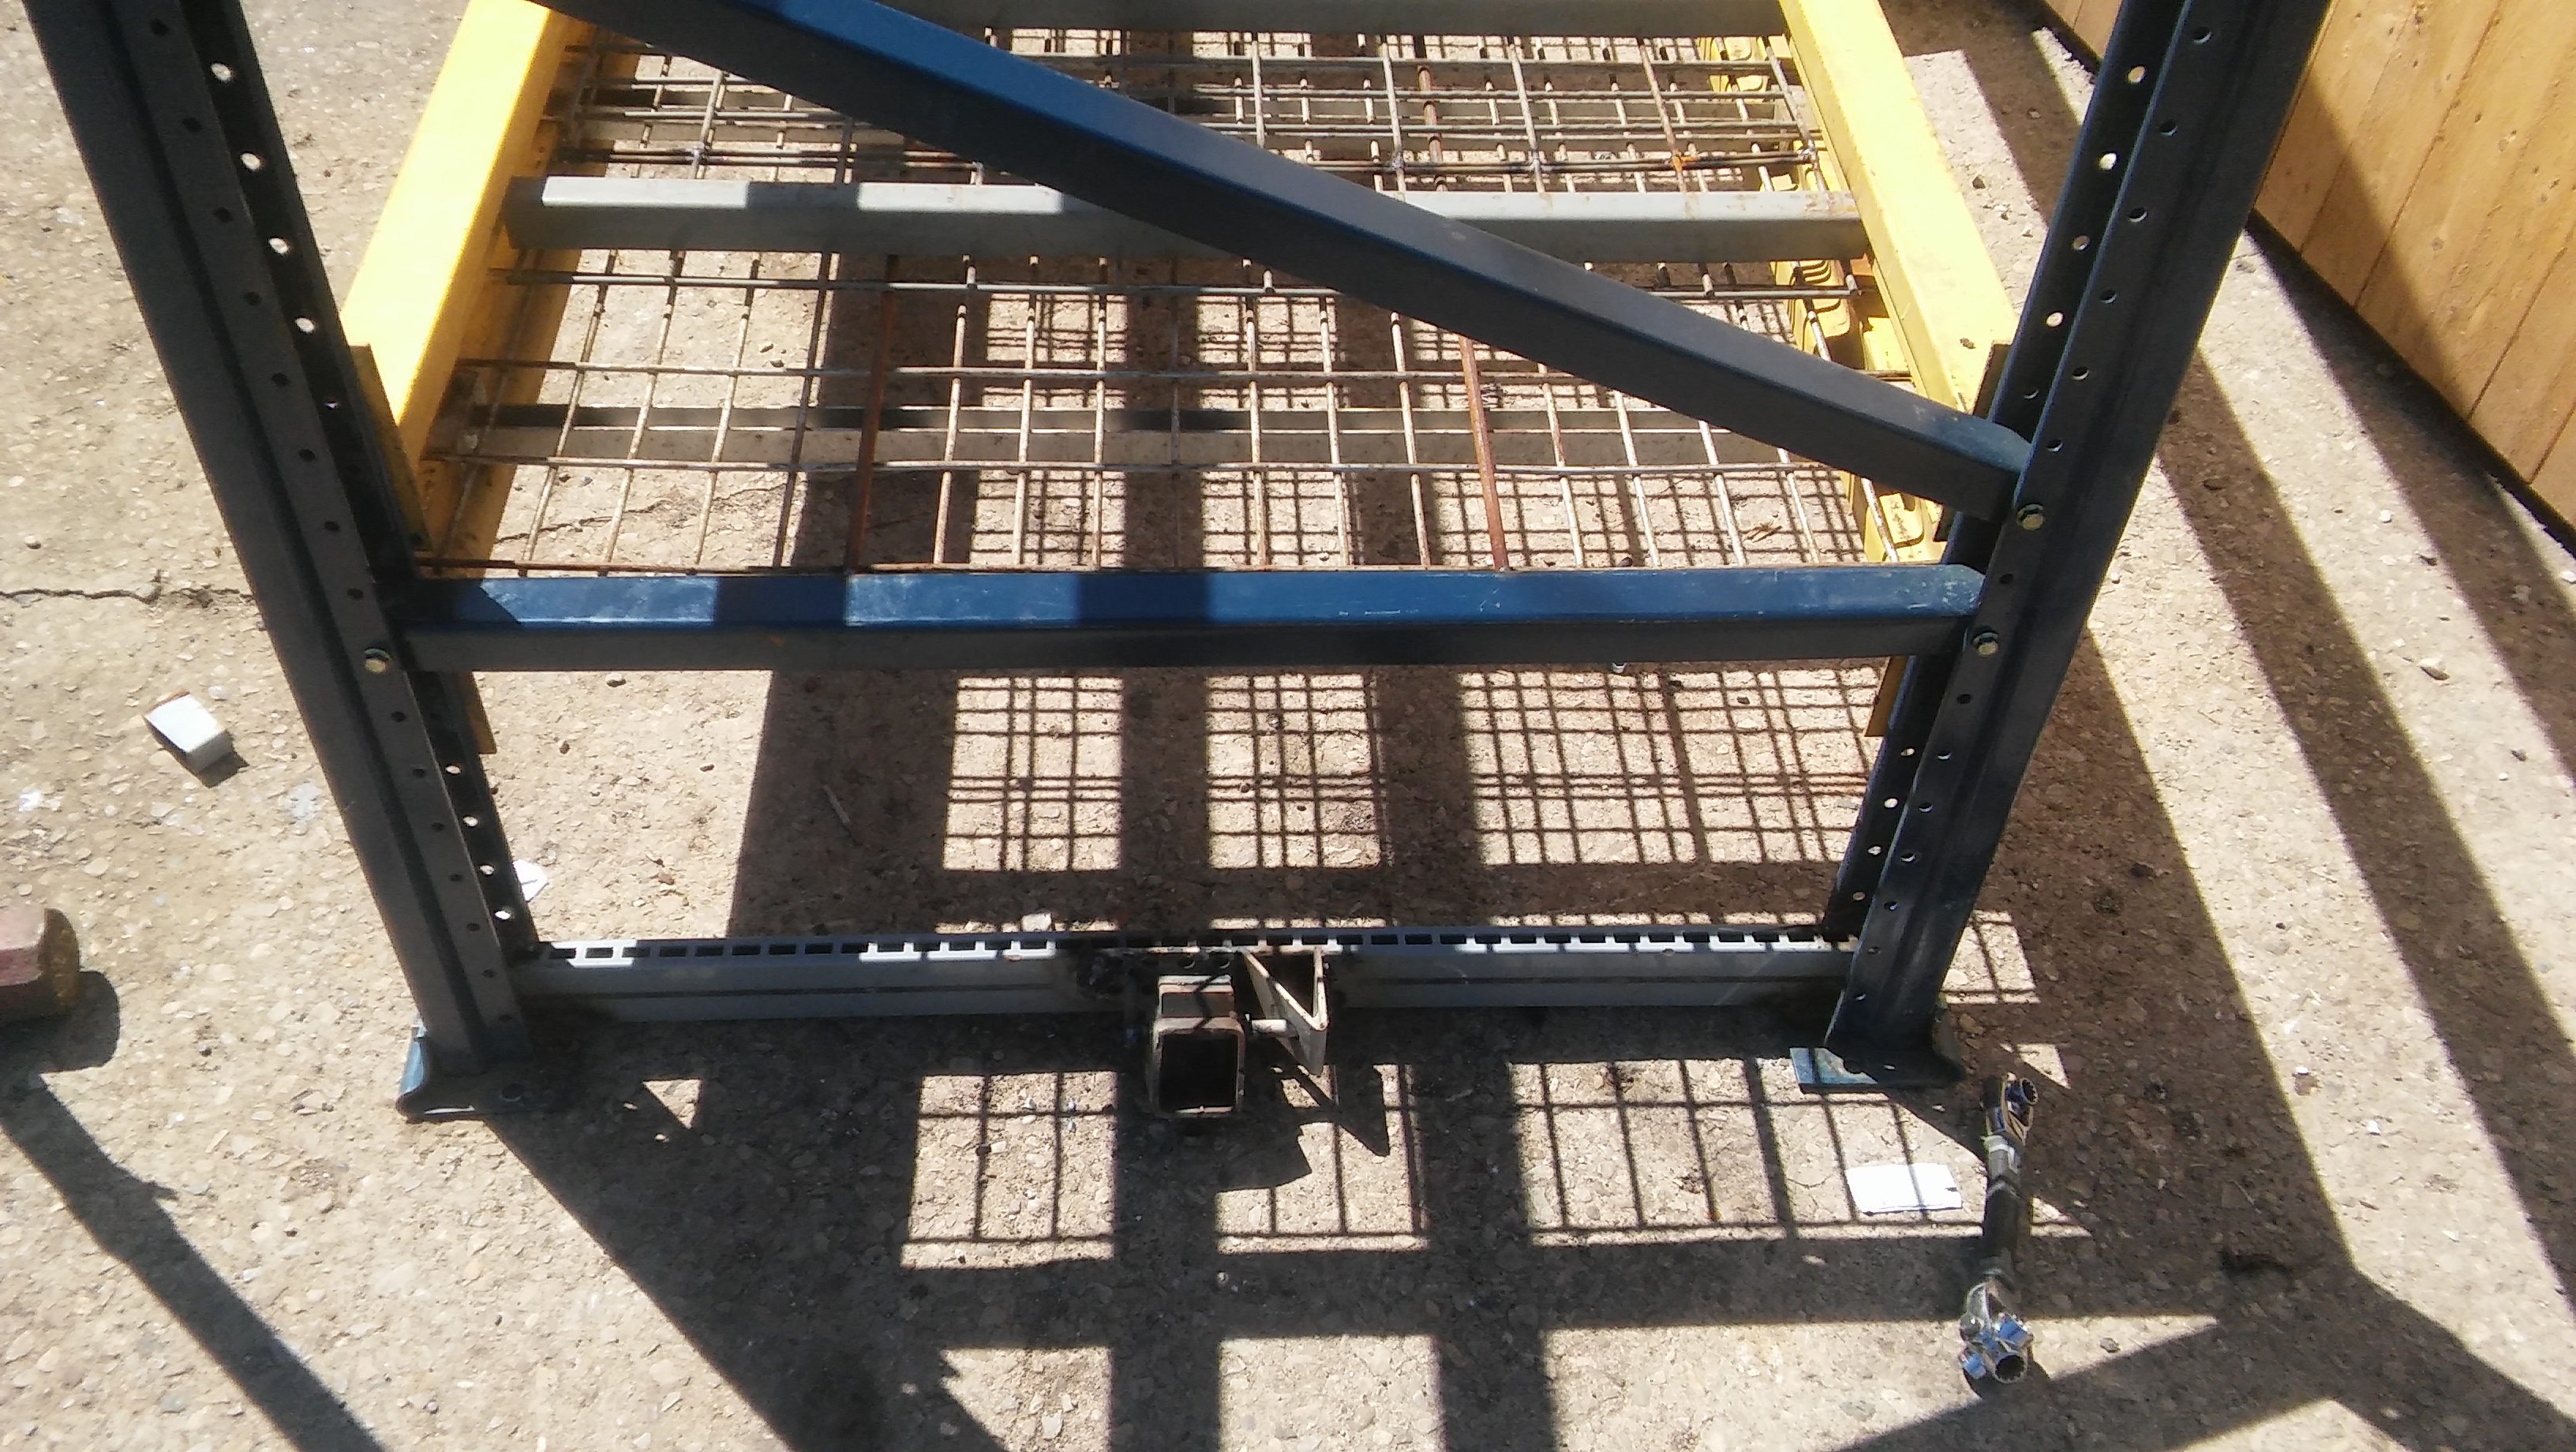
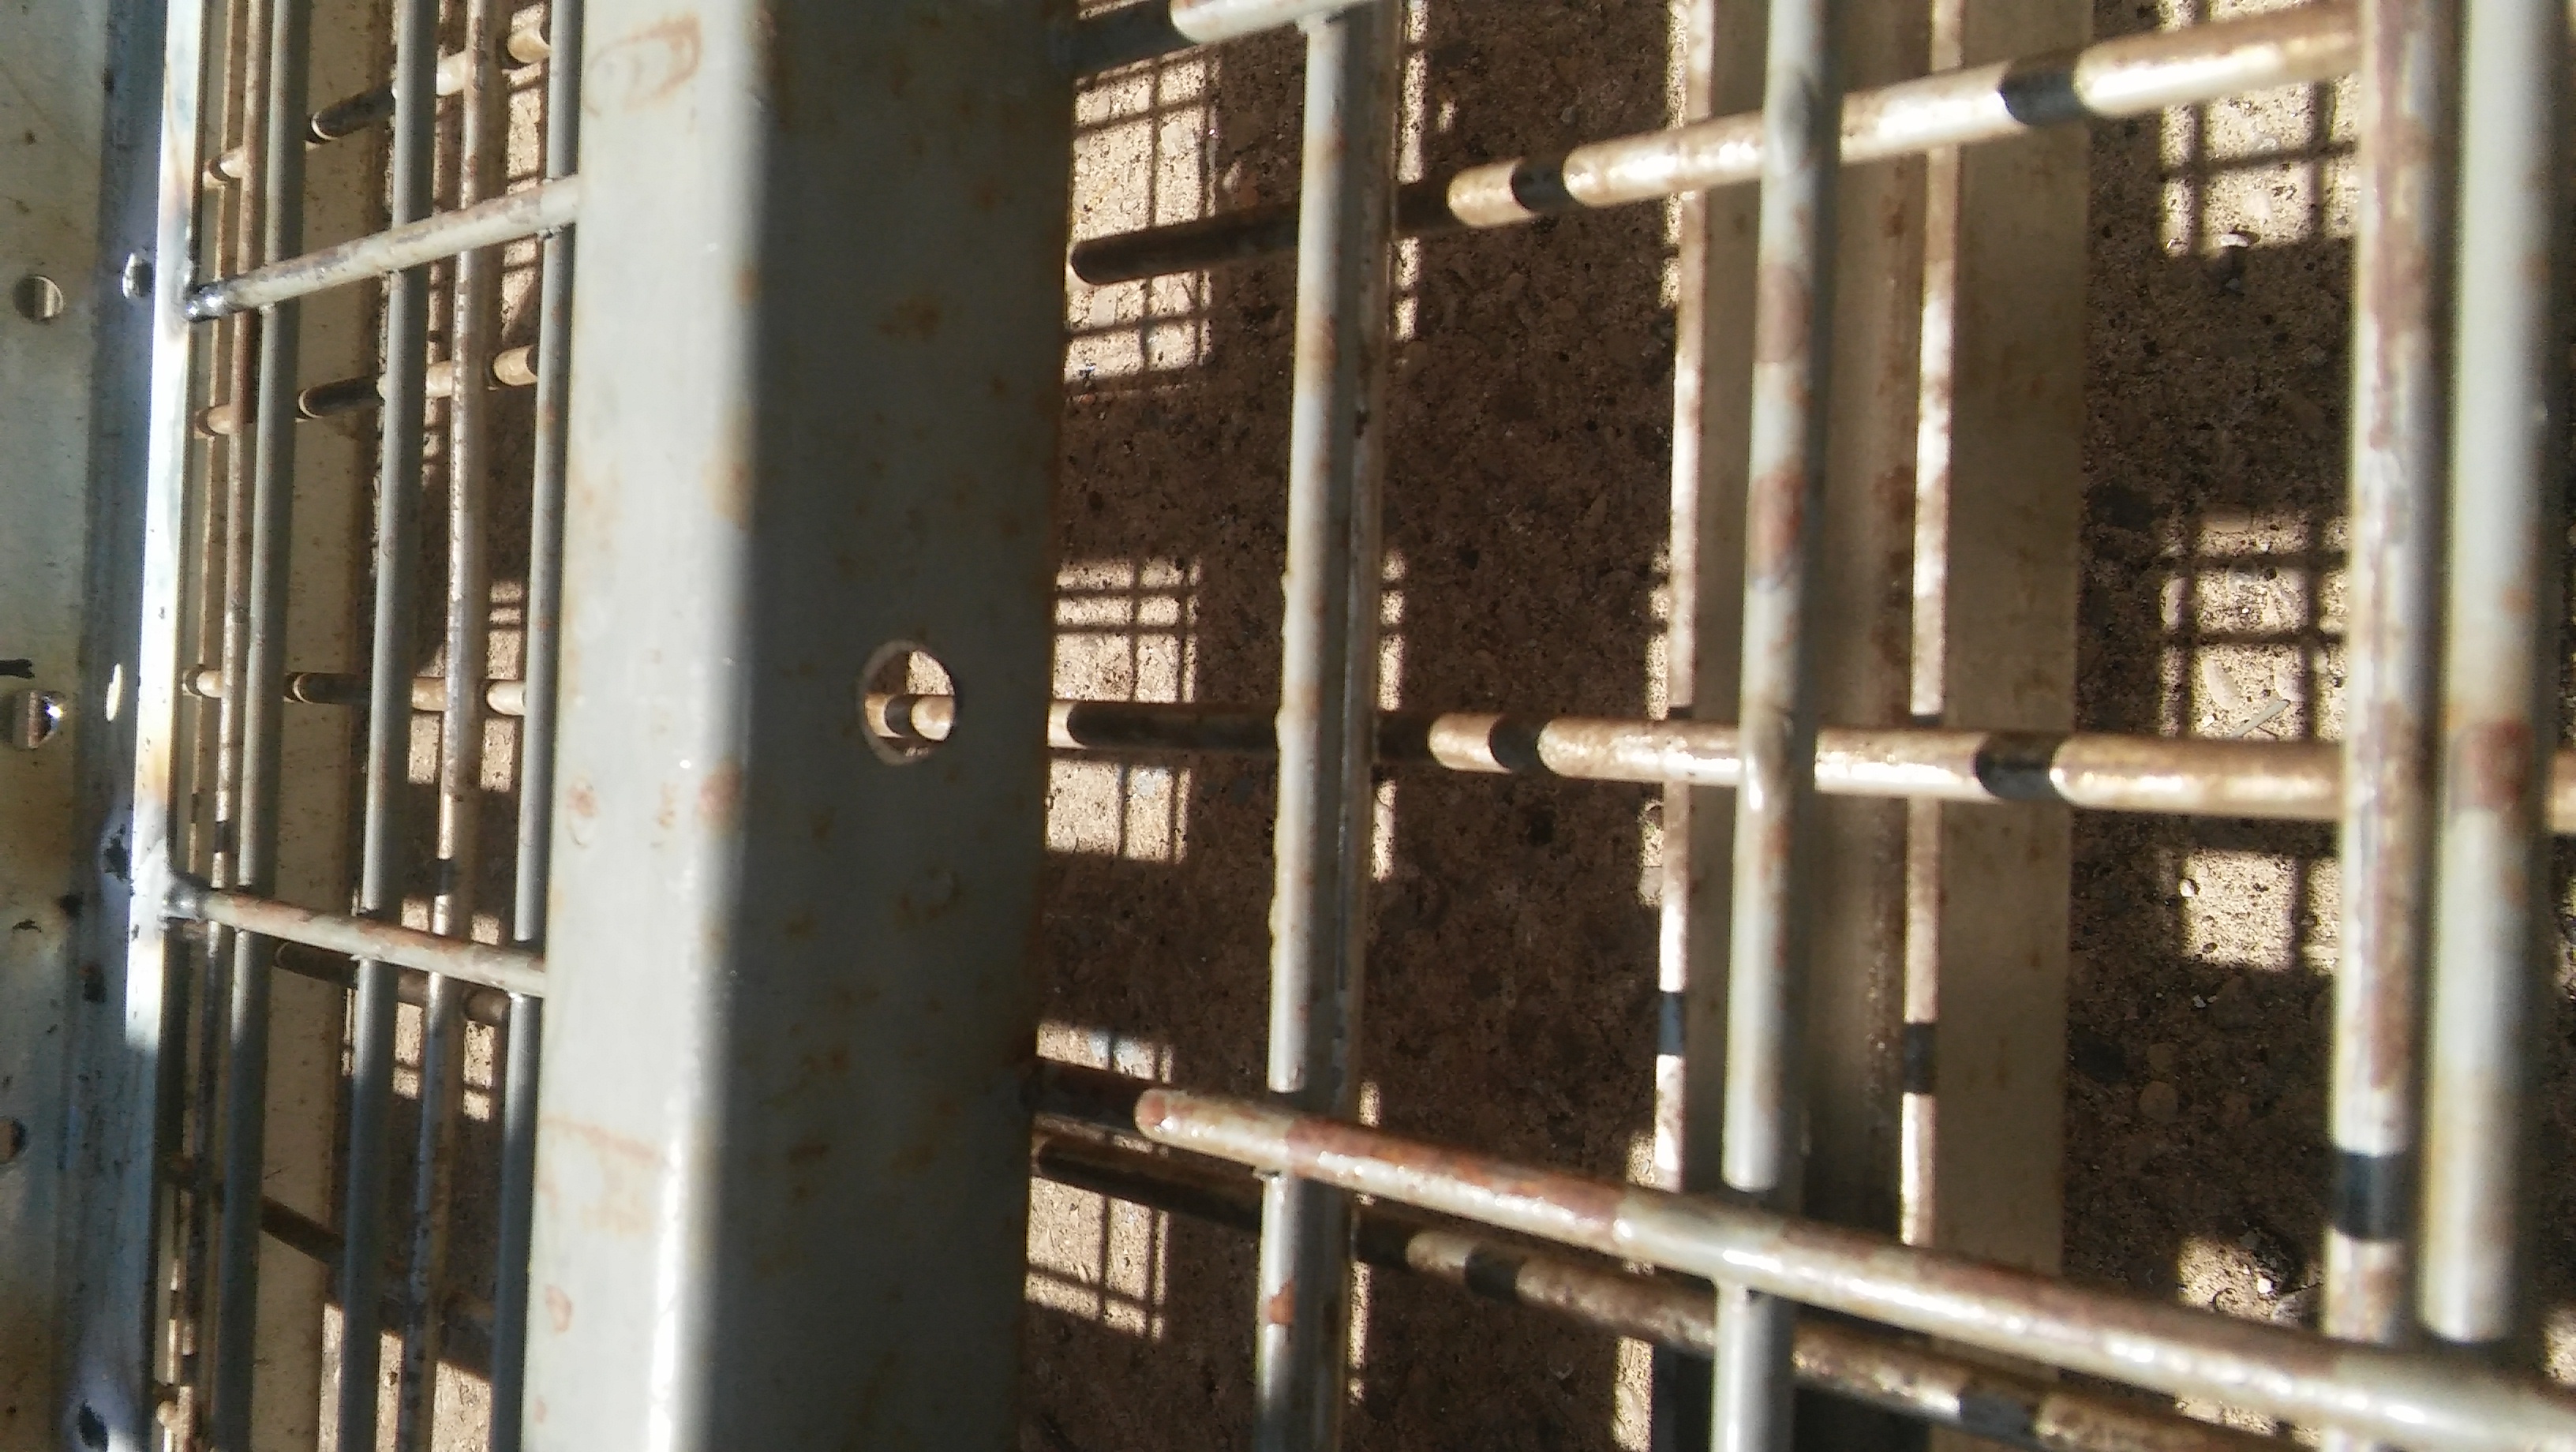


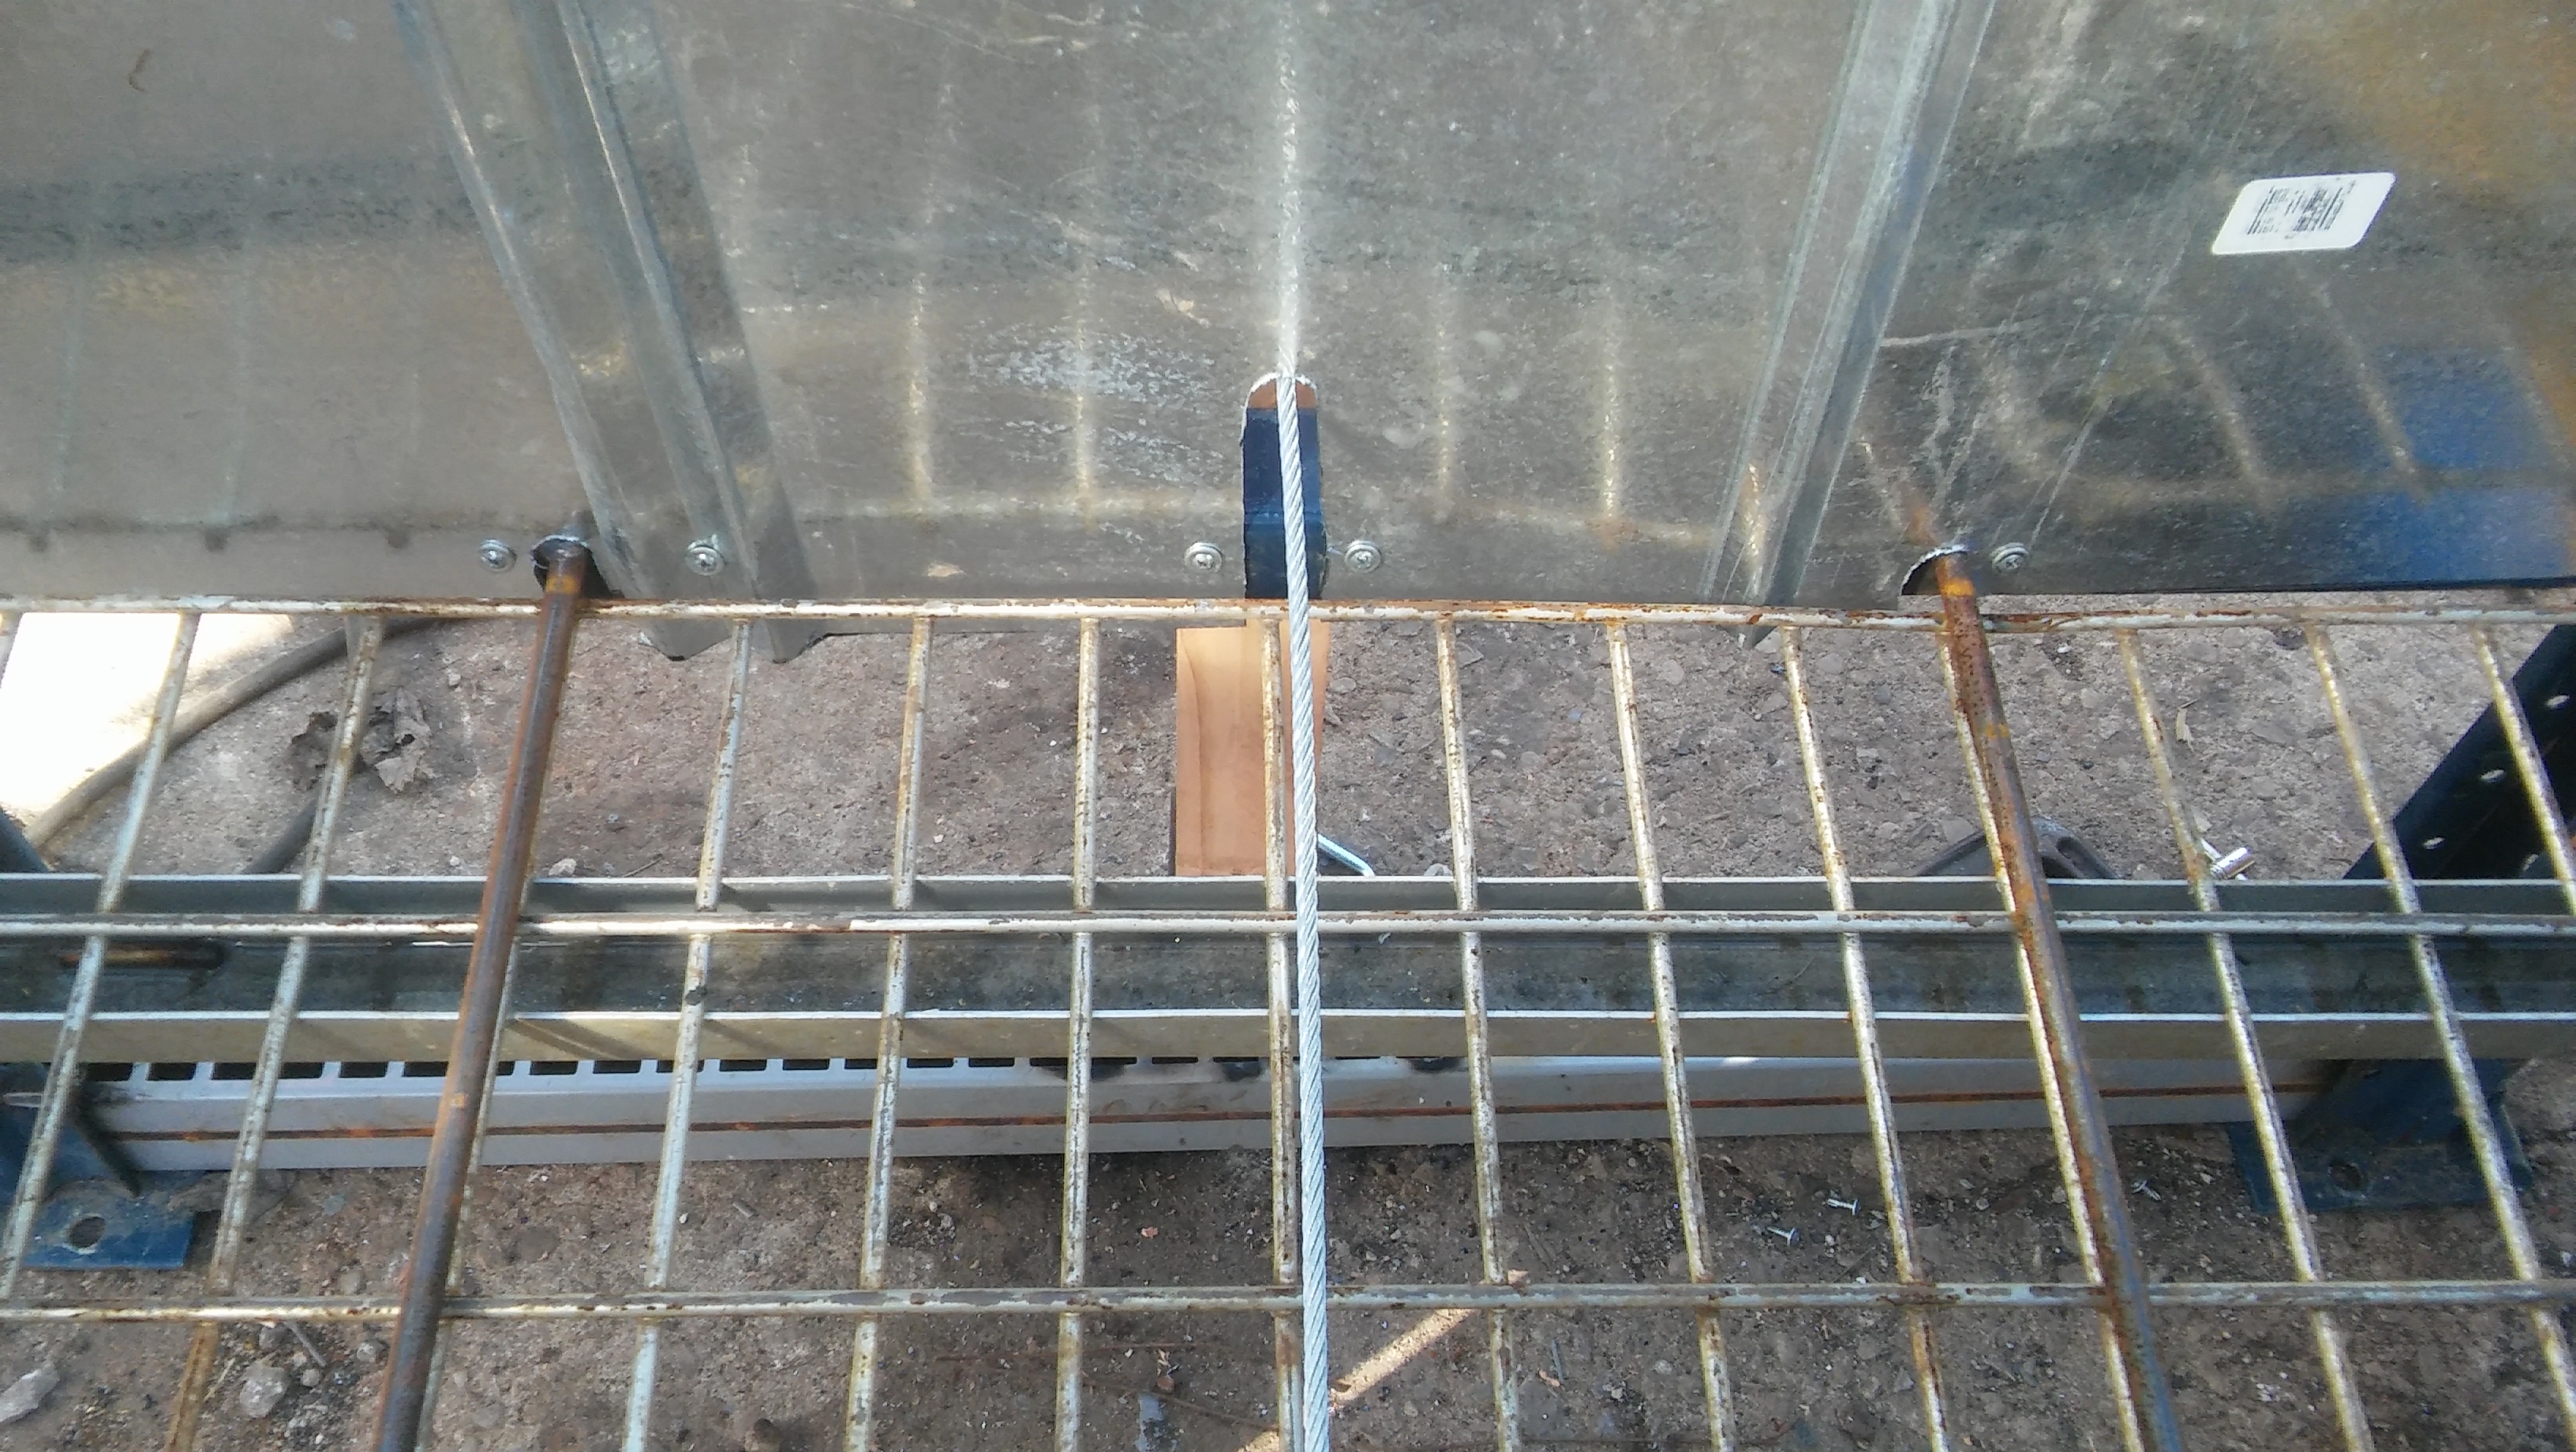

The first shelf was put in place 1.5 ft from the ground and the decking and beams where welded in place.(figure 1) Two 1/4inch steel rods where welded on top the the decking. (figure 2-3)
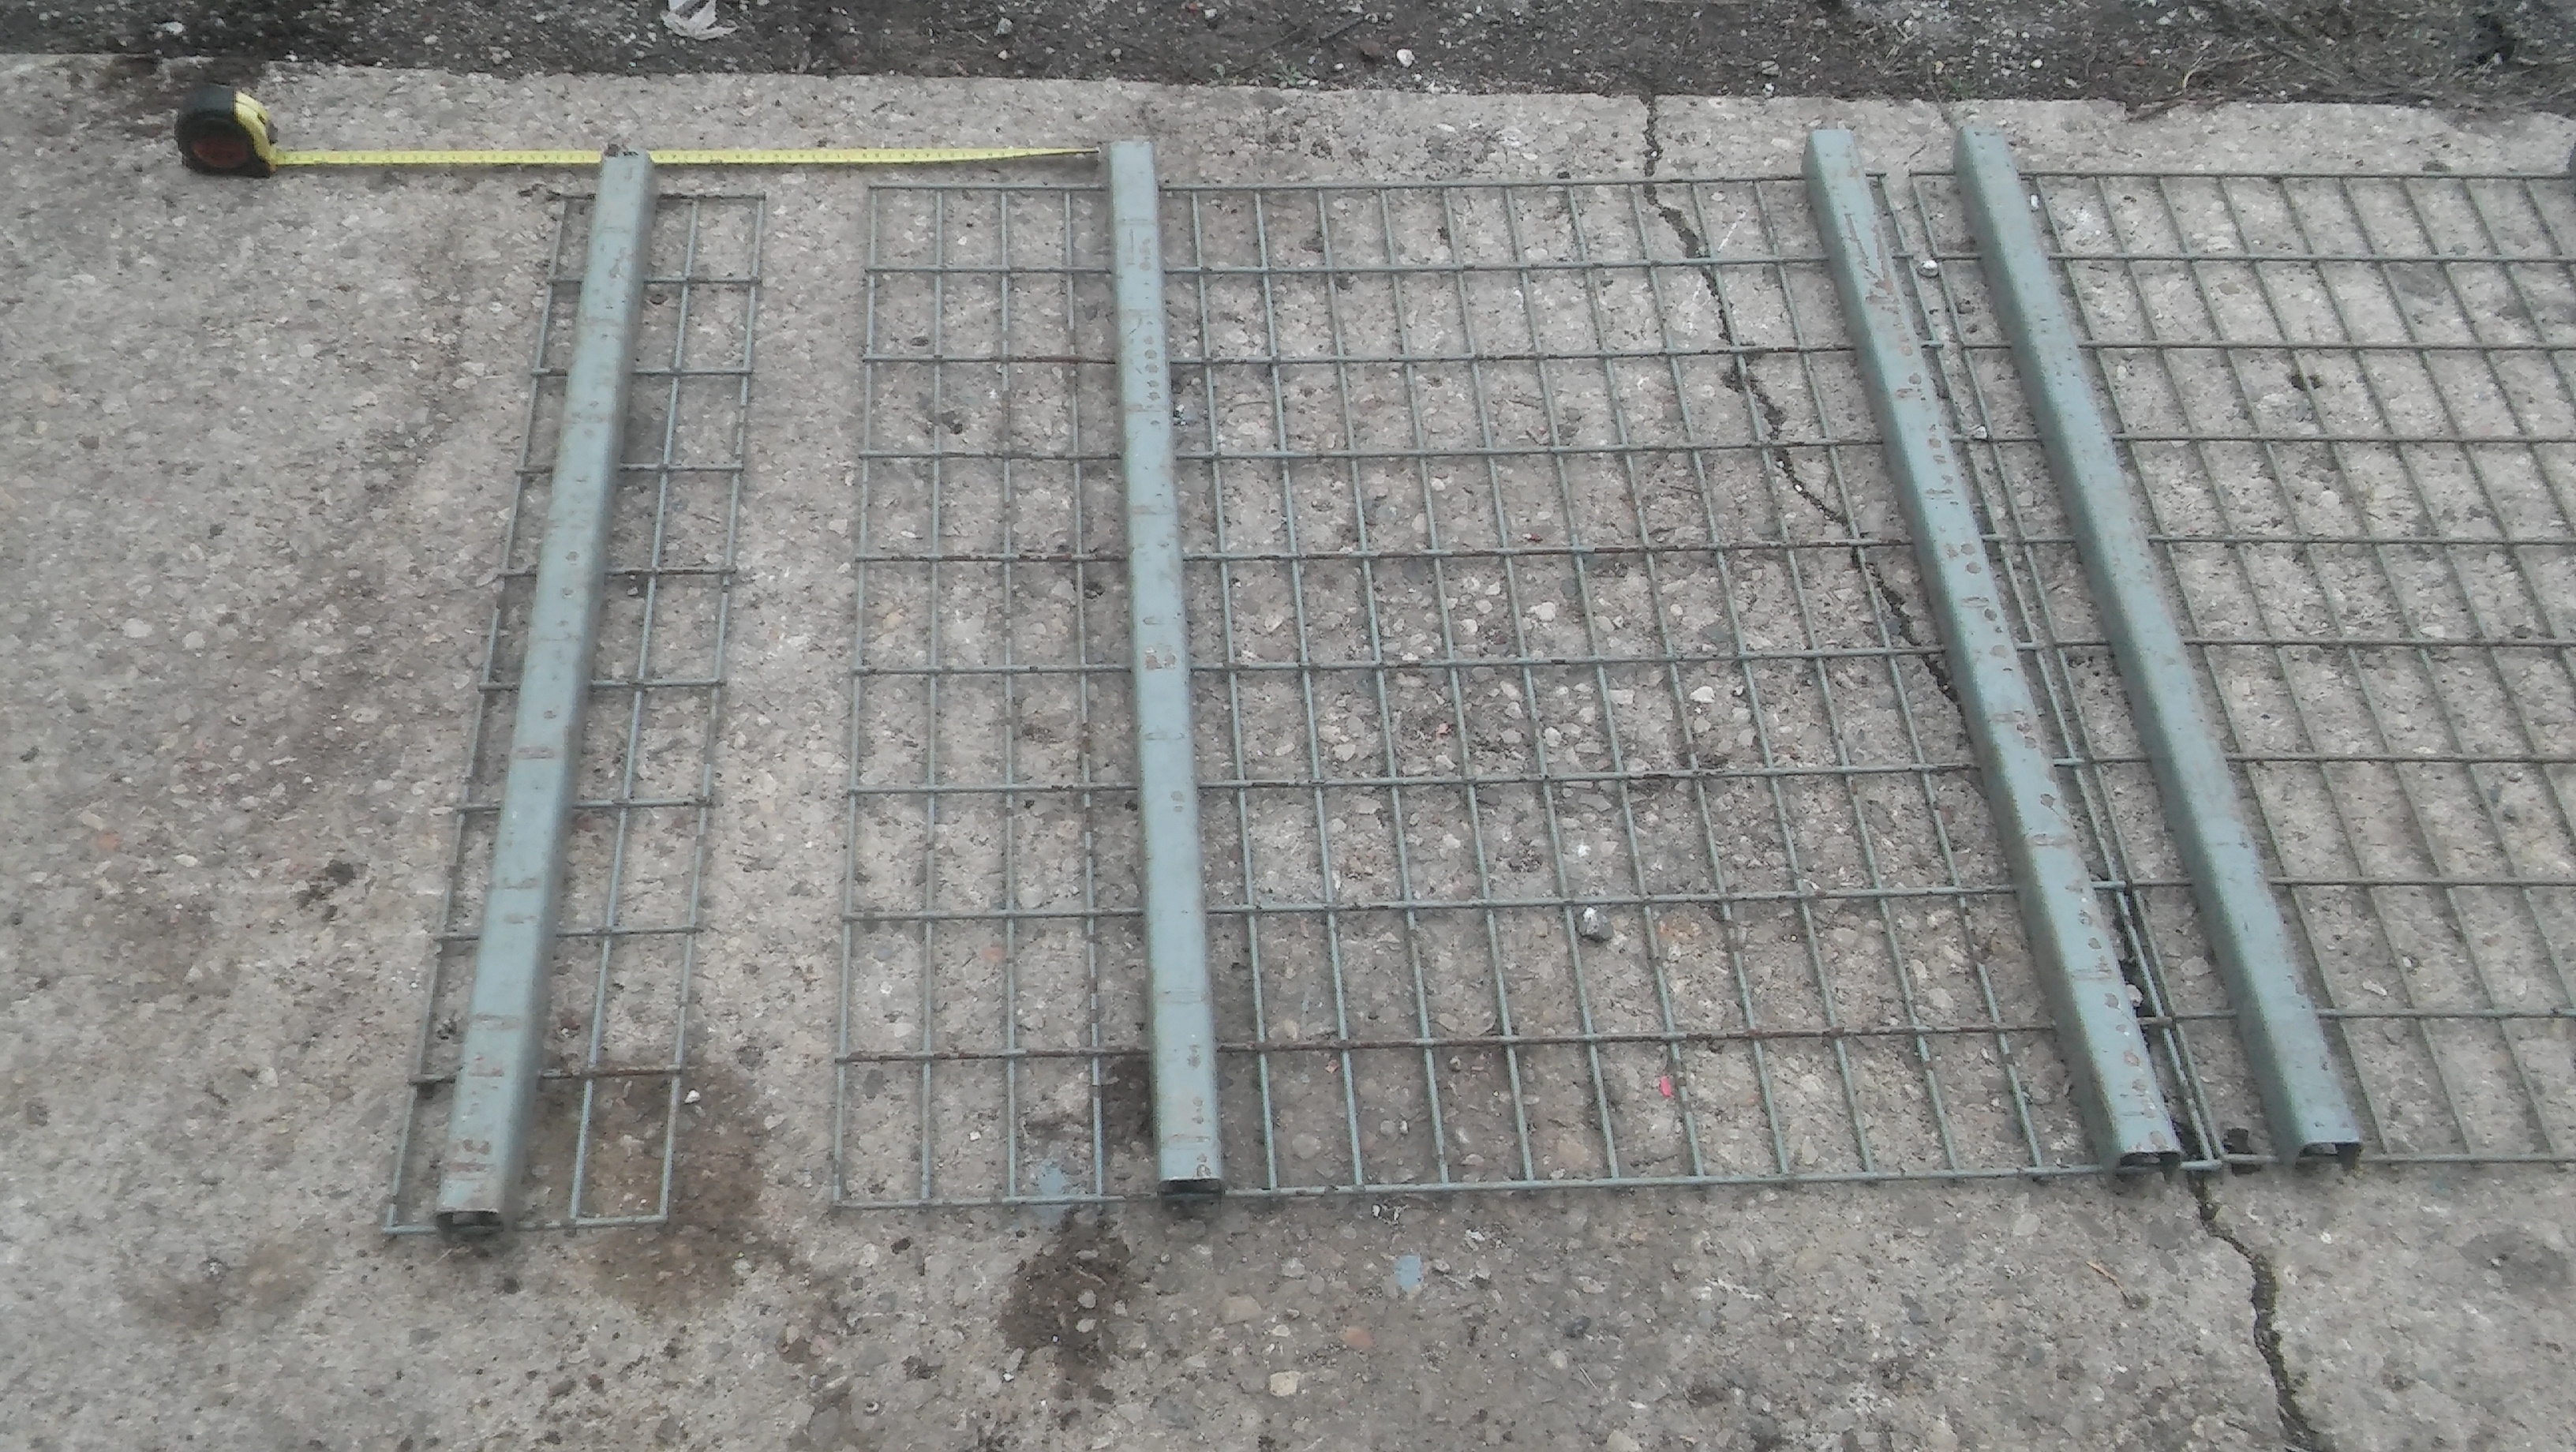
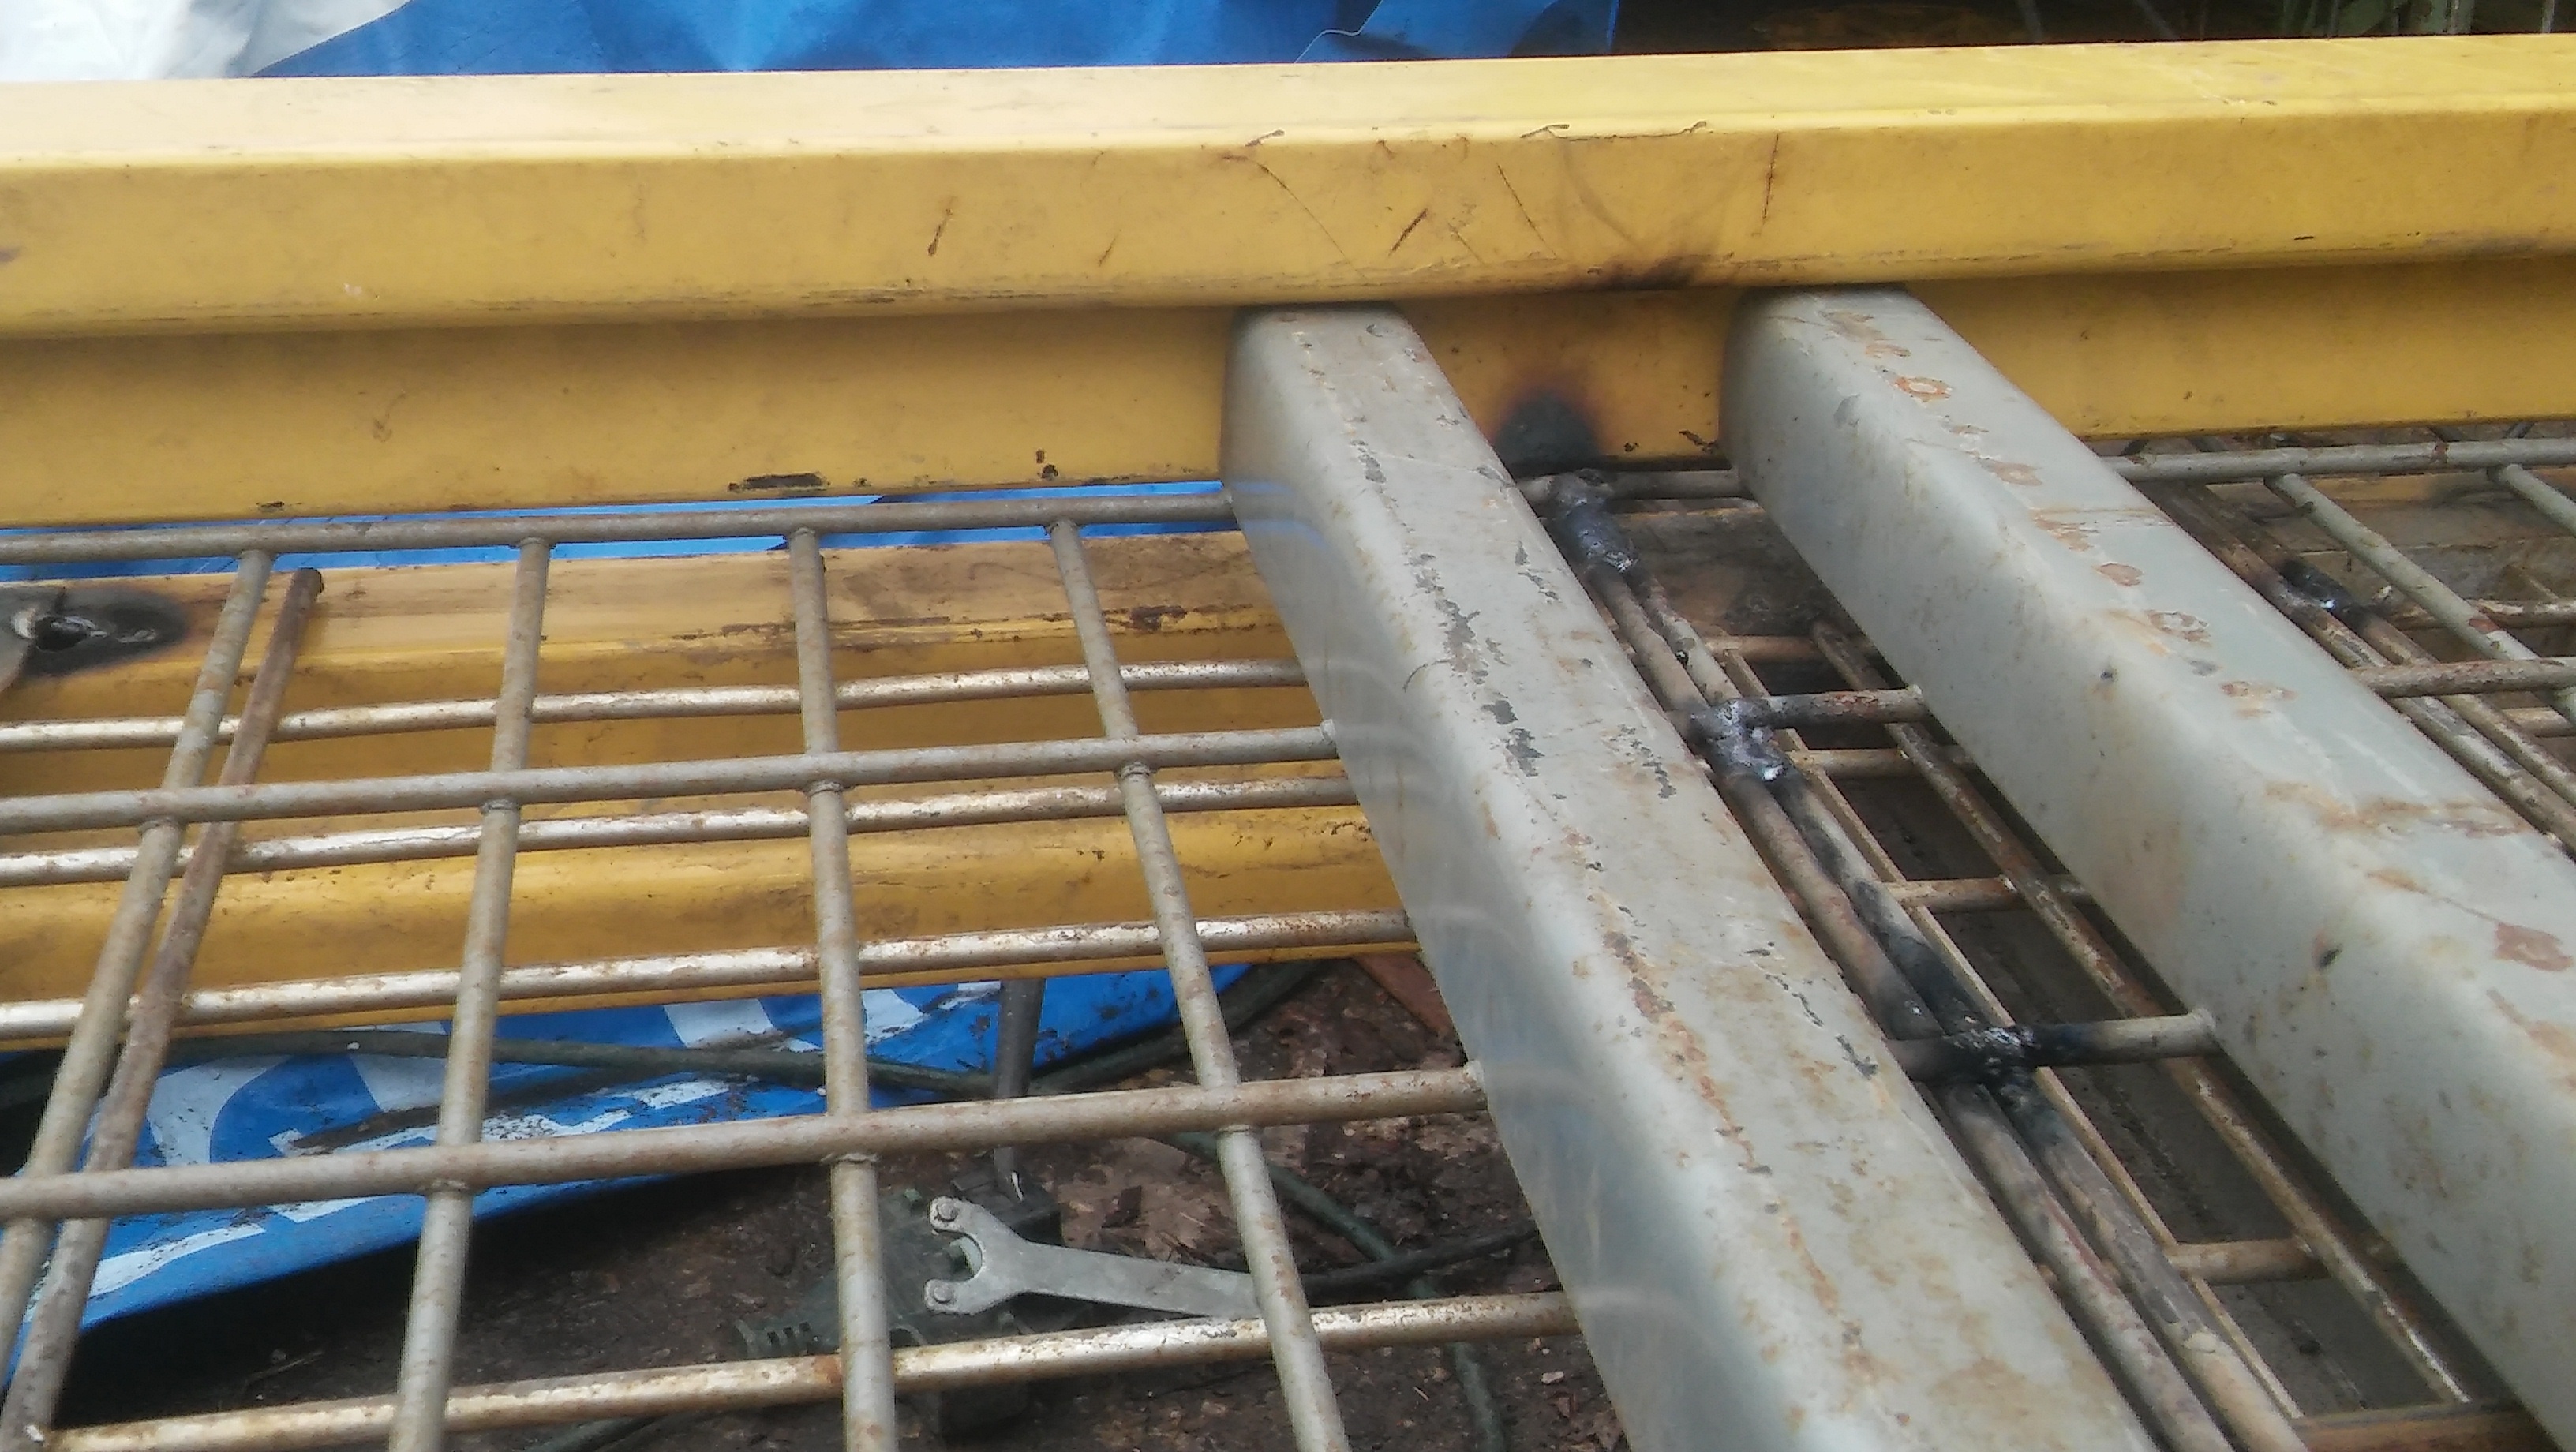
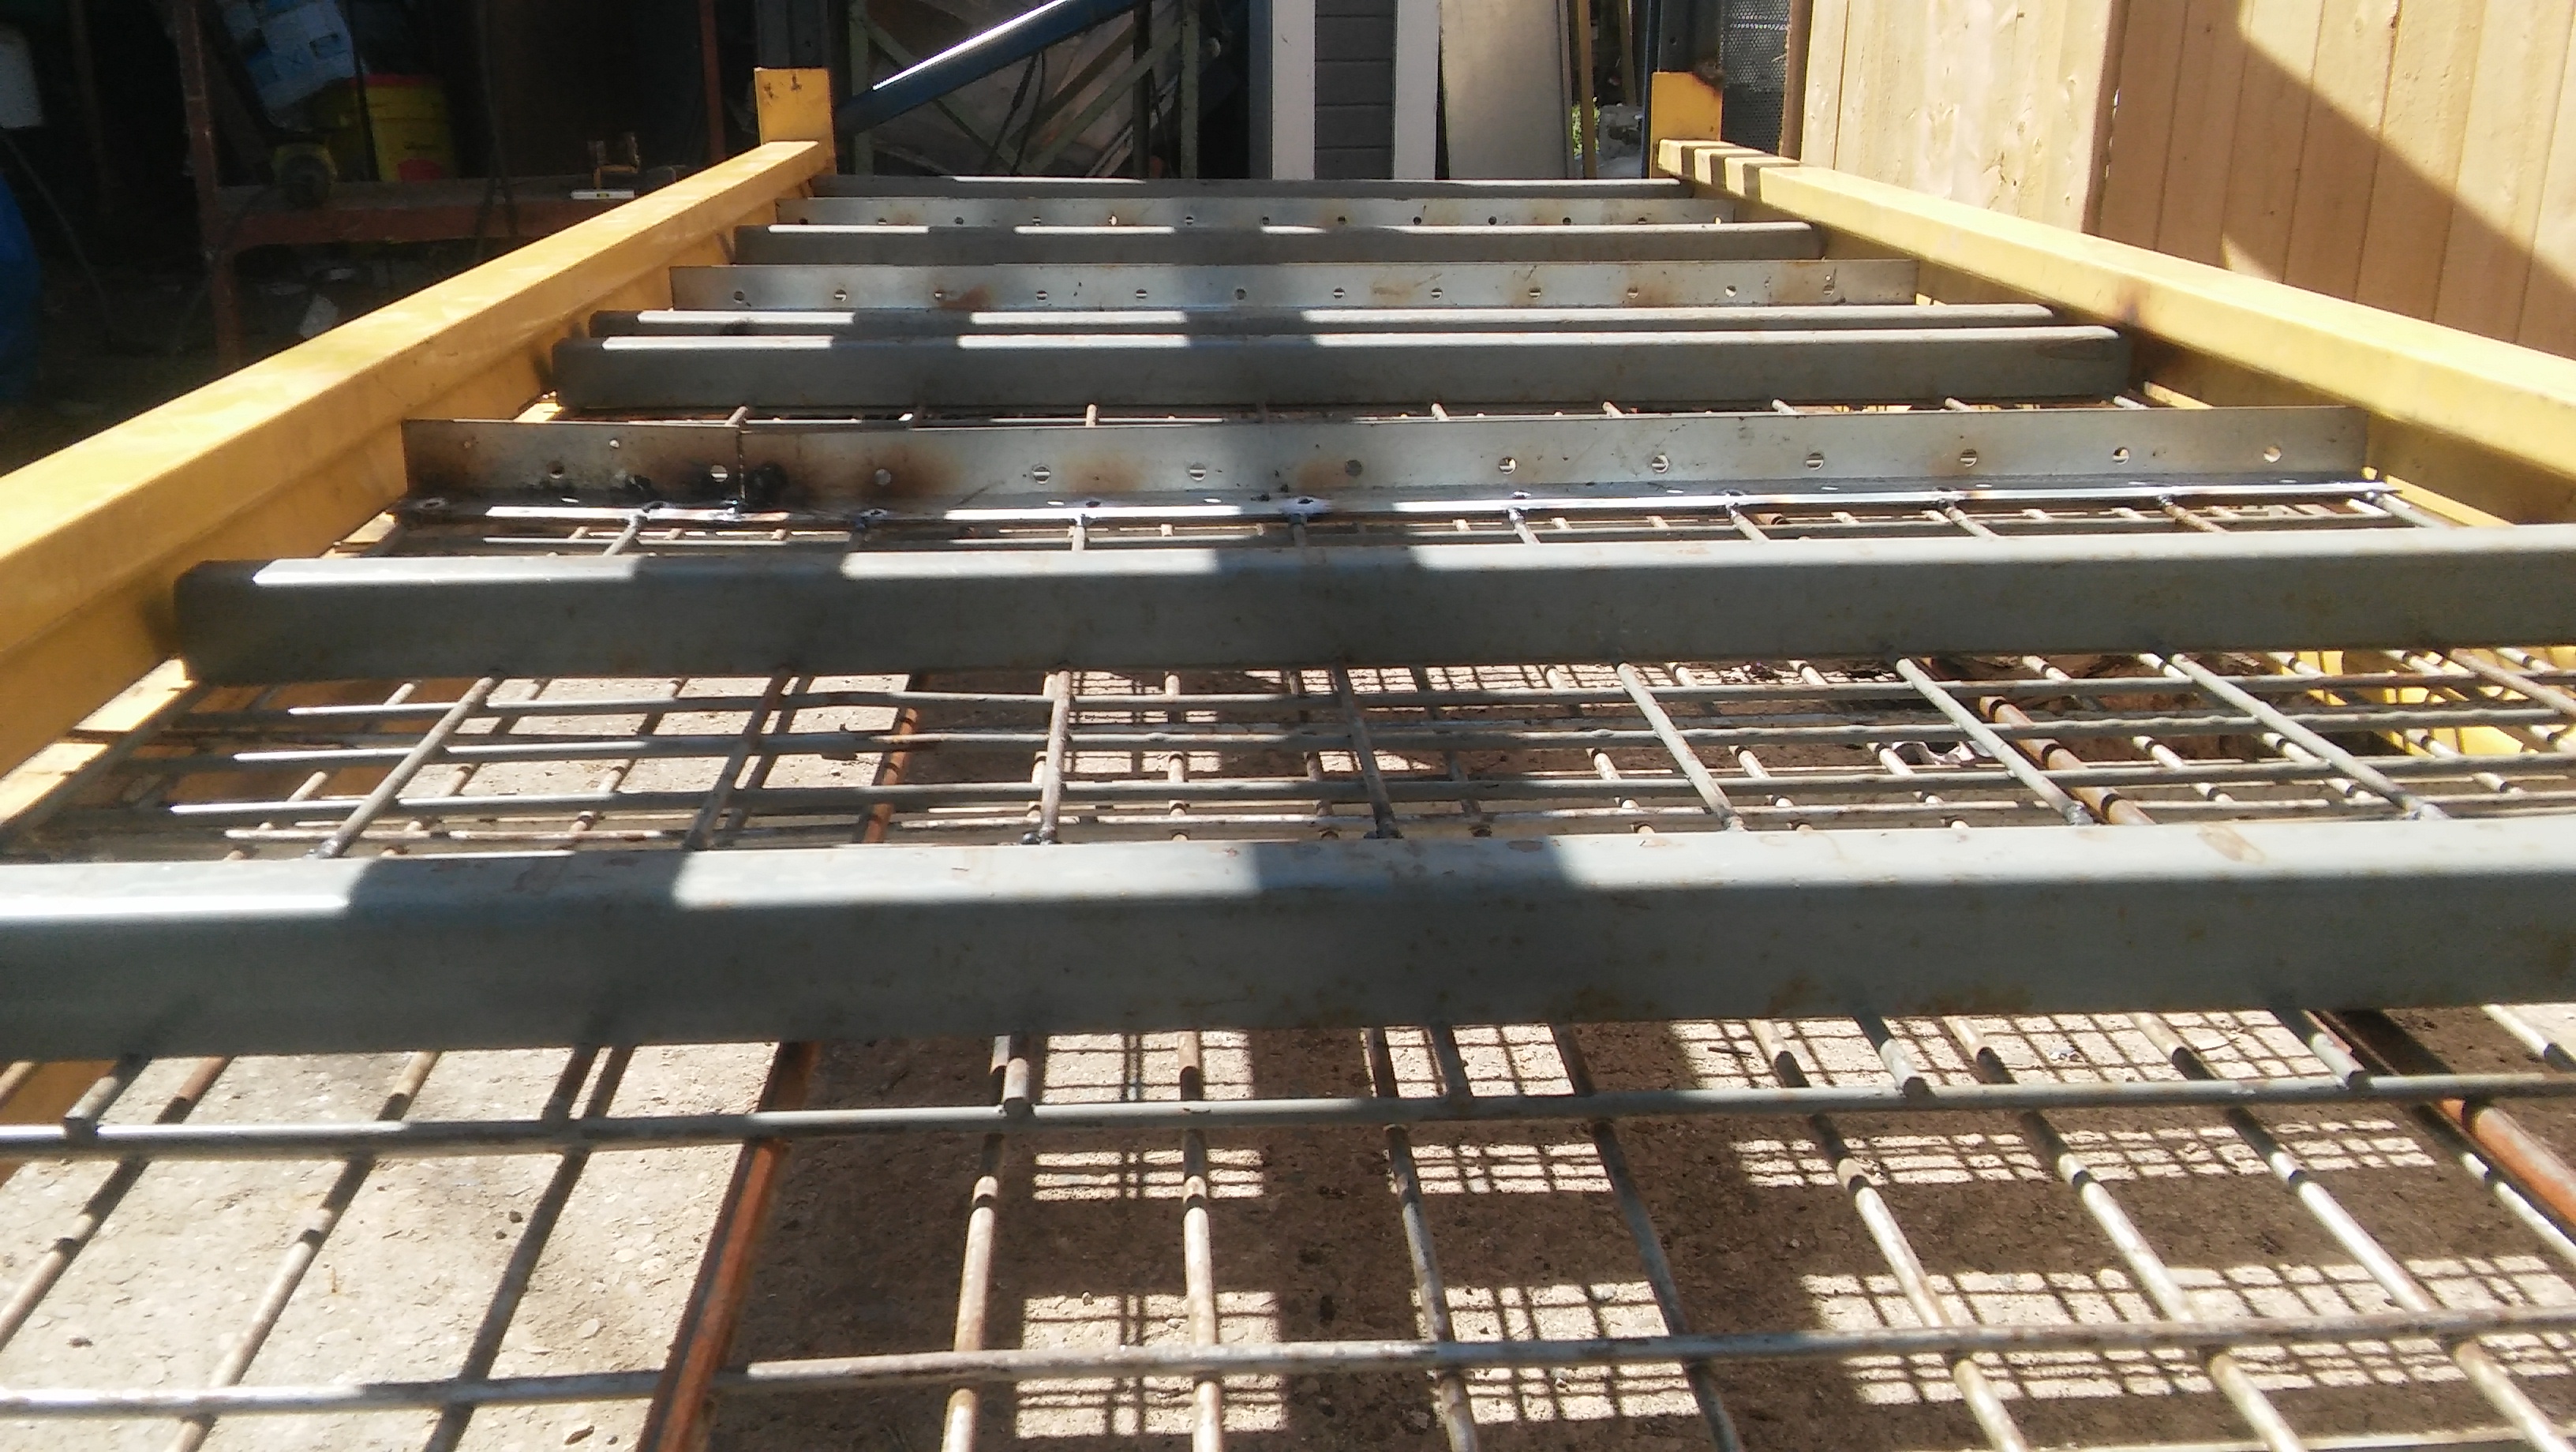
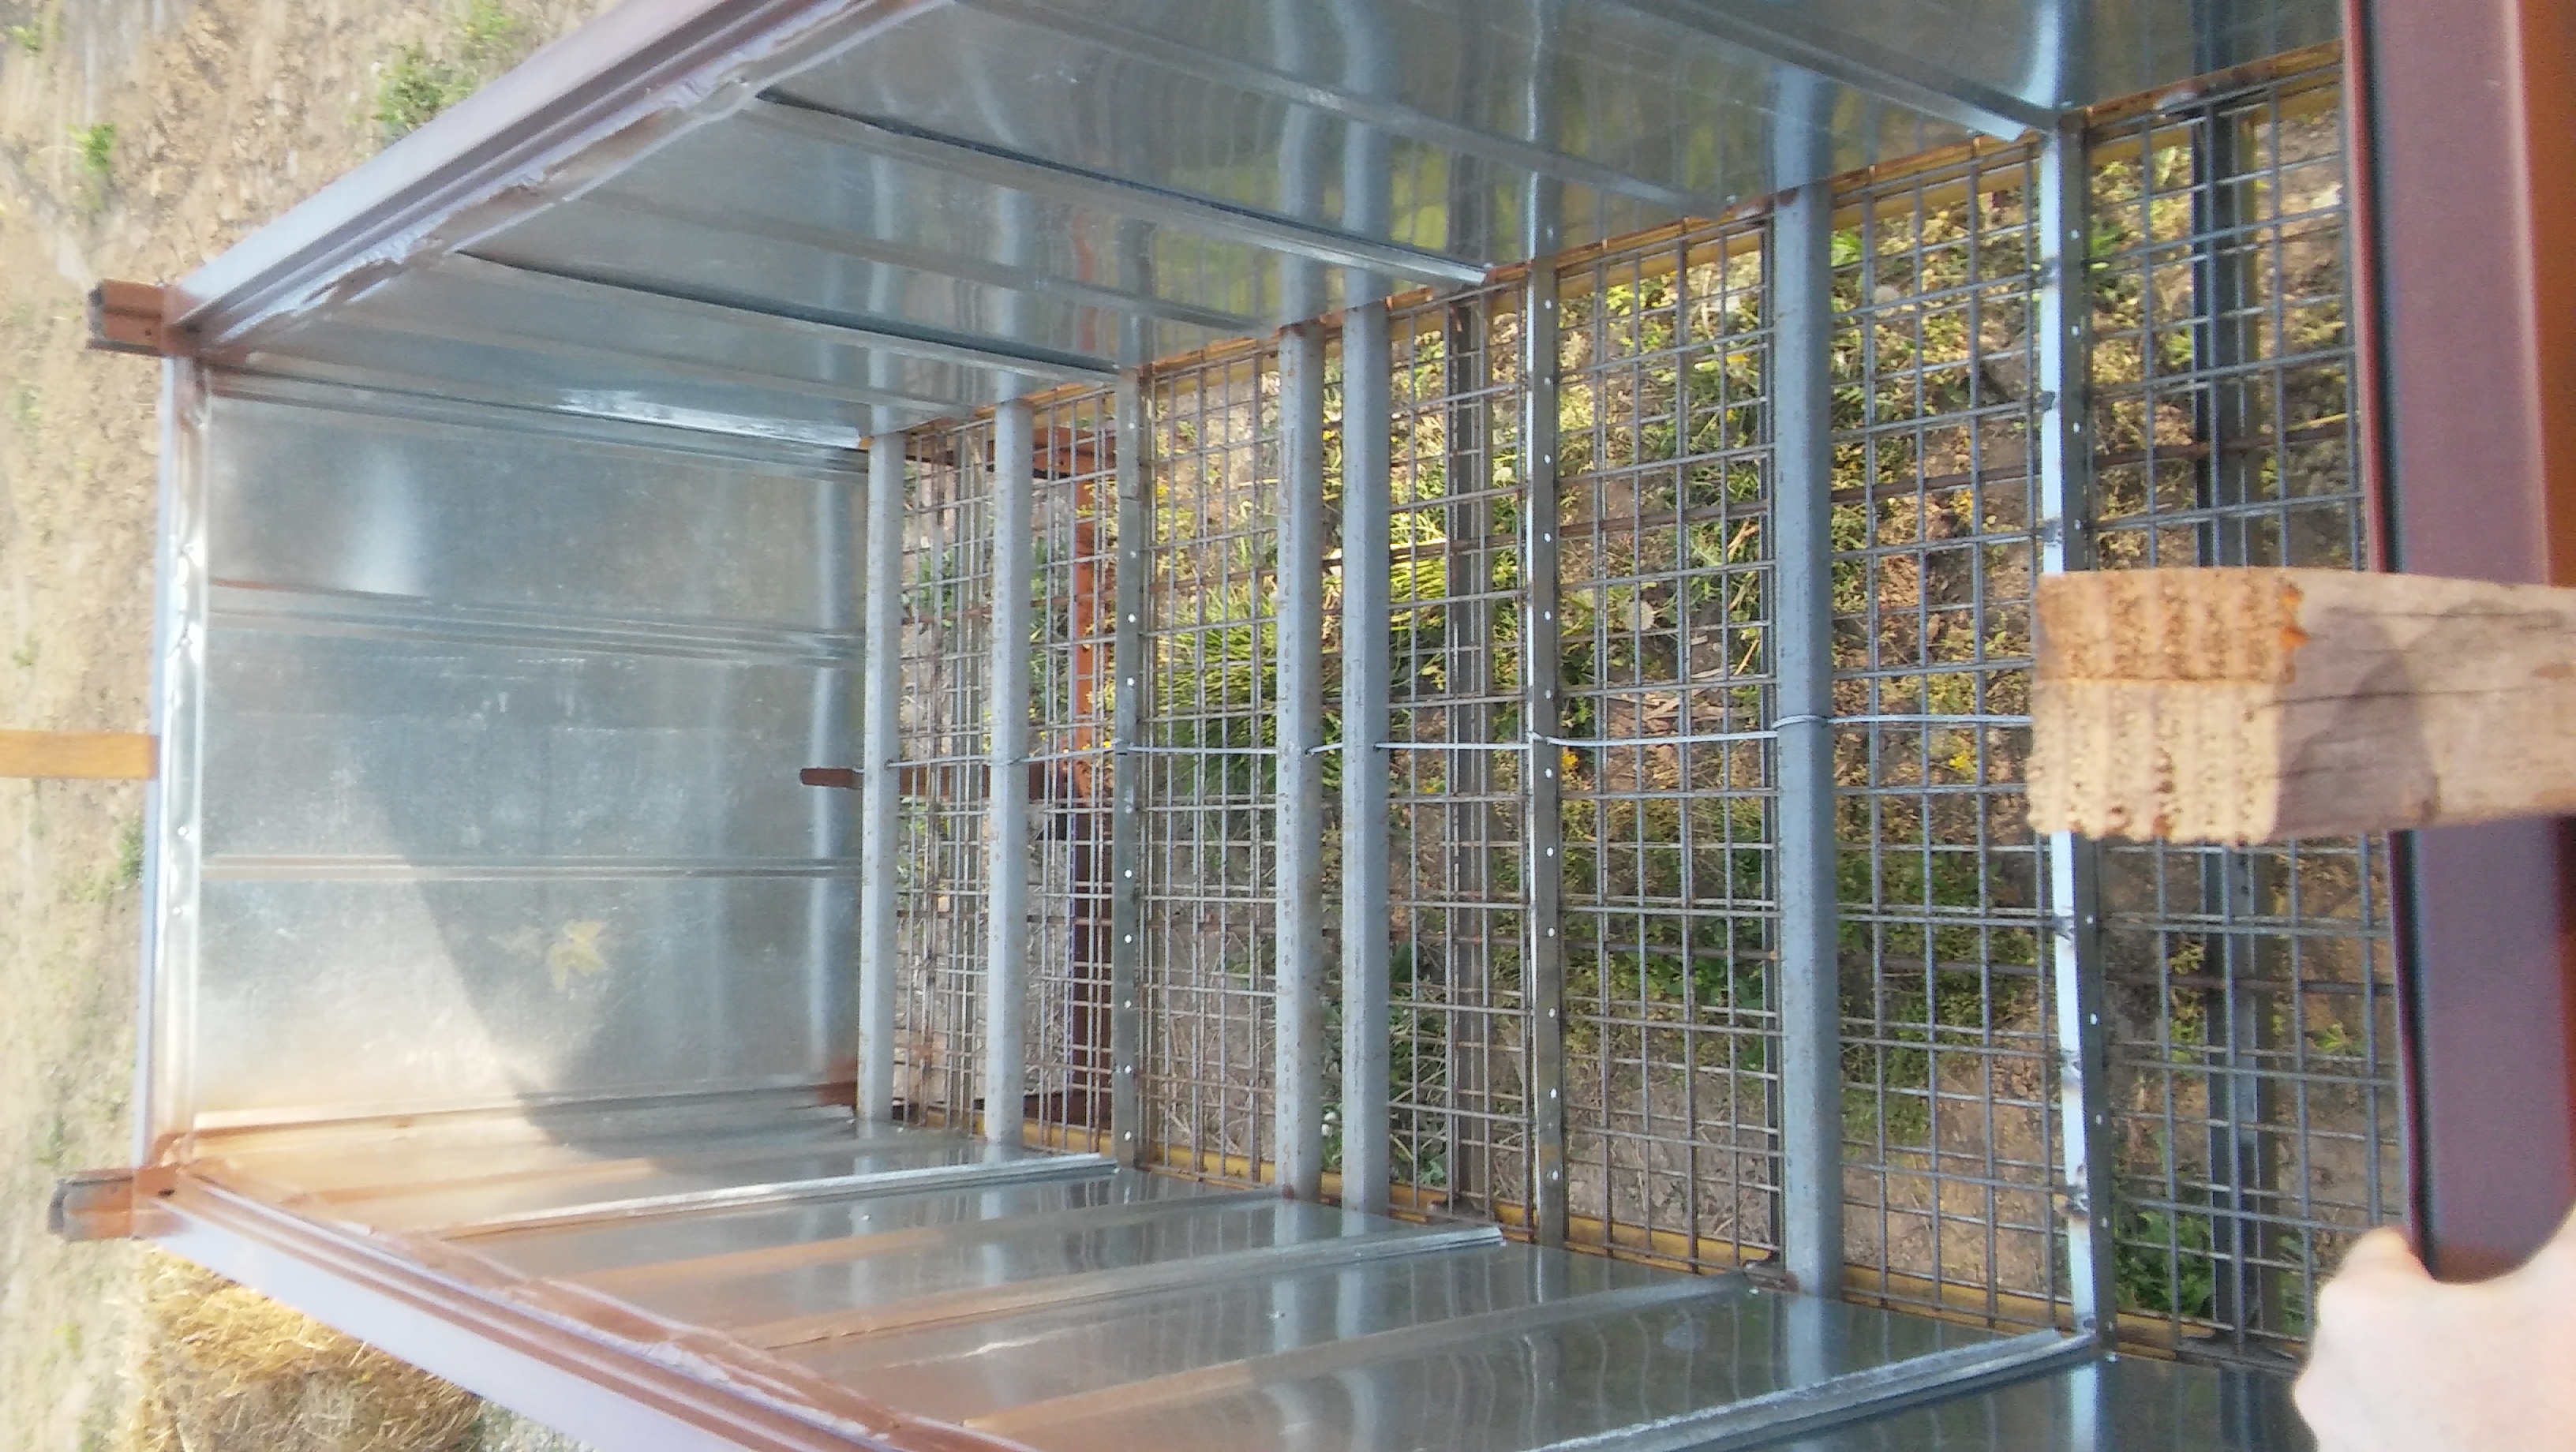
A second set of decking was inverted and modified. A cut was made on one side of the decking and 10 inches of wire mesh was removed and the remaining end was reattached.(figure 4-5) Angle iron was added so there was a scraper bar at least every 10 inches.
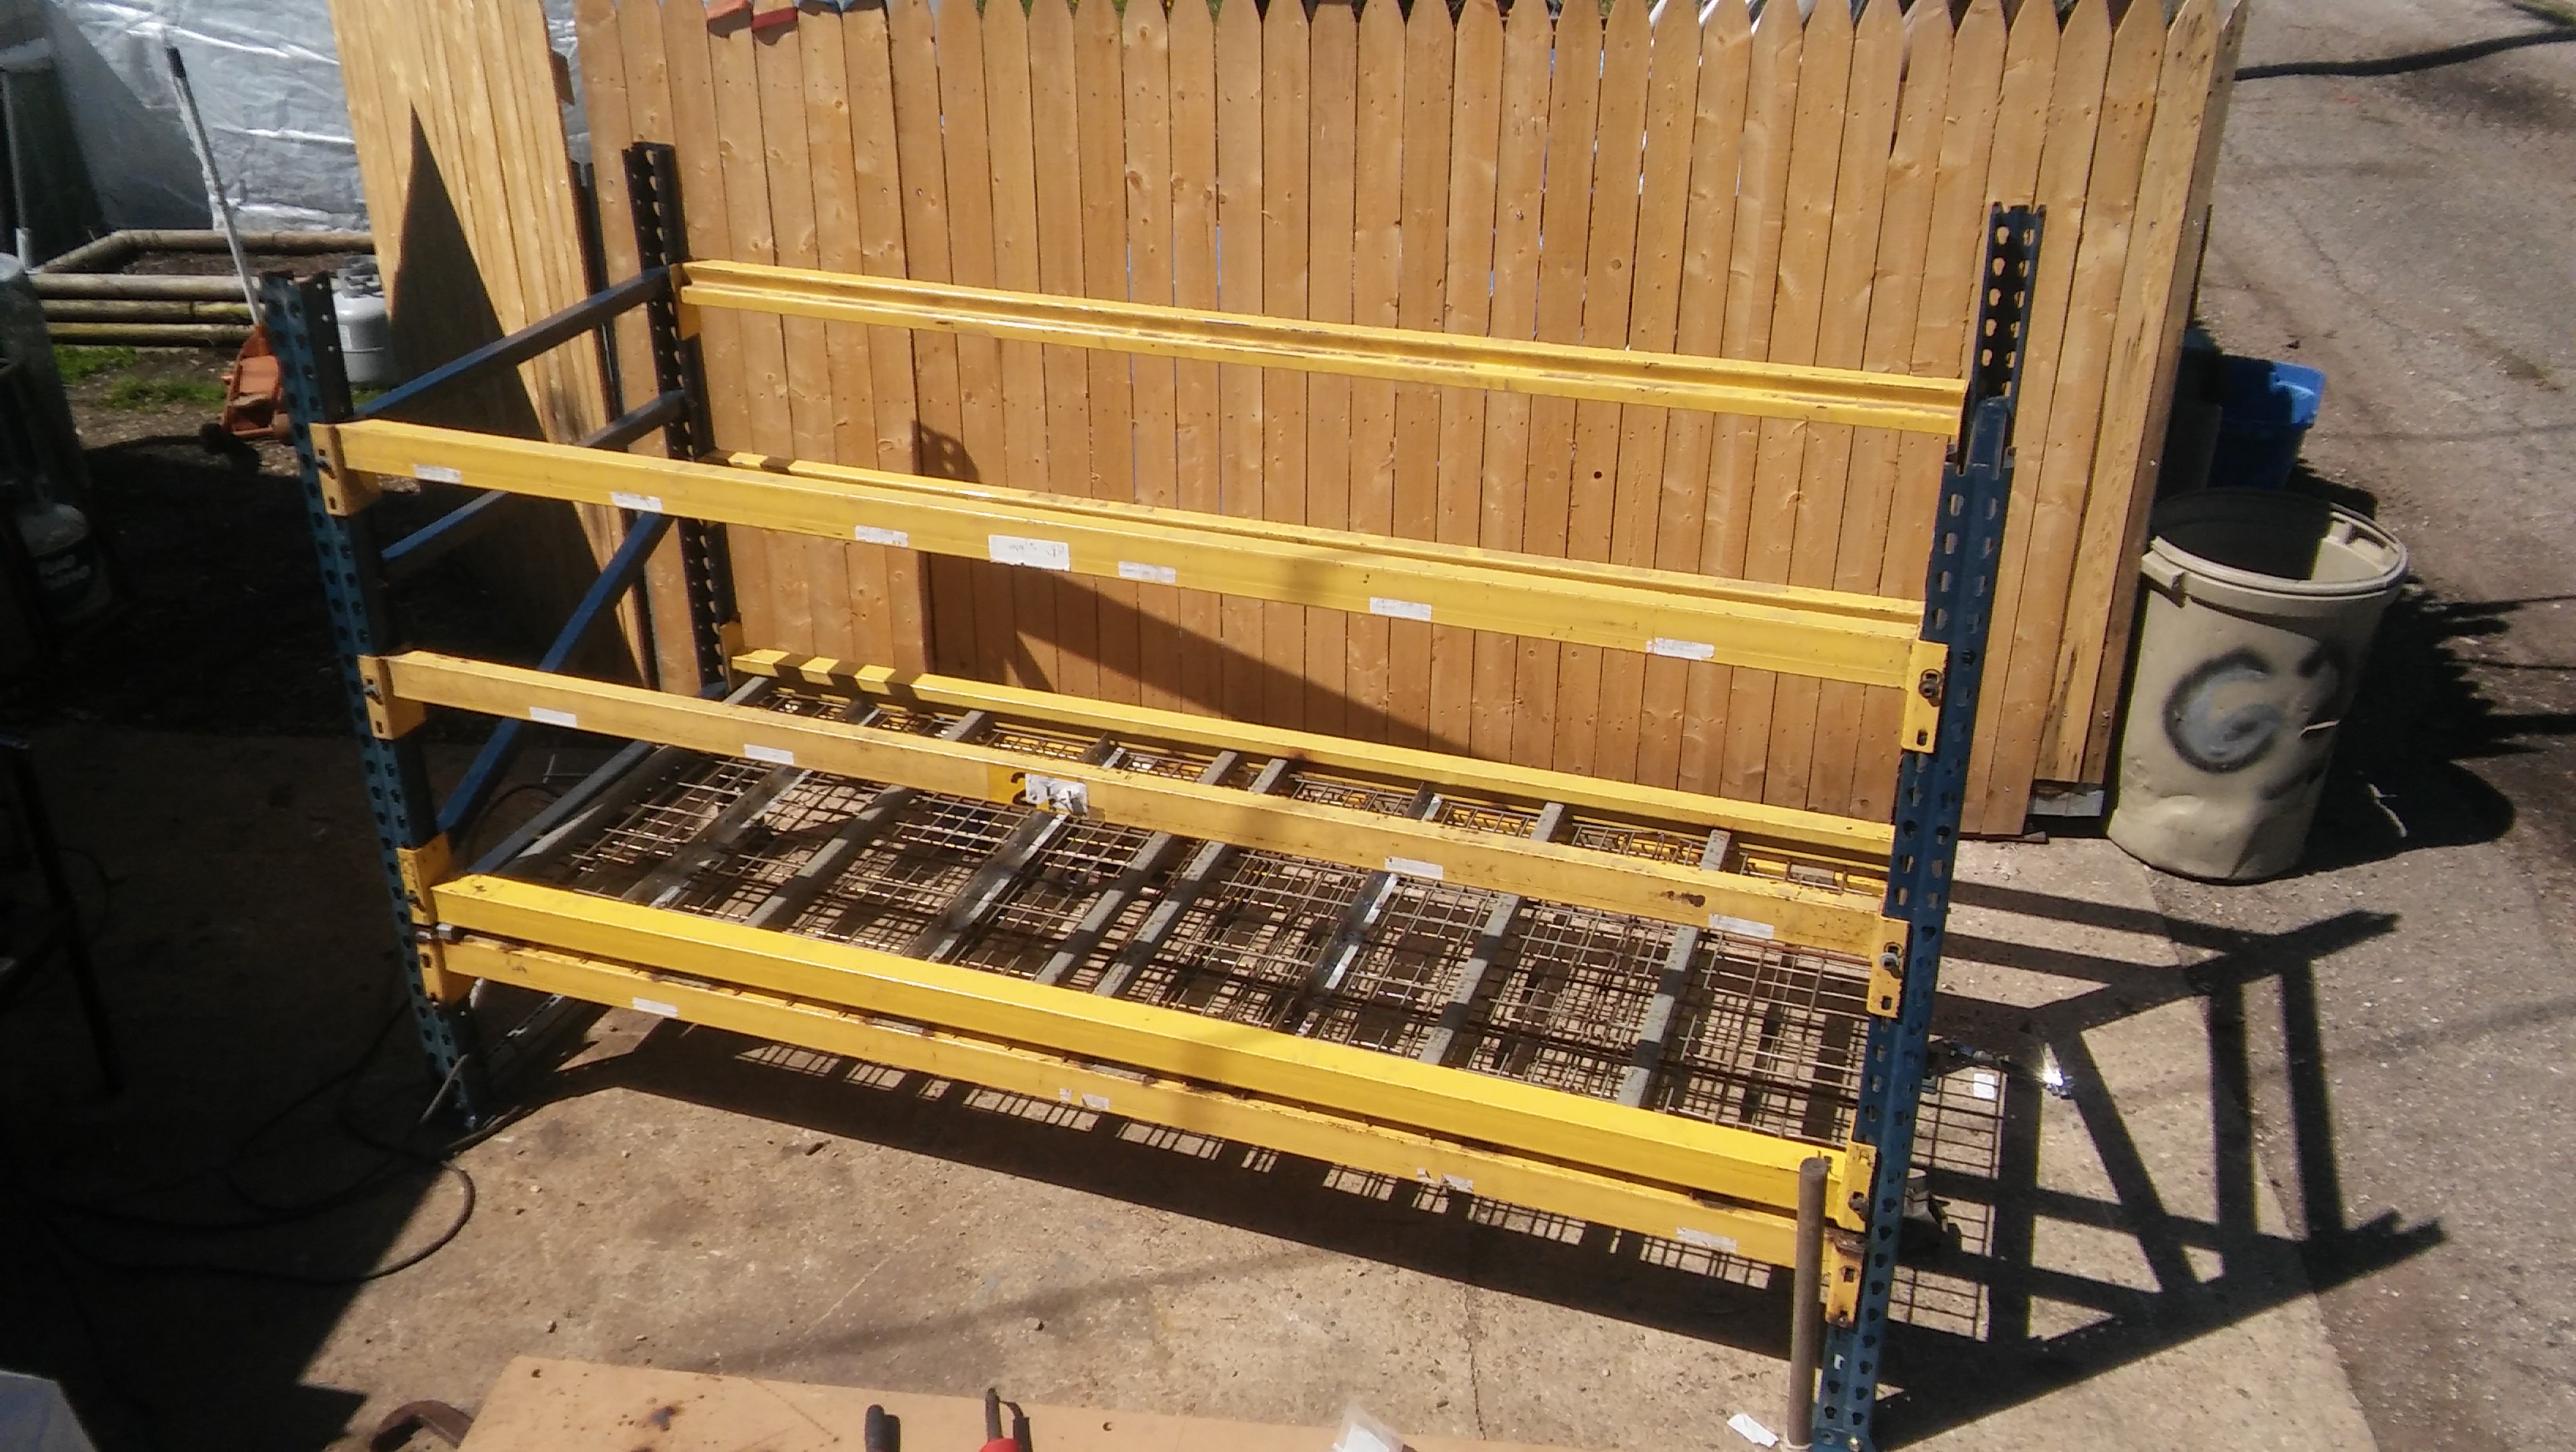
The modified deck in placed upside down on top of the two steel rods. A second set of beams are inverted bolted on to create a channel that locks in the modified deck. (figure 6-8) Additional beans are added the top beam is 5ft from he ground
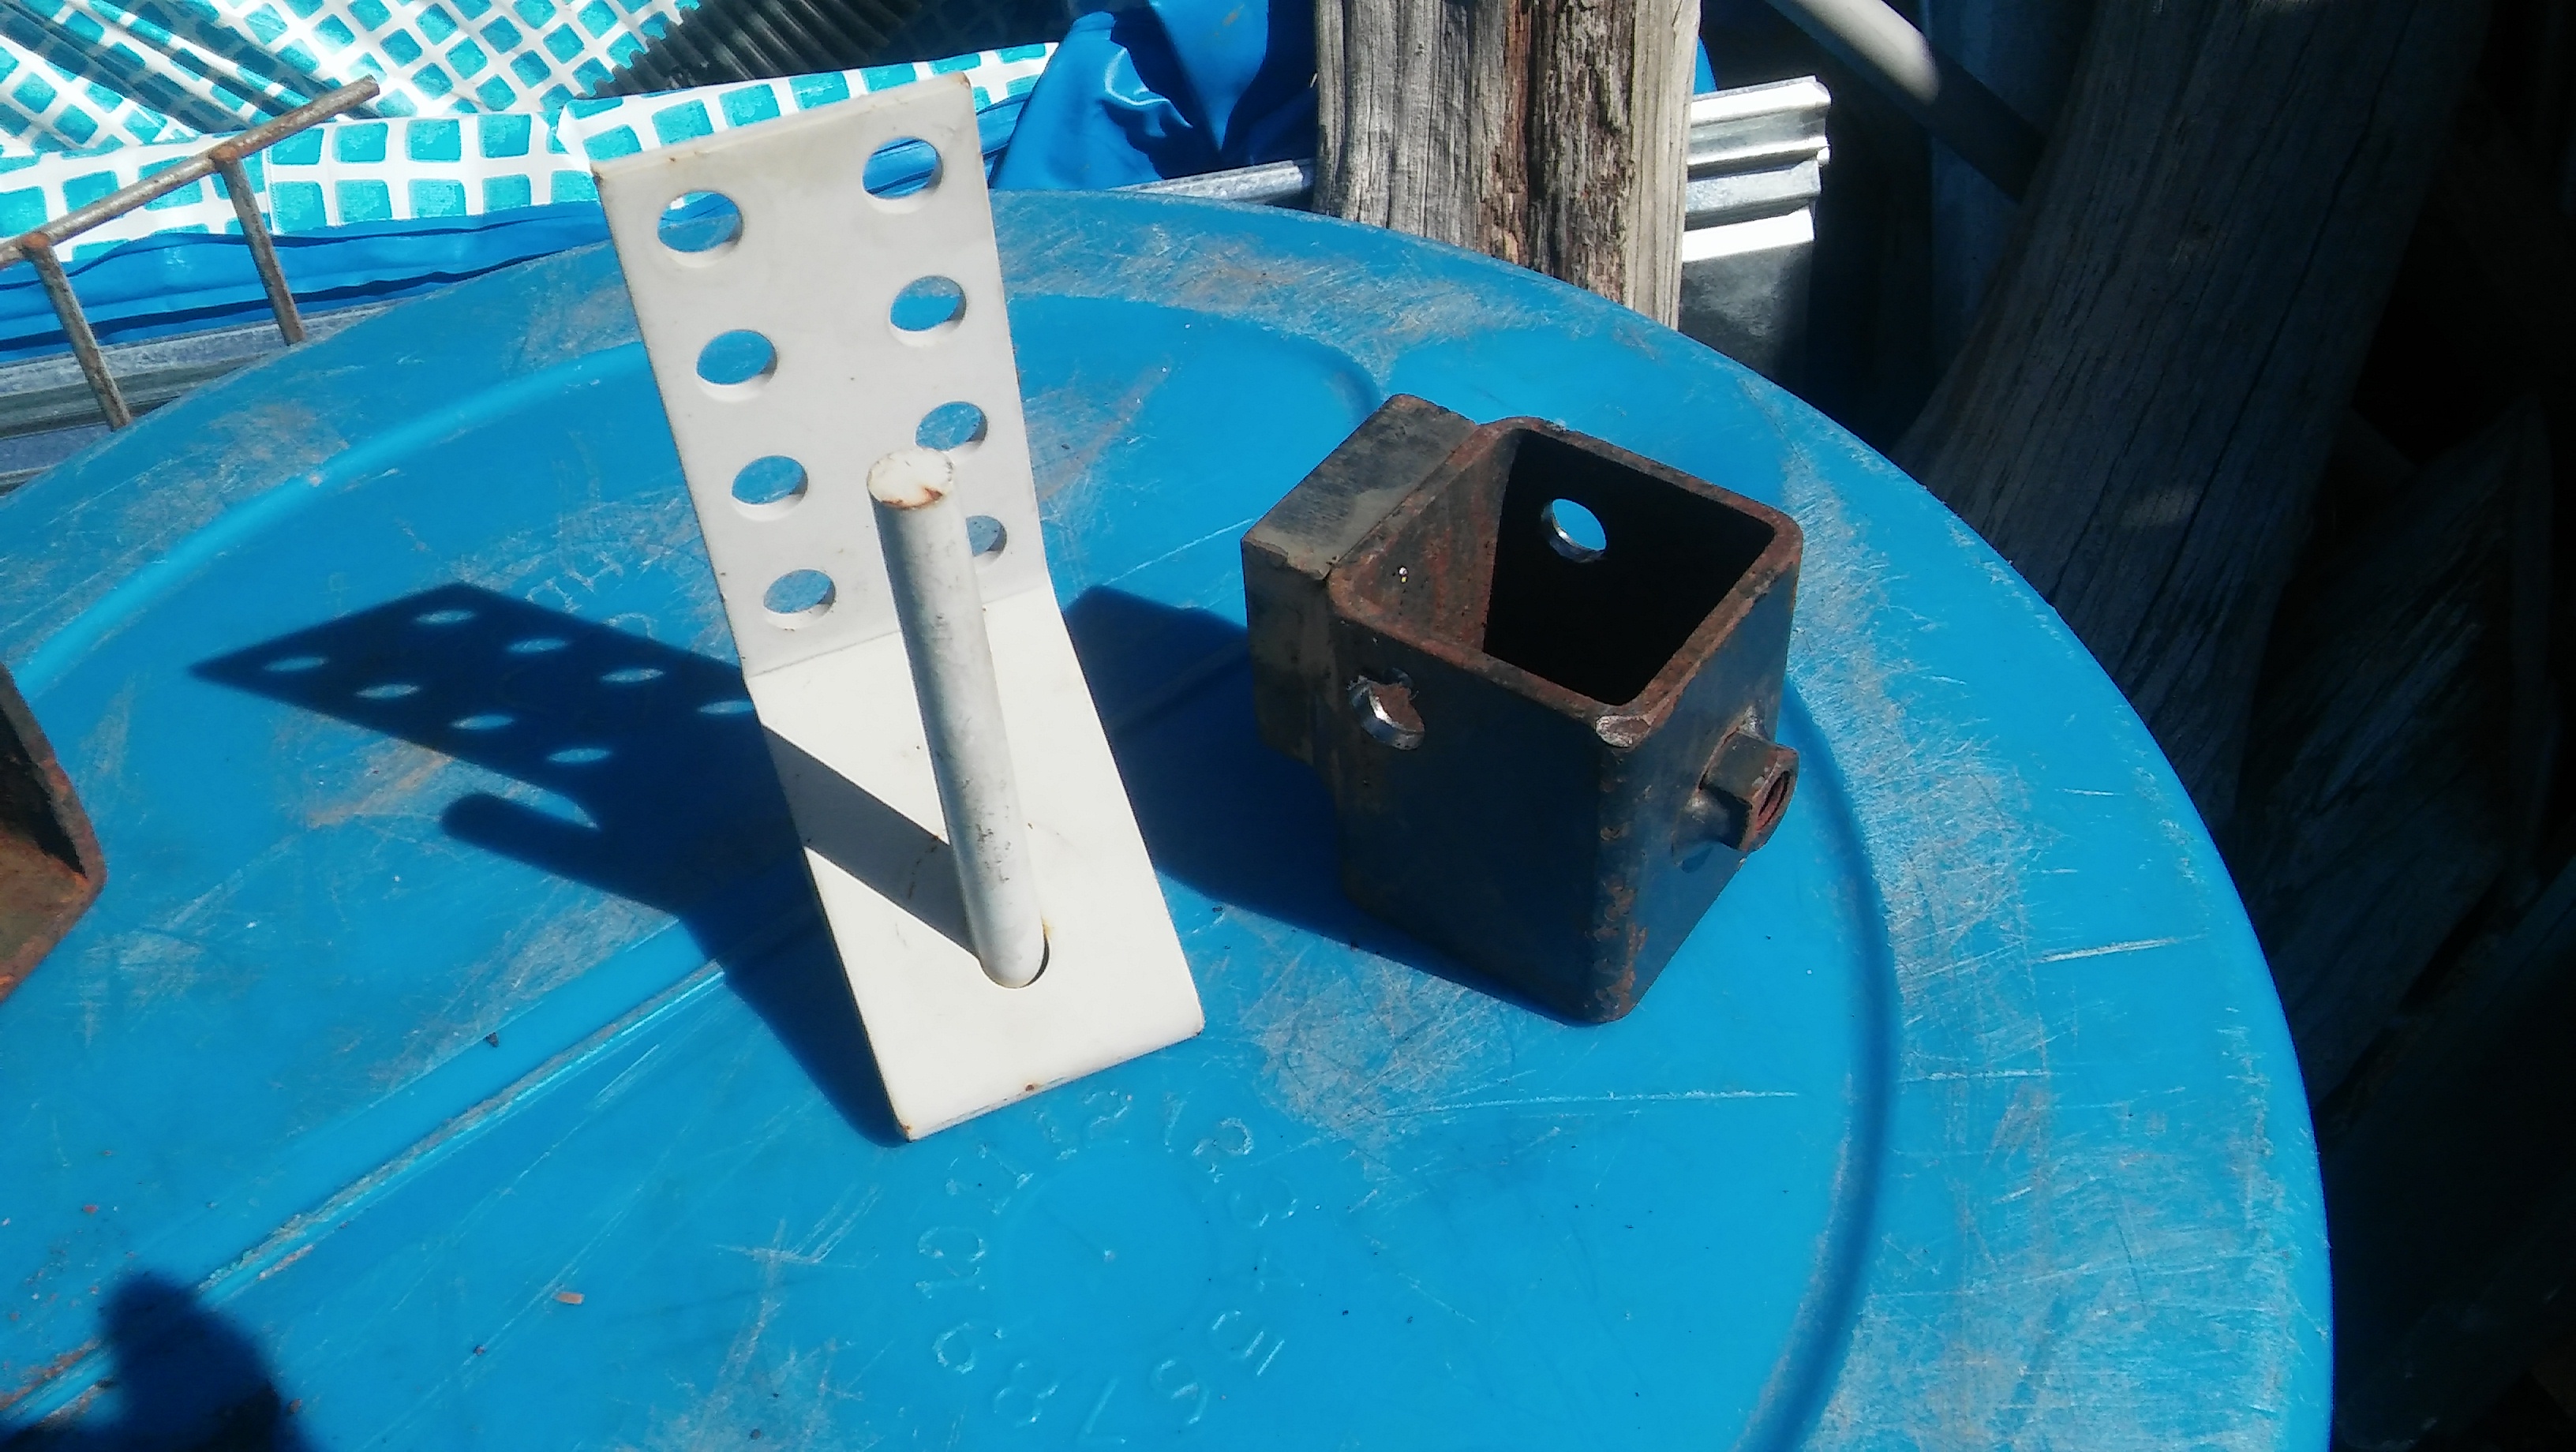
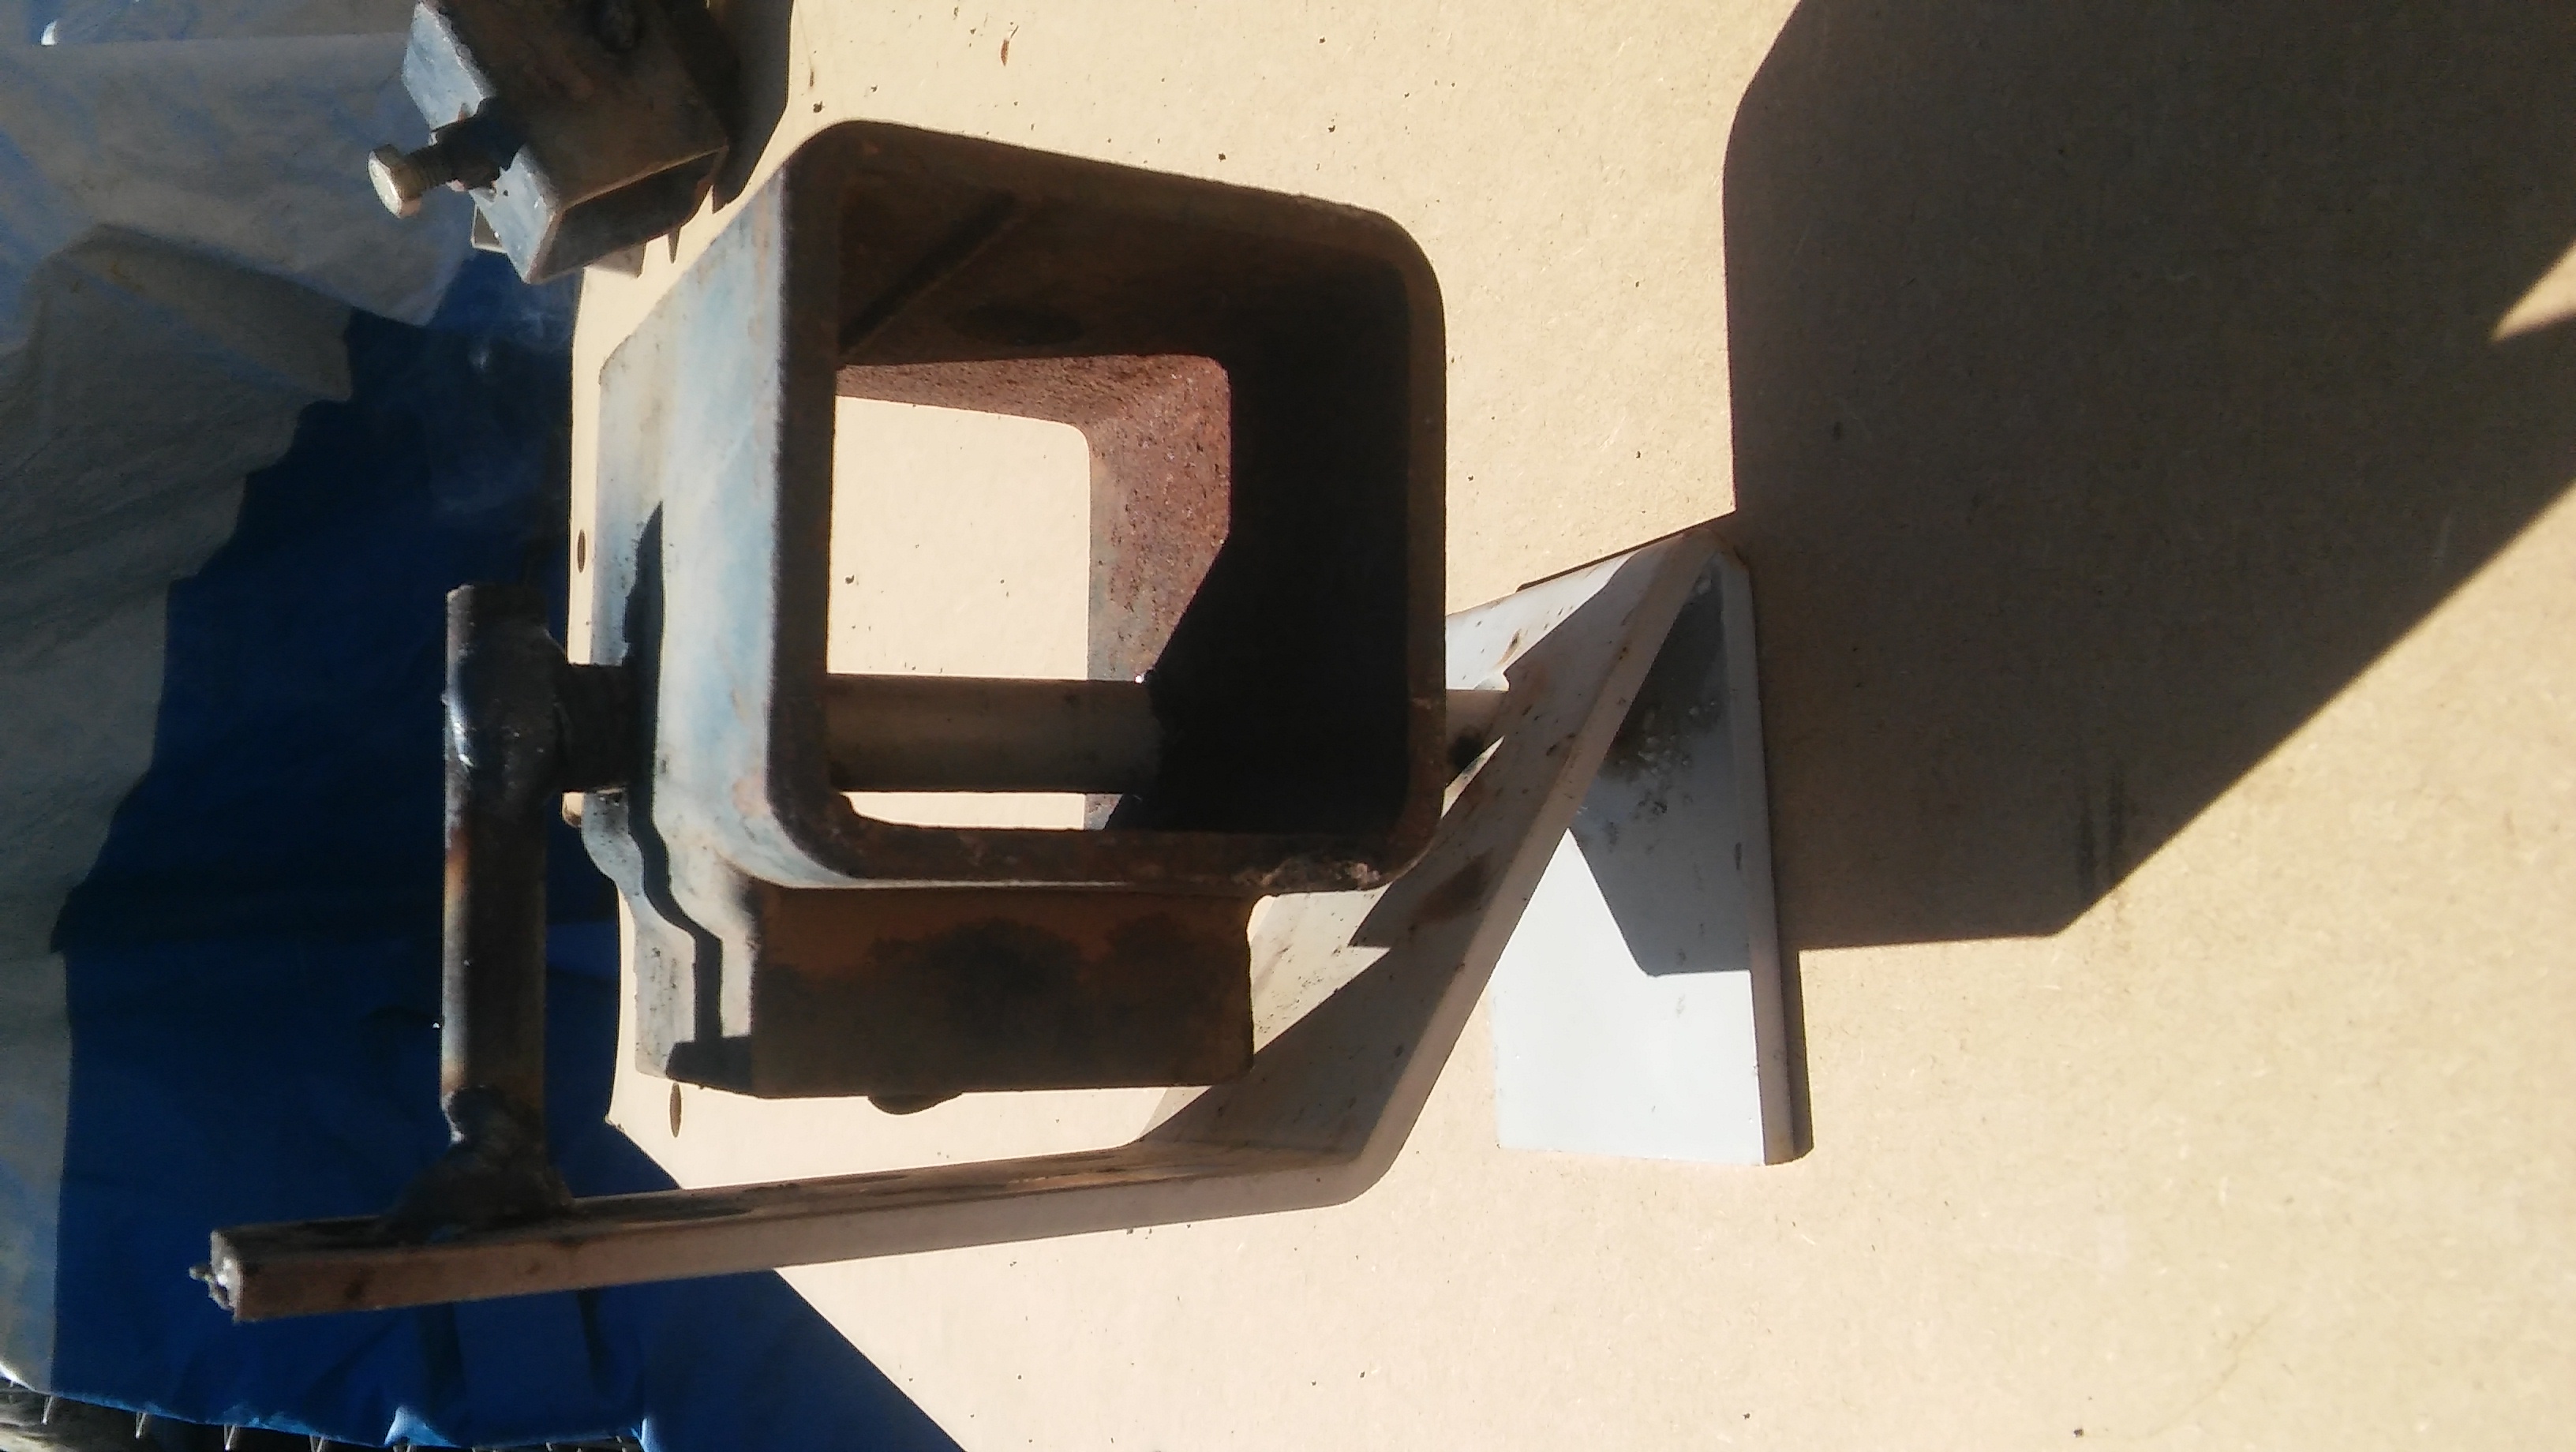
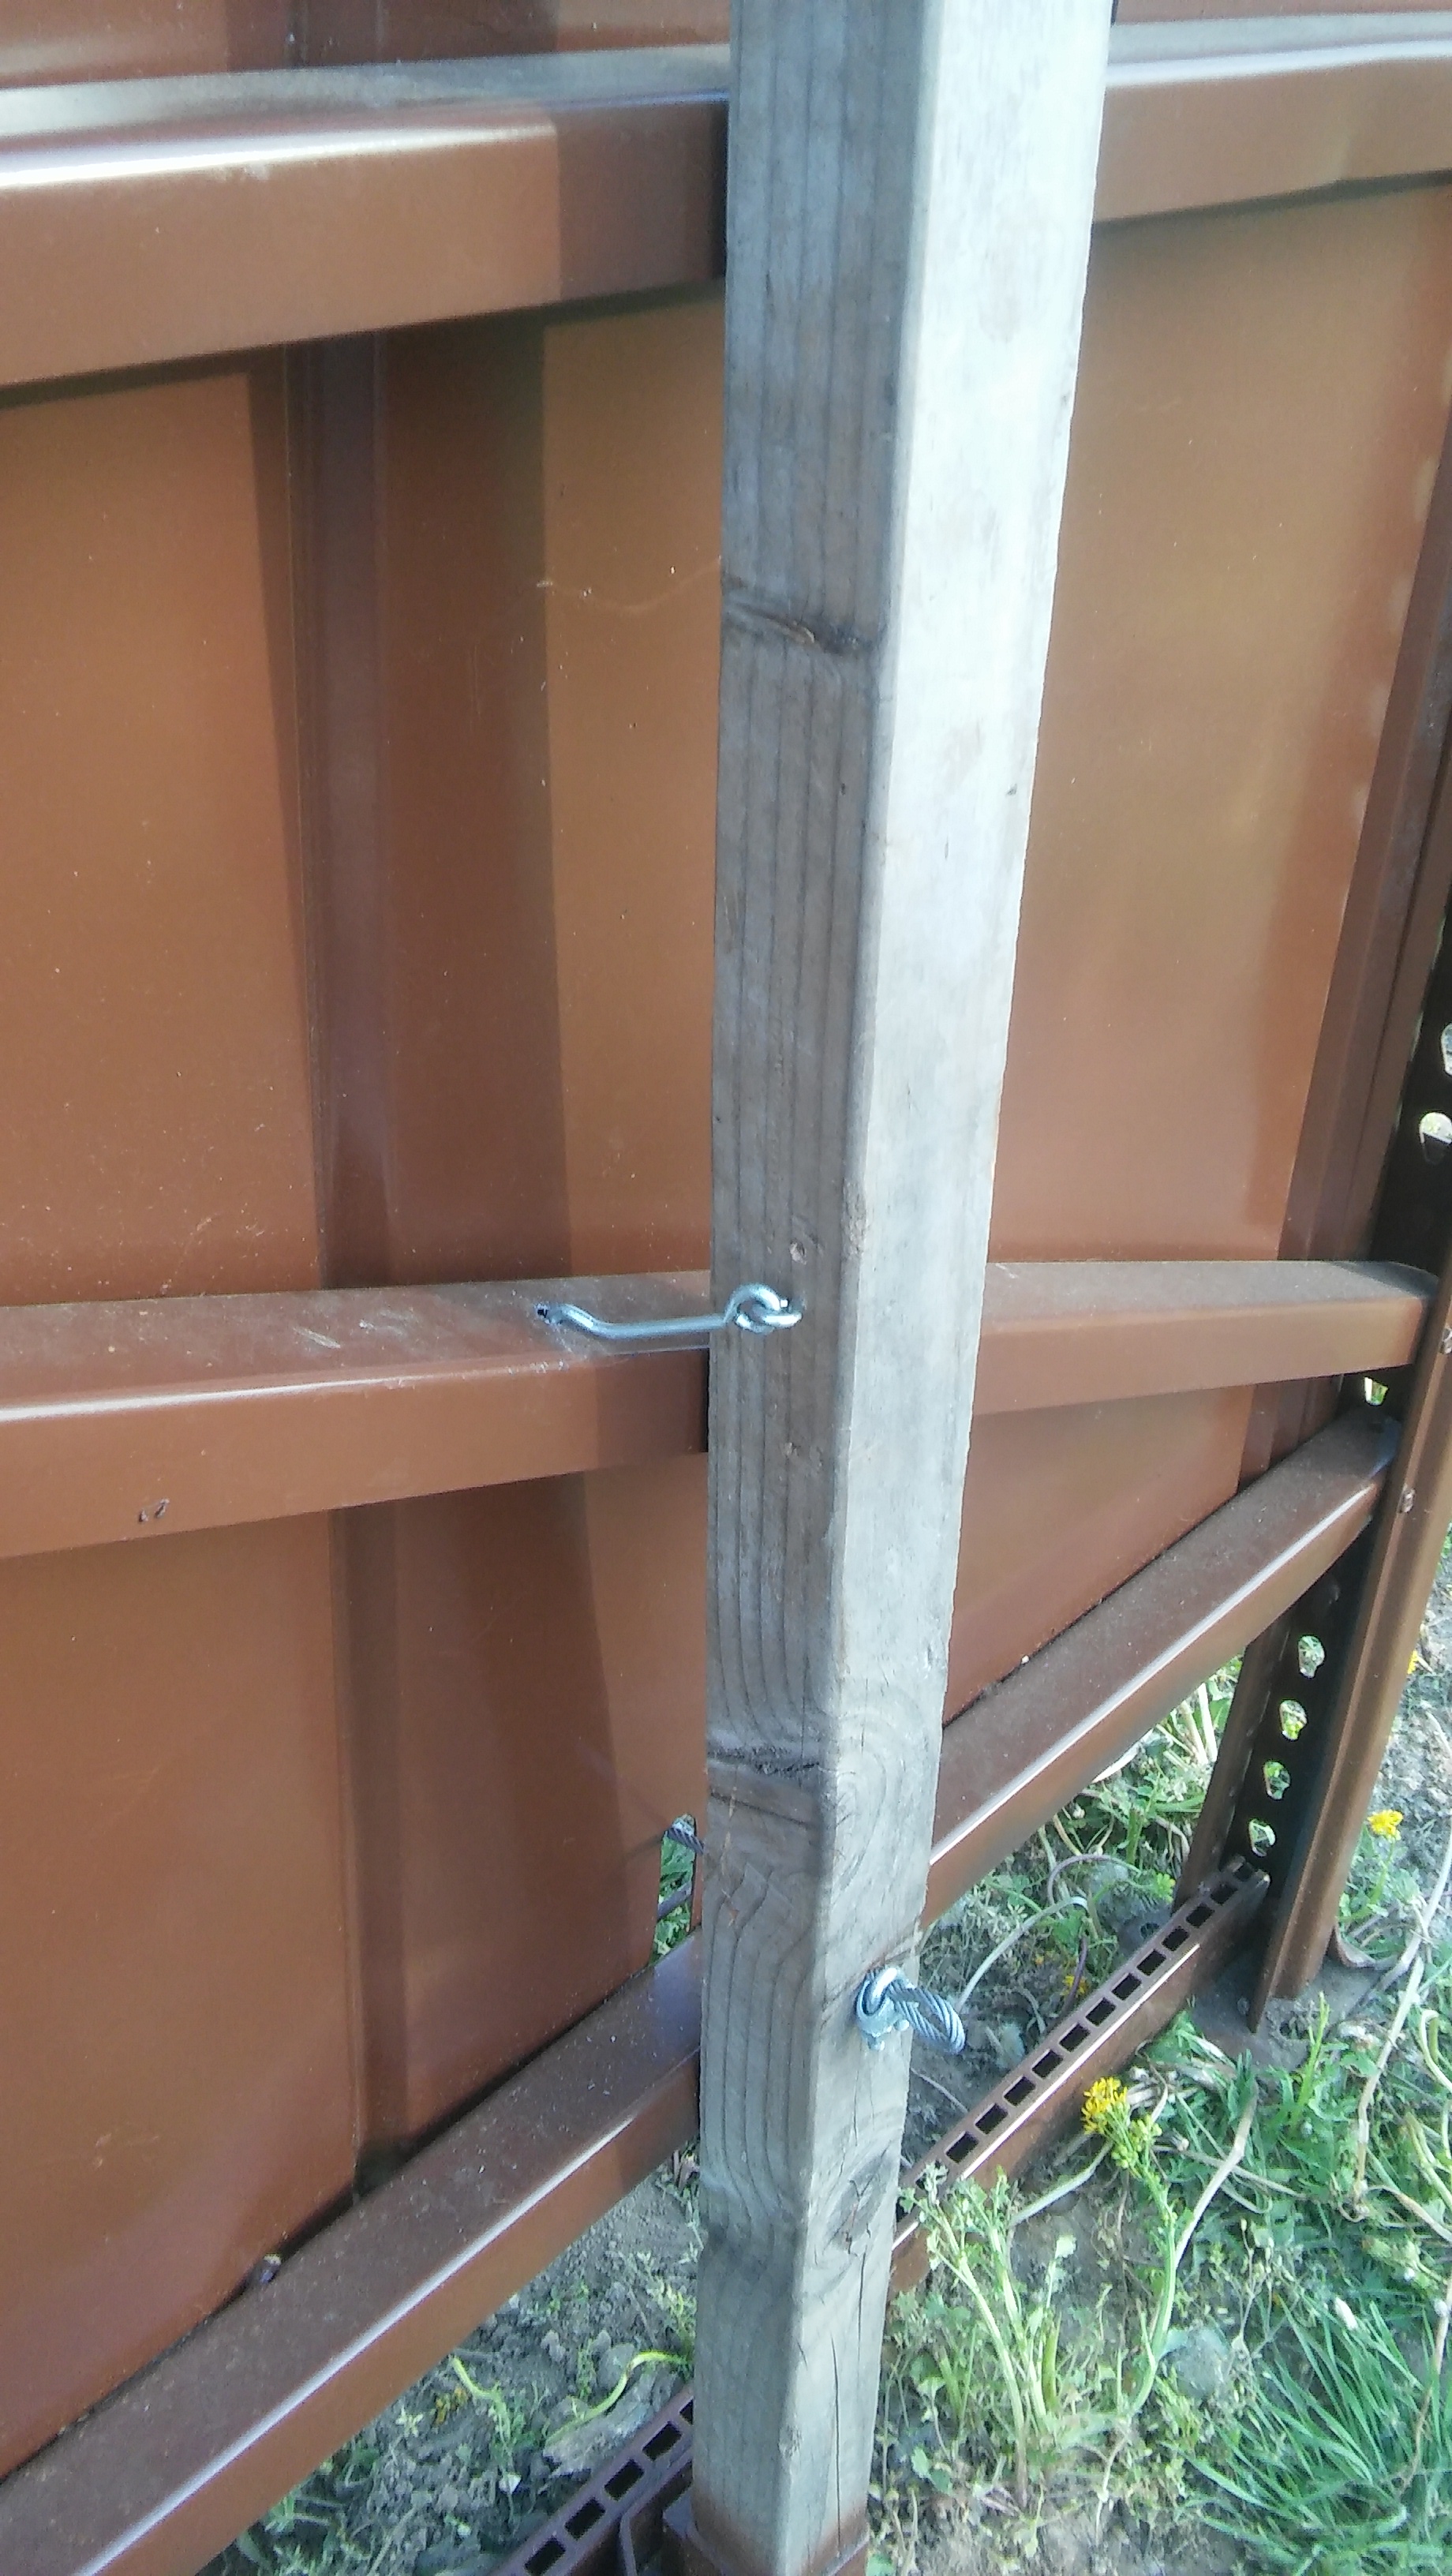
A support bar is welded to the base of each upright to serve as the base for the hinge. (figure 9)
A simple hinge is created from pieces (formally a display rack) found at the salvage yard and attached to the support bar (figure 10-12)
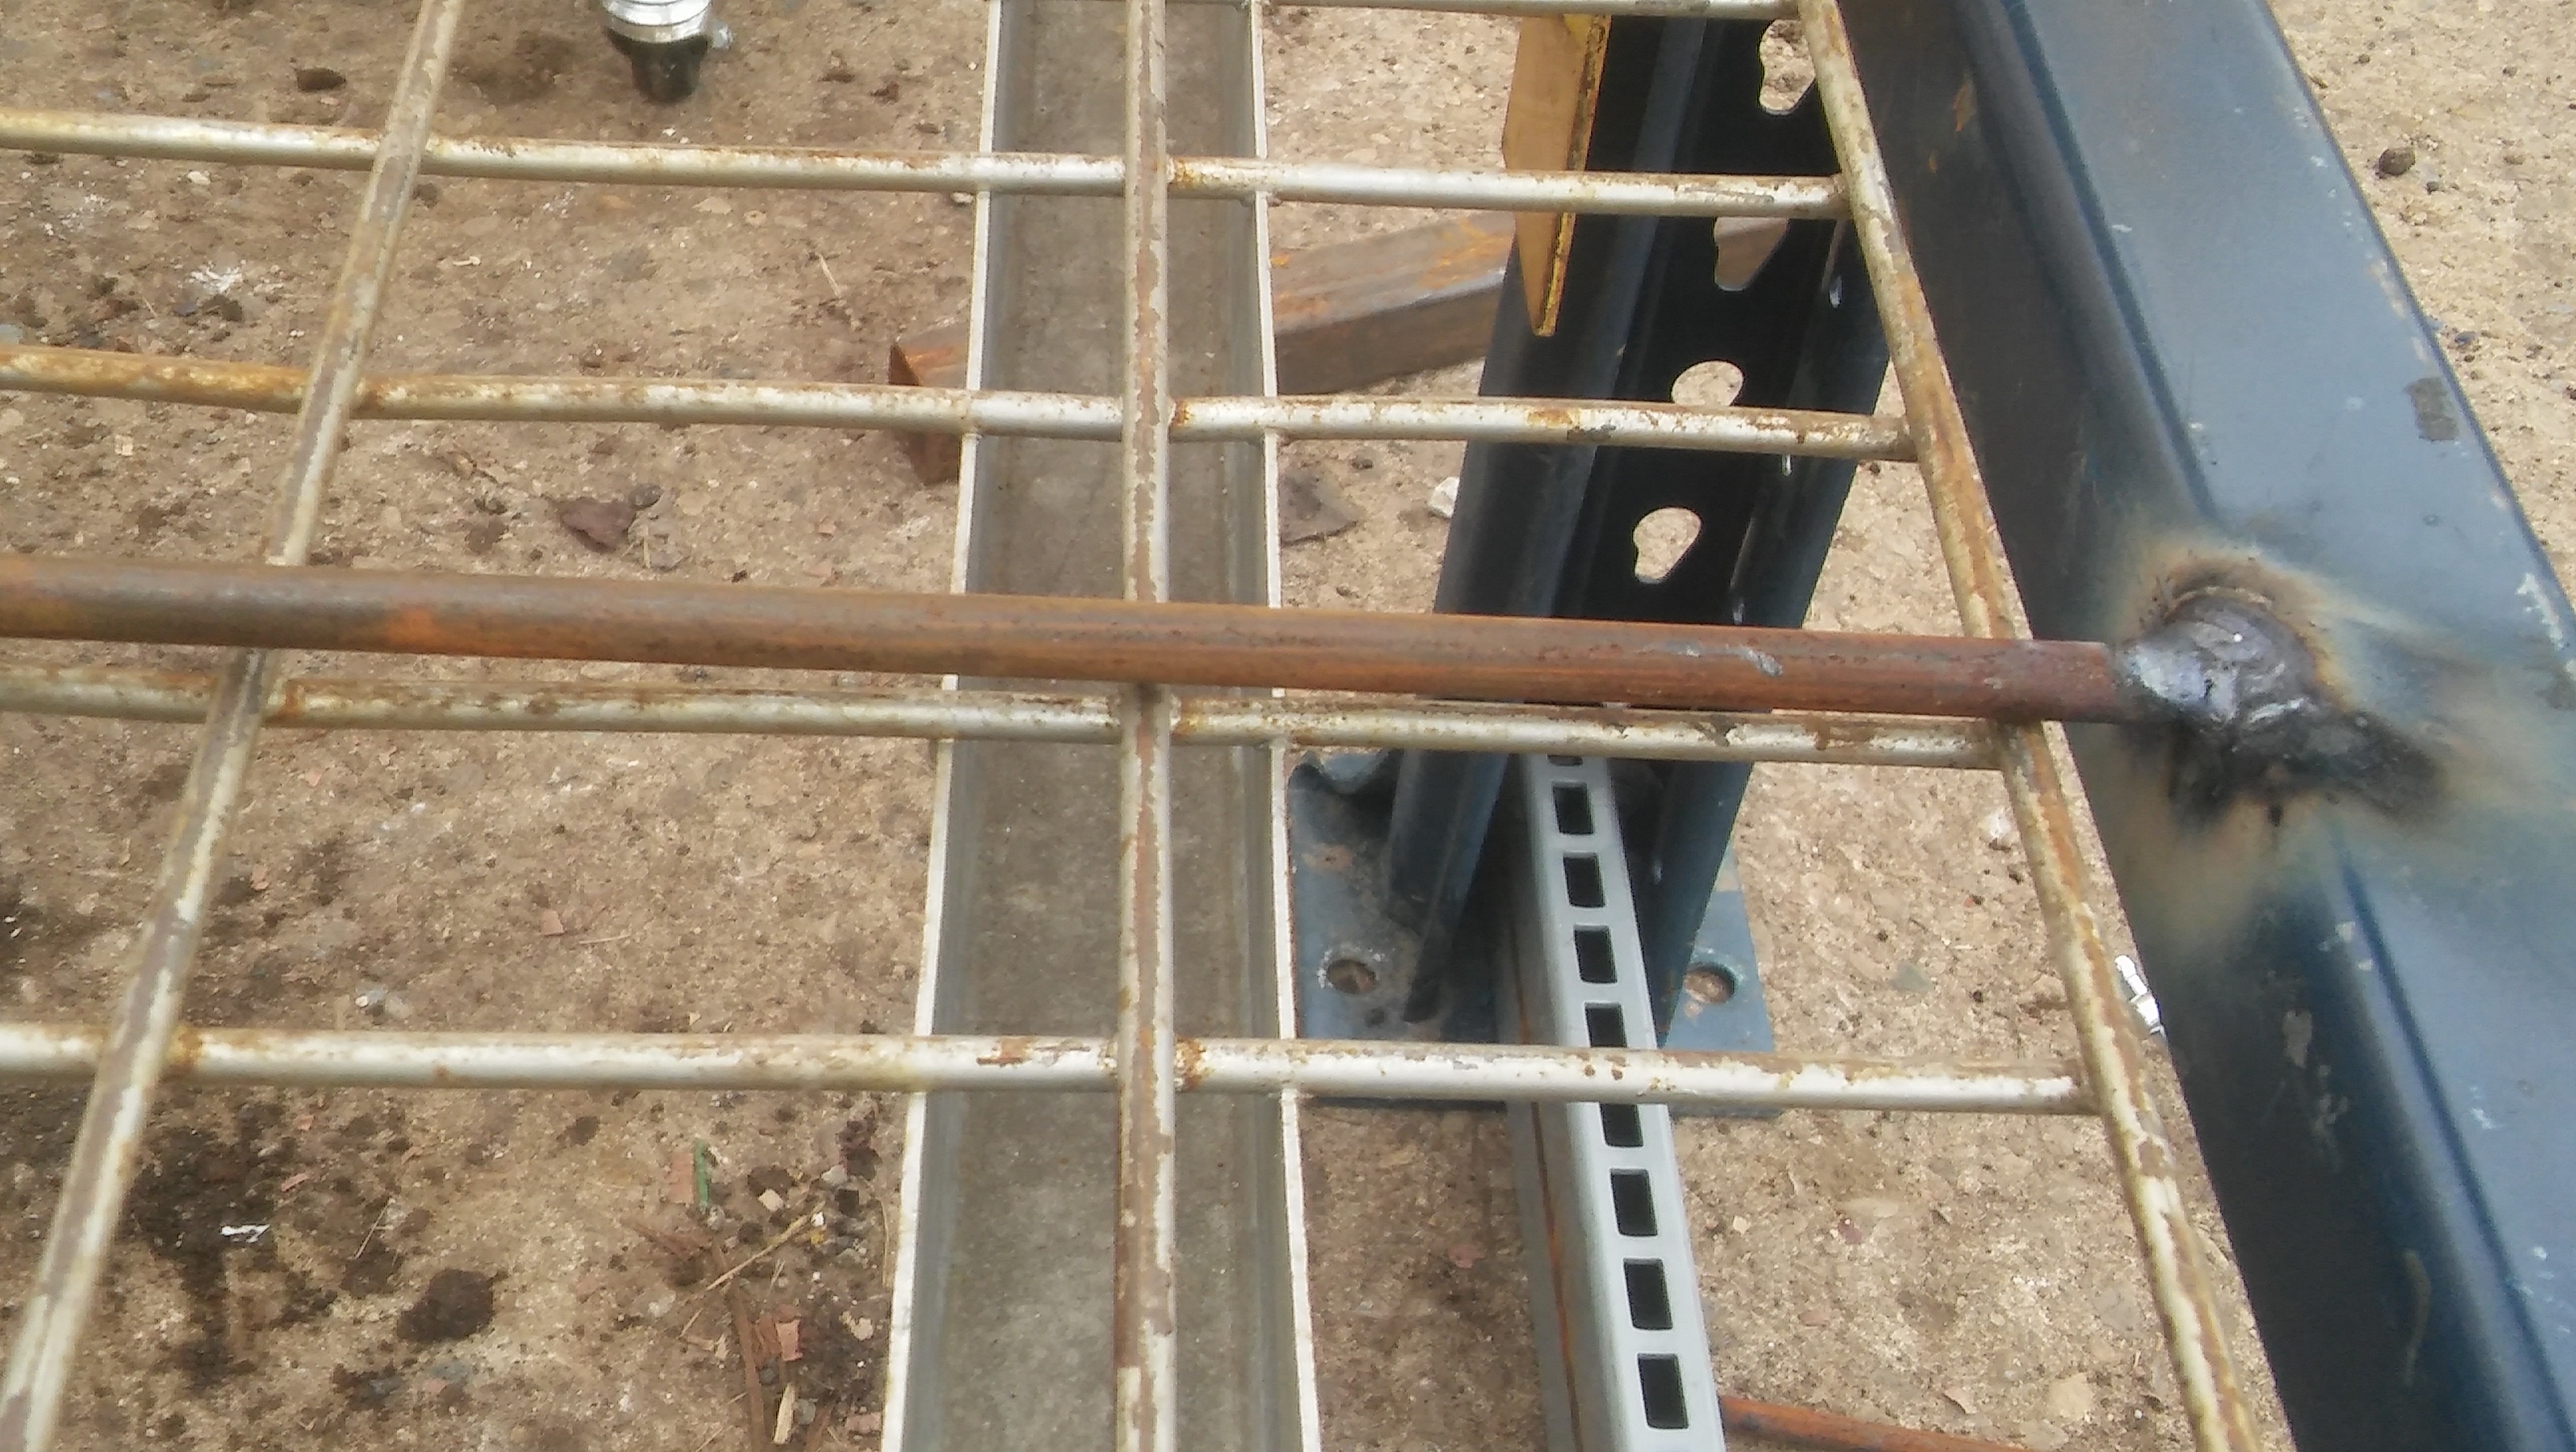
Holes are drilled in the center of each scraper bar (figure 13) steel cable is then fed through and loped around each scraper bar. (figure 14)
Landscape timbers are cut to make 5.5 ft long wooden levers and inserted into the hinge assembly. The either end of the cable is attached to the lever (figure 15) so that the modified deck and scraper bars move the length of the bin.
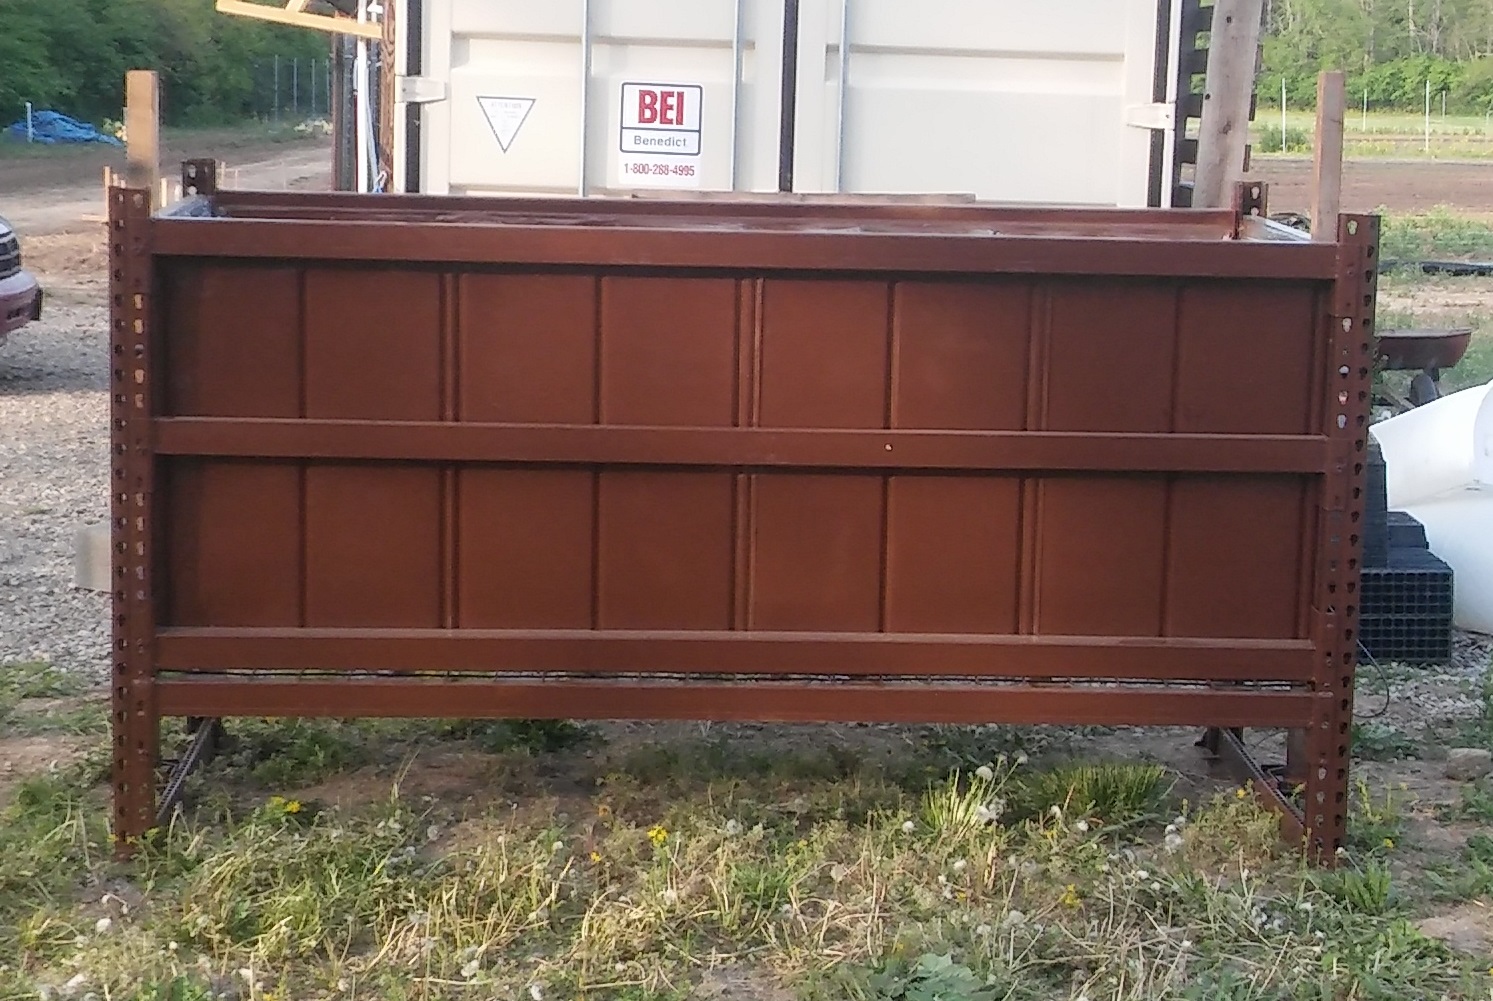
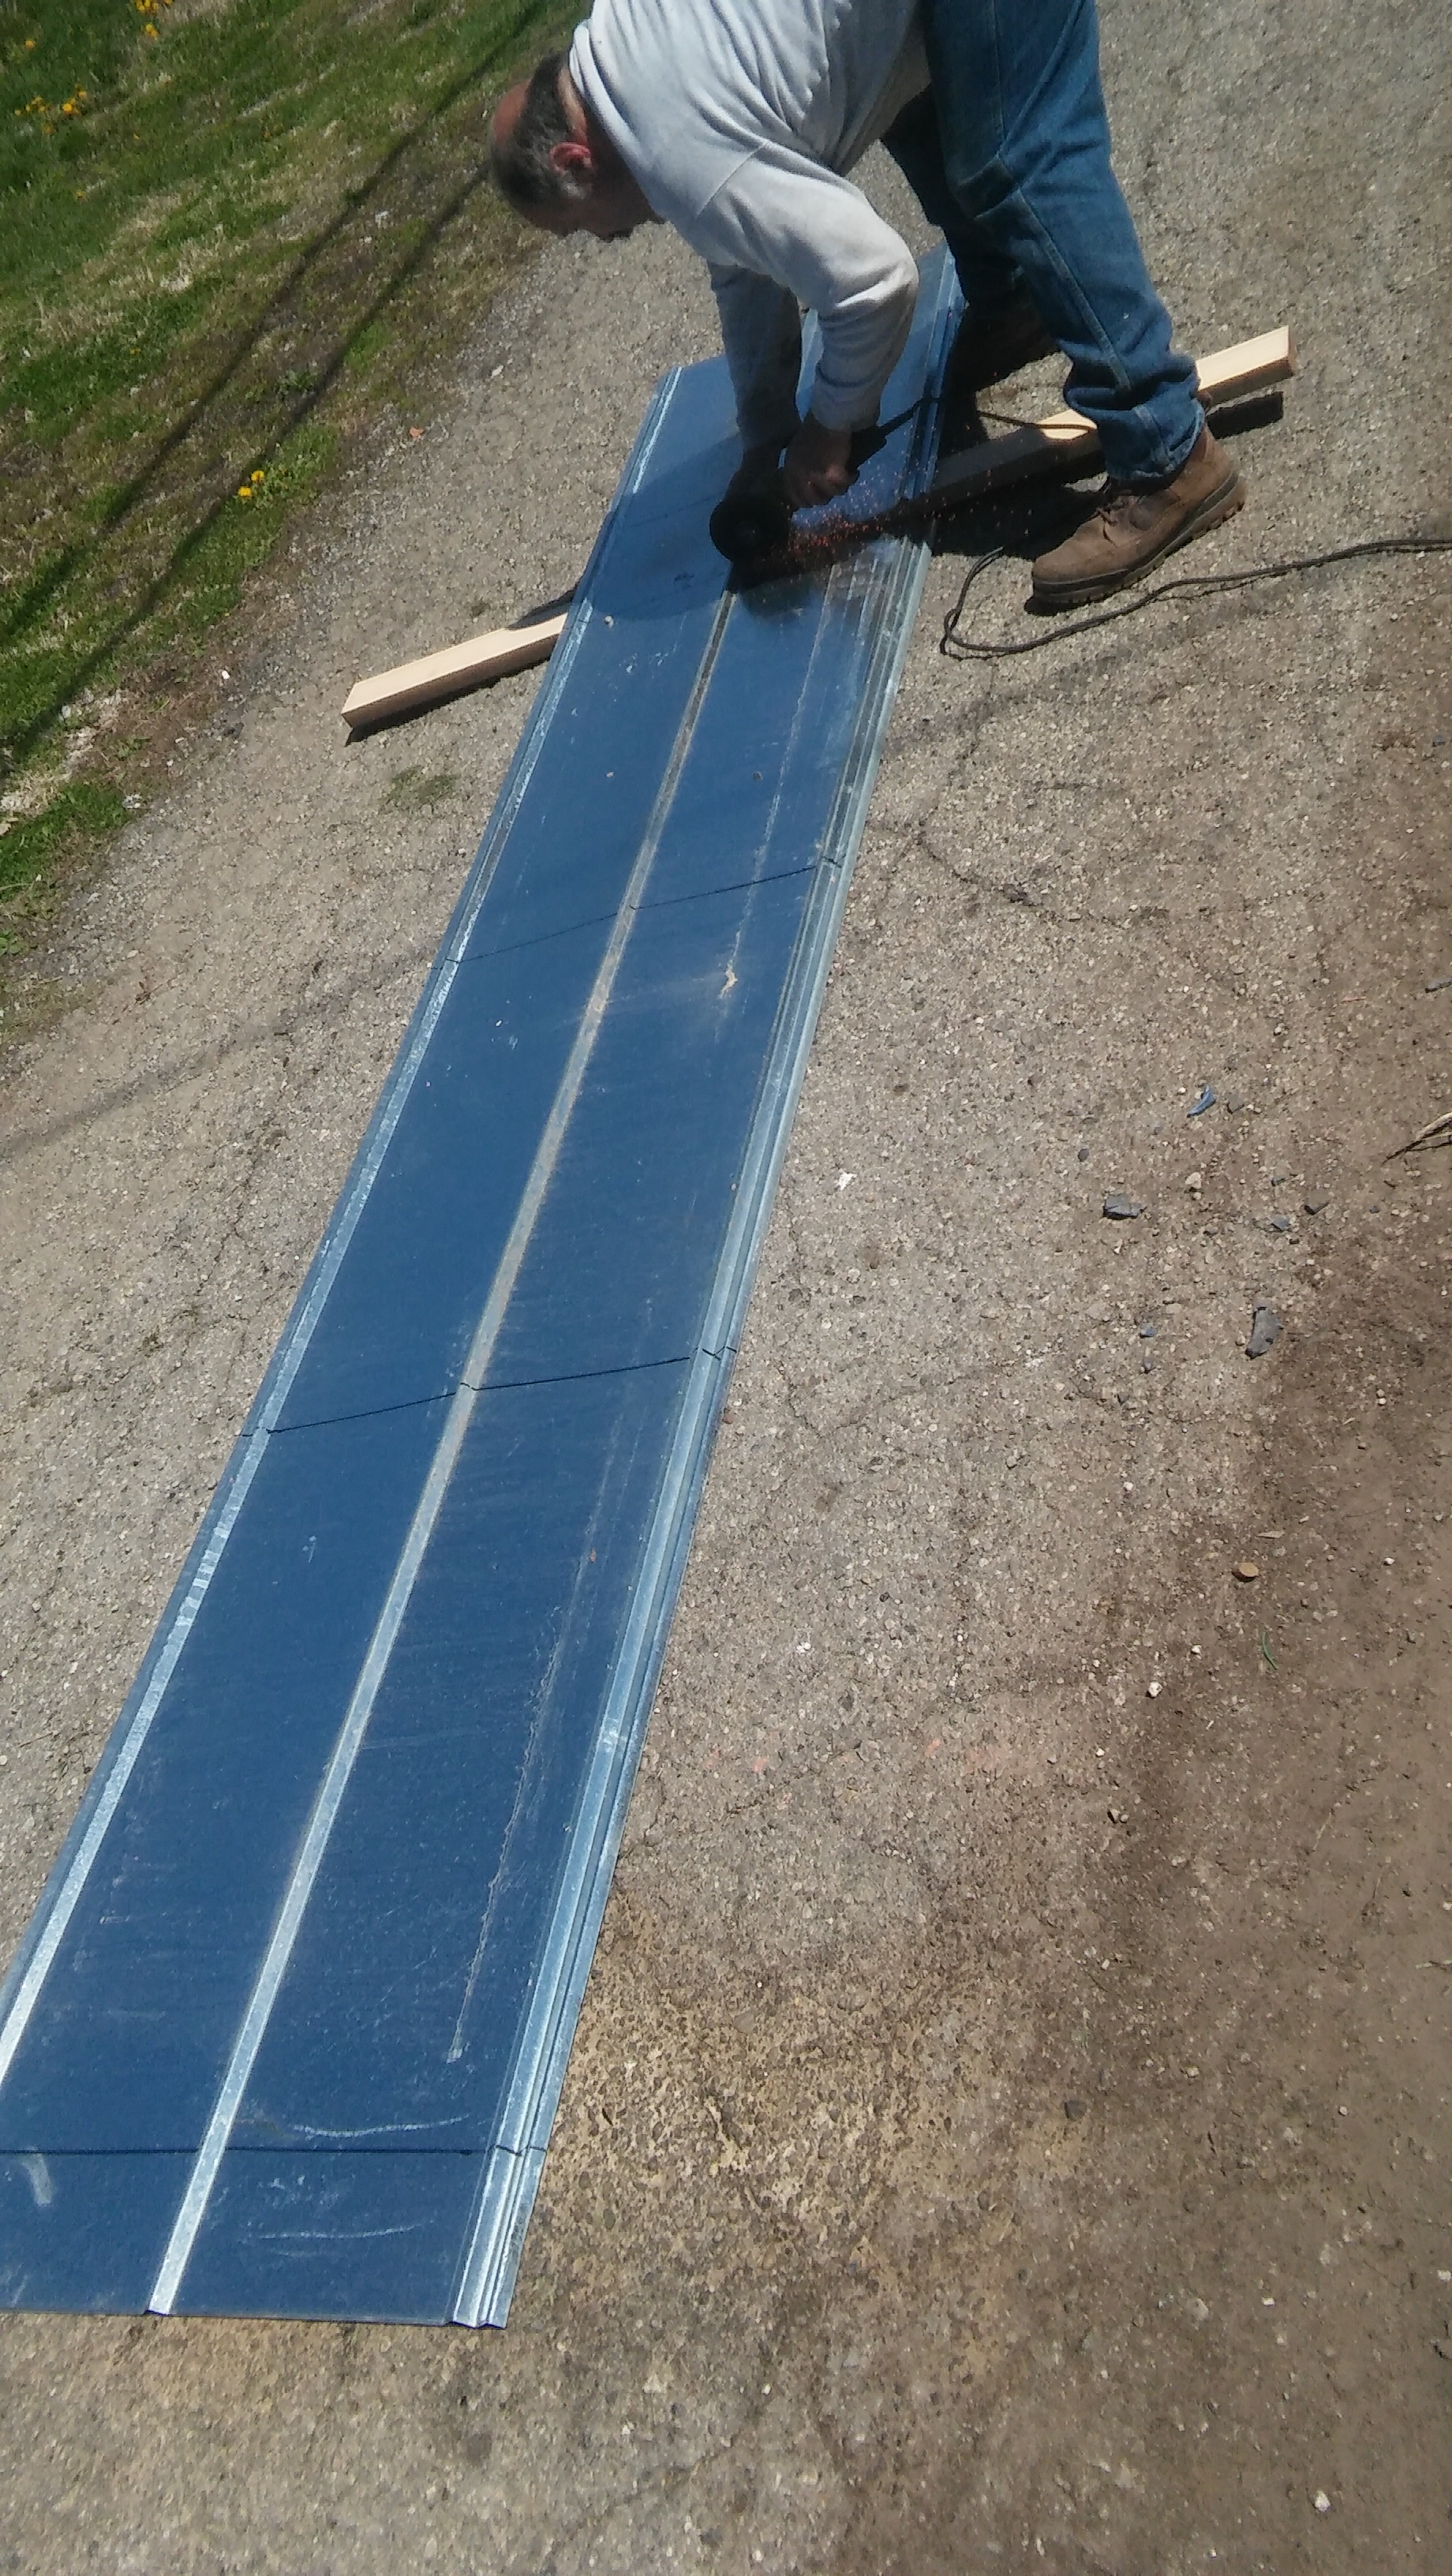
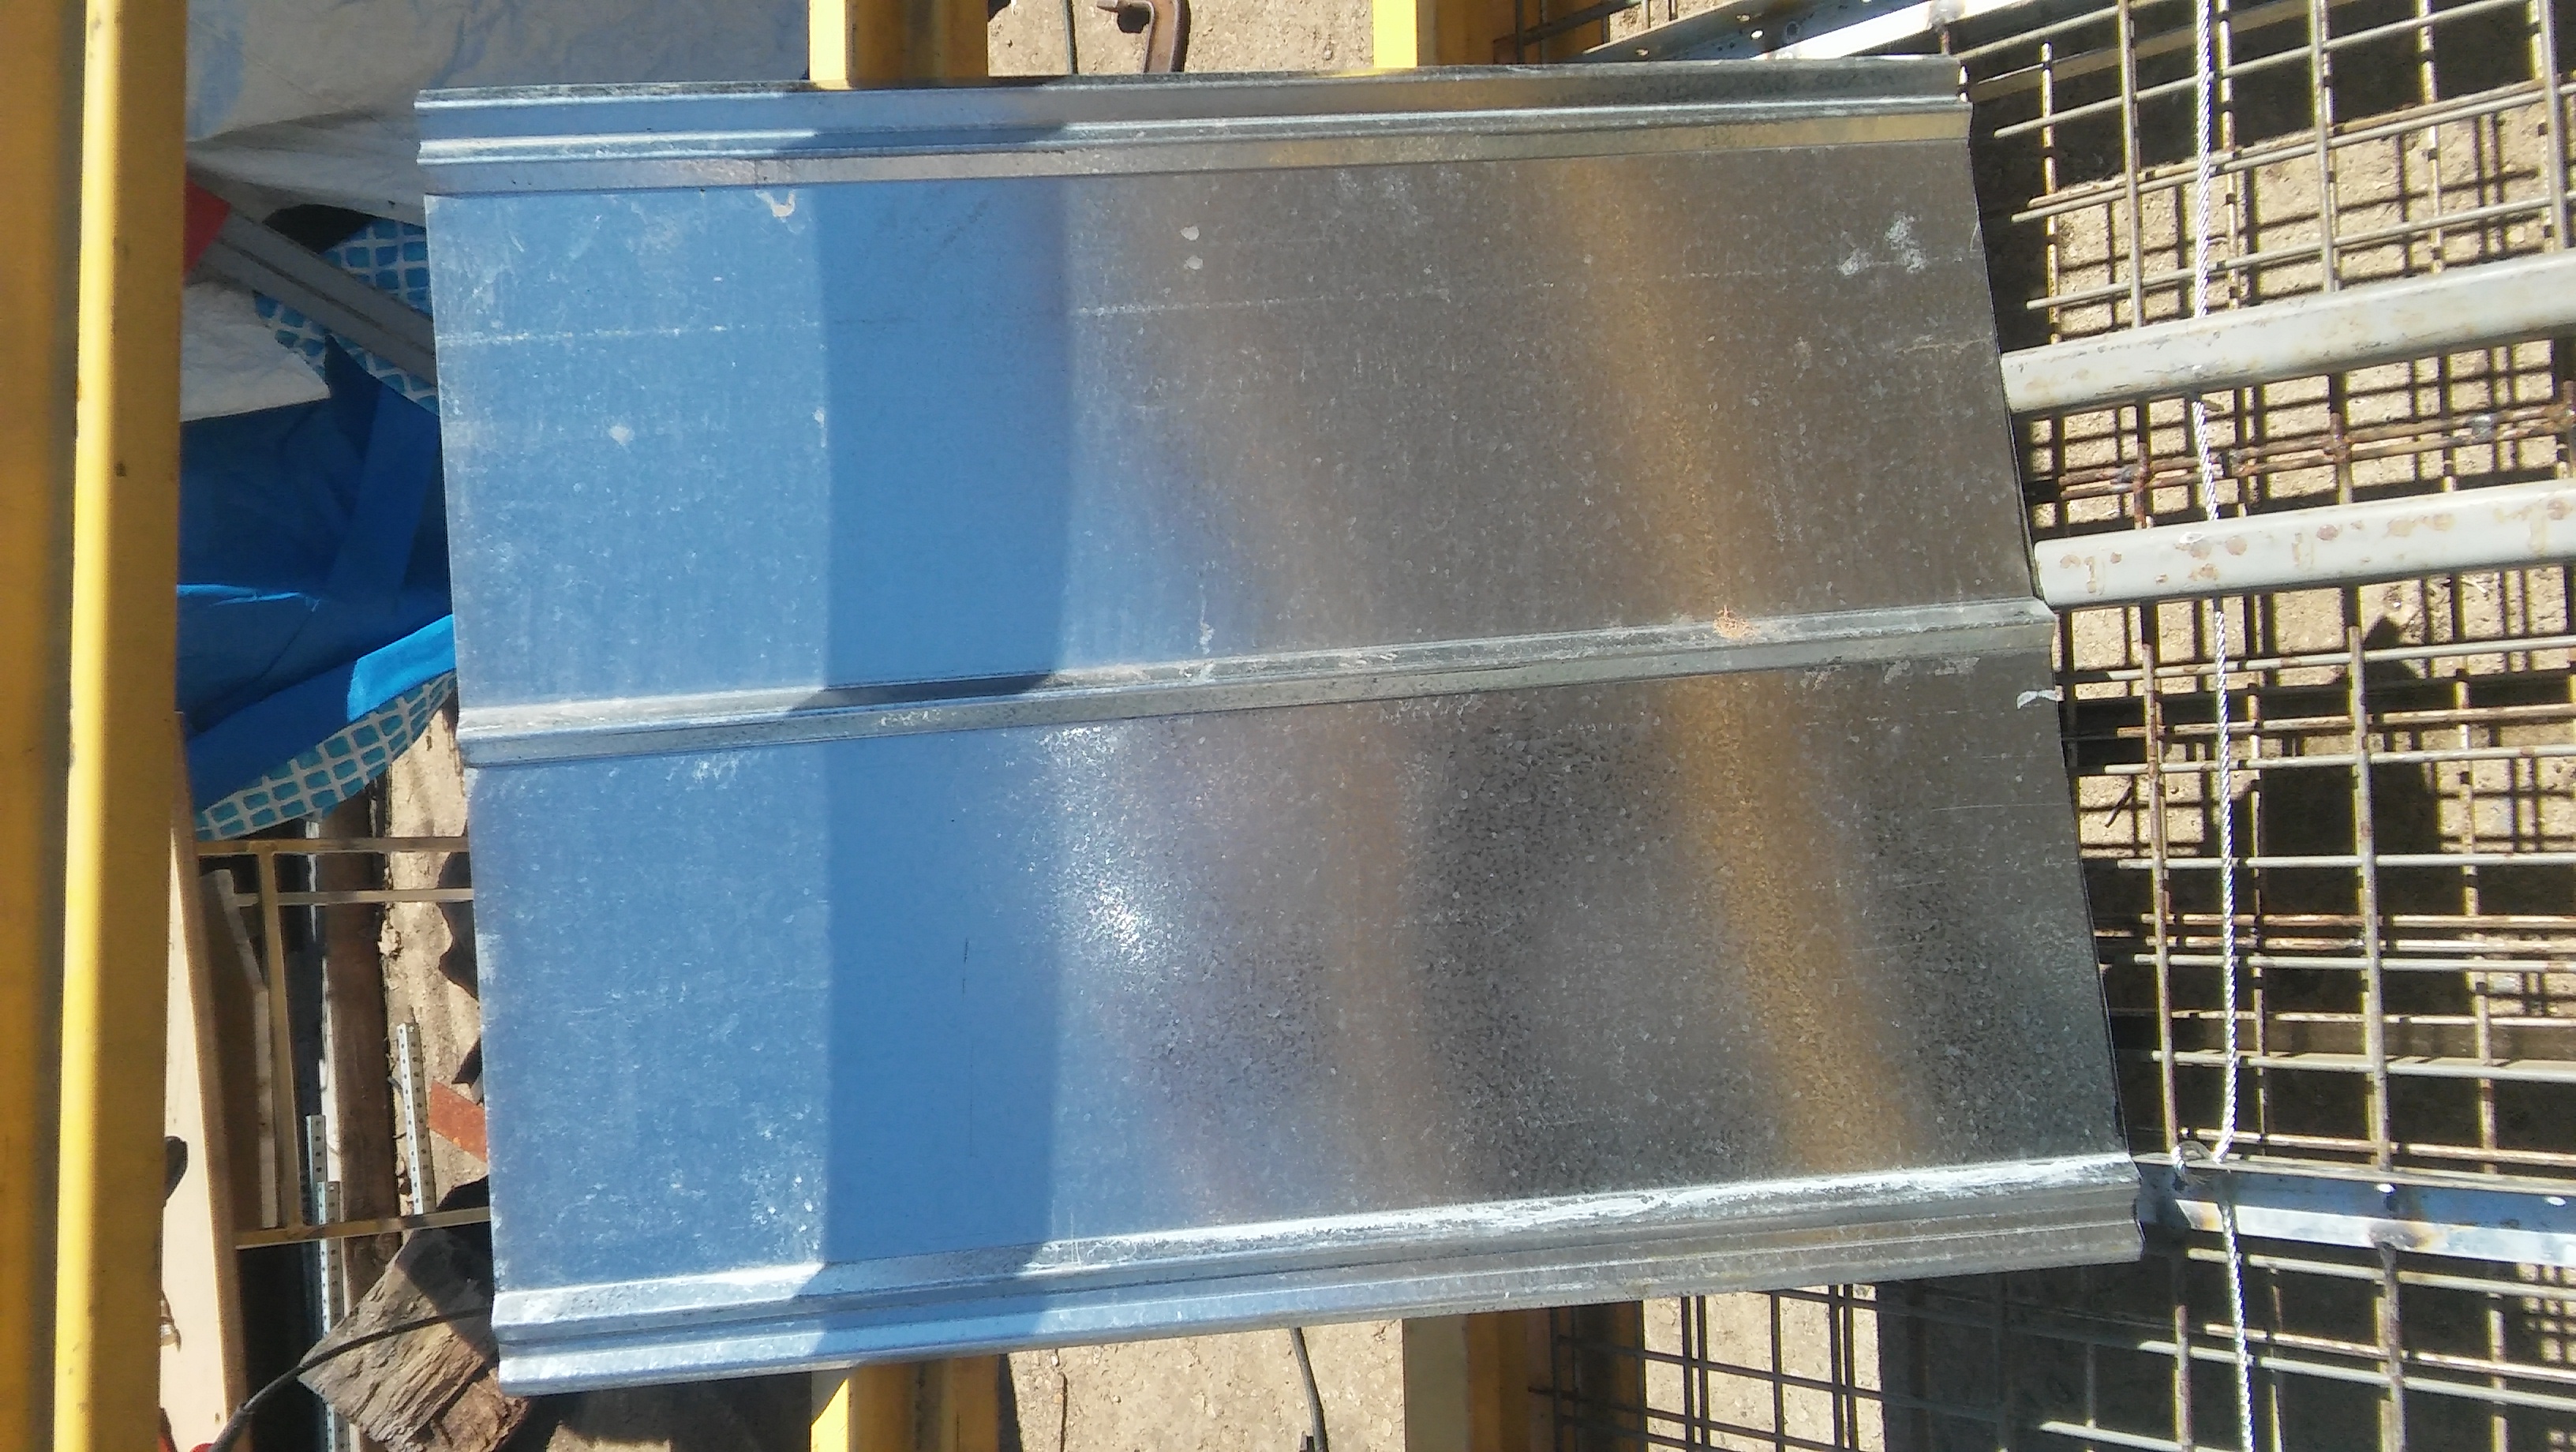
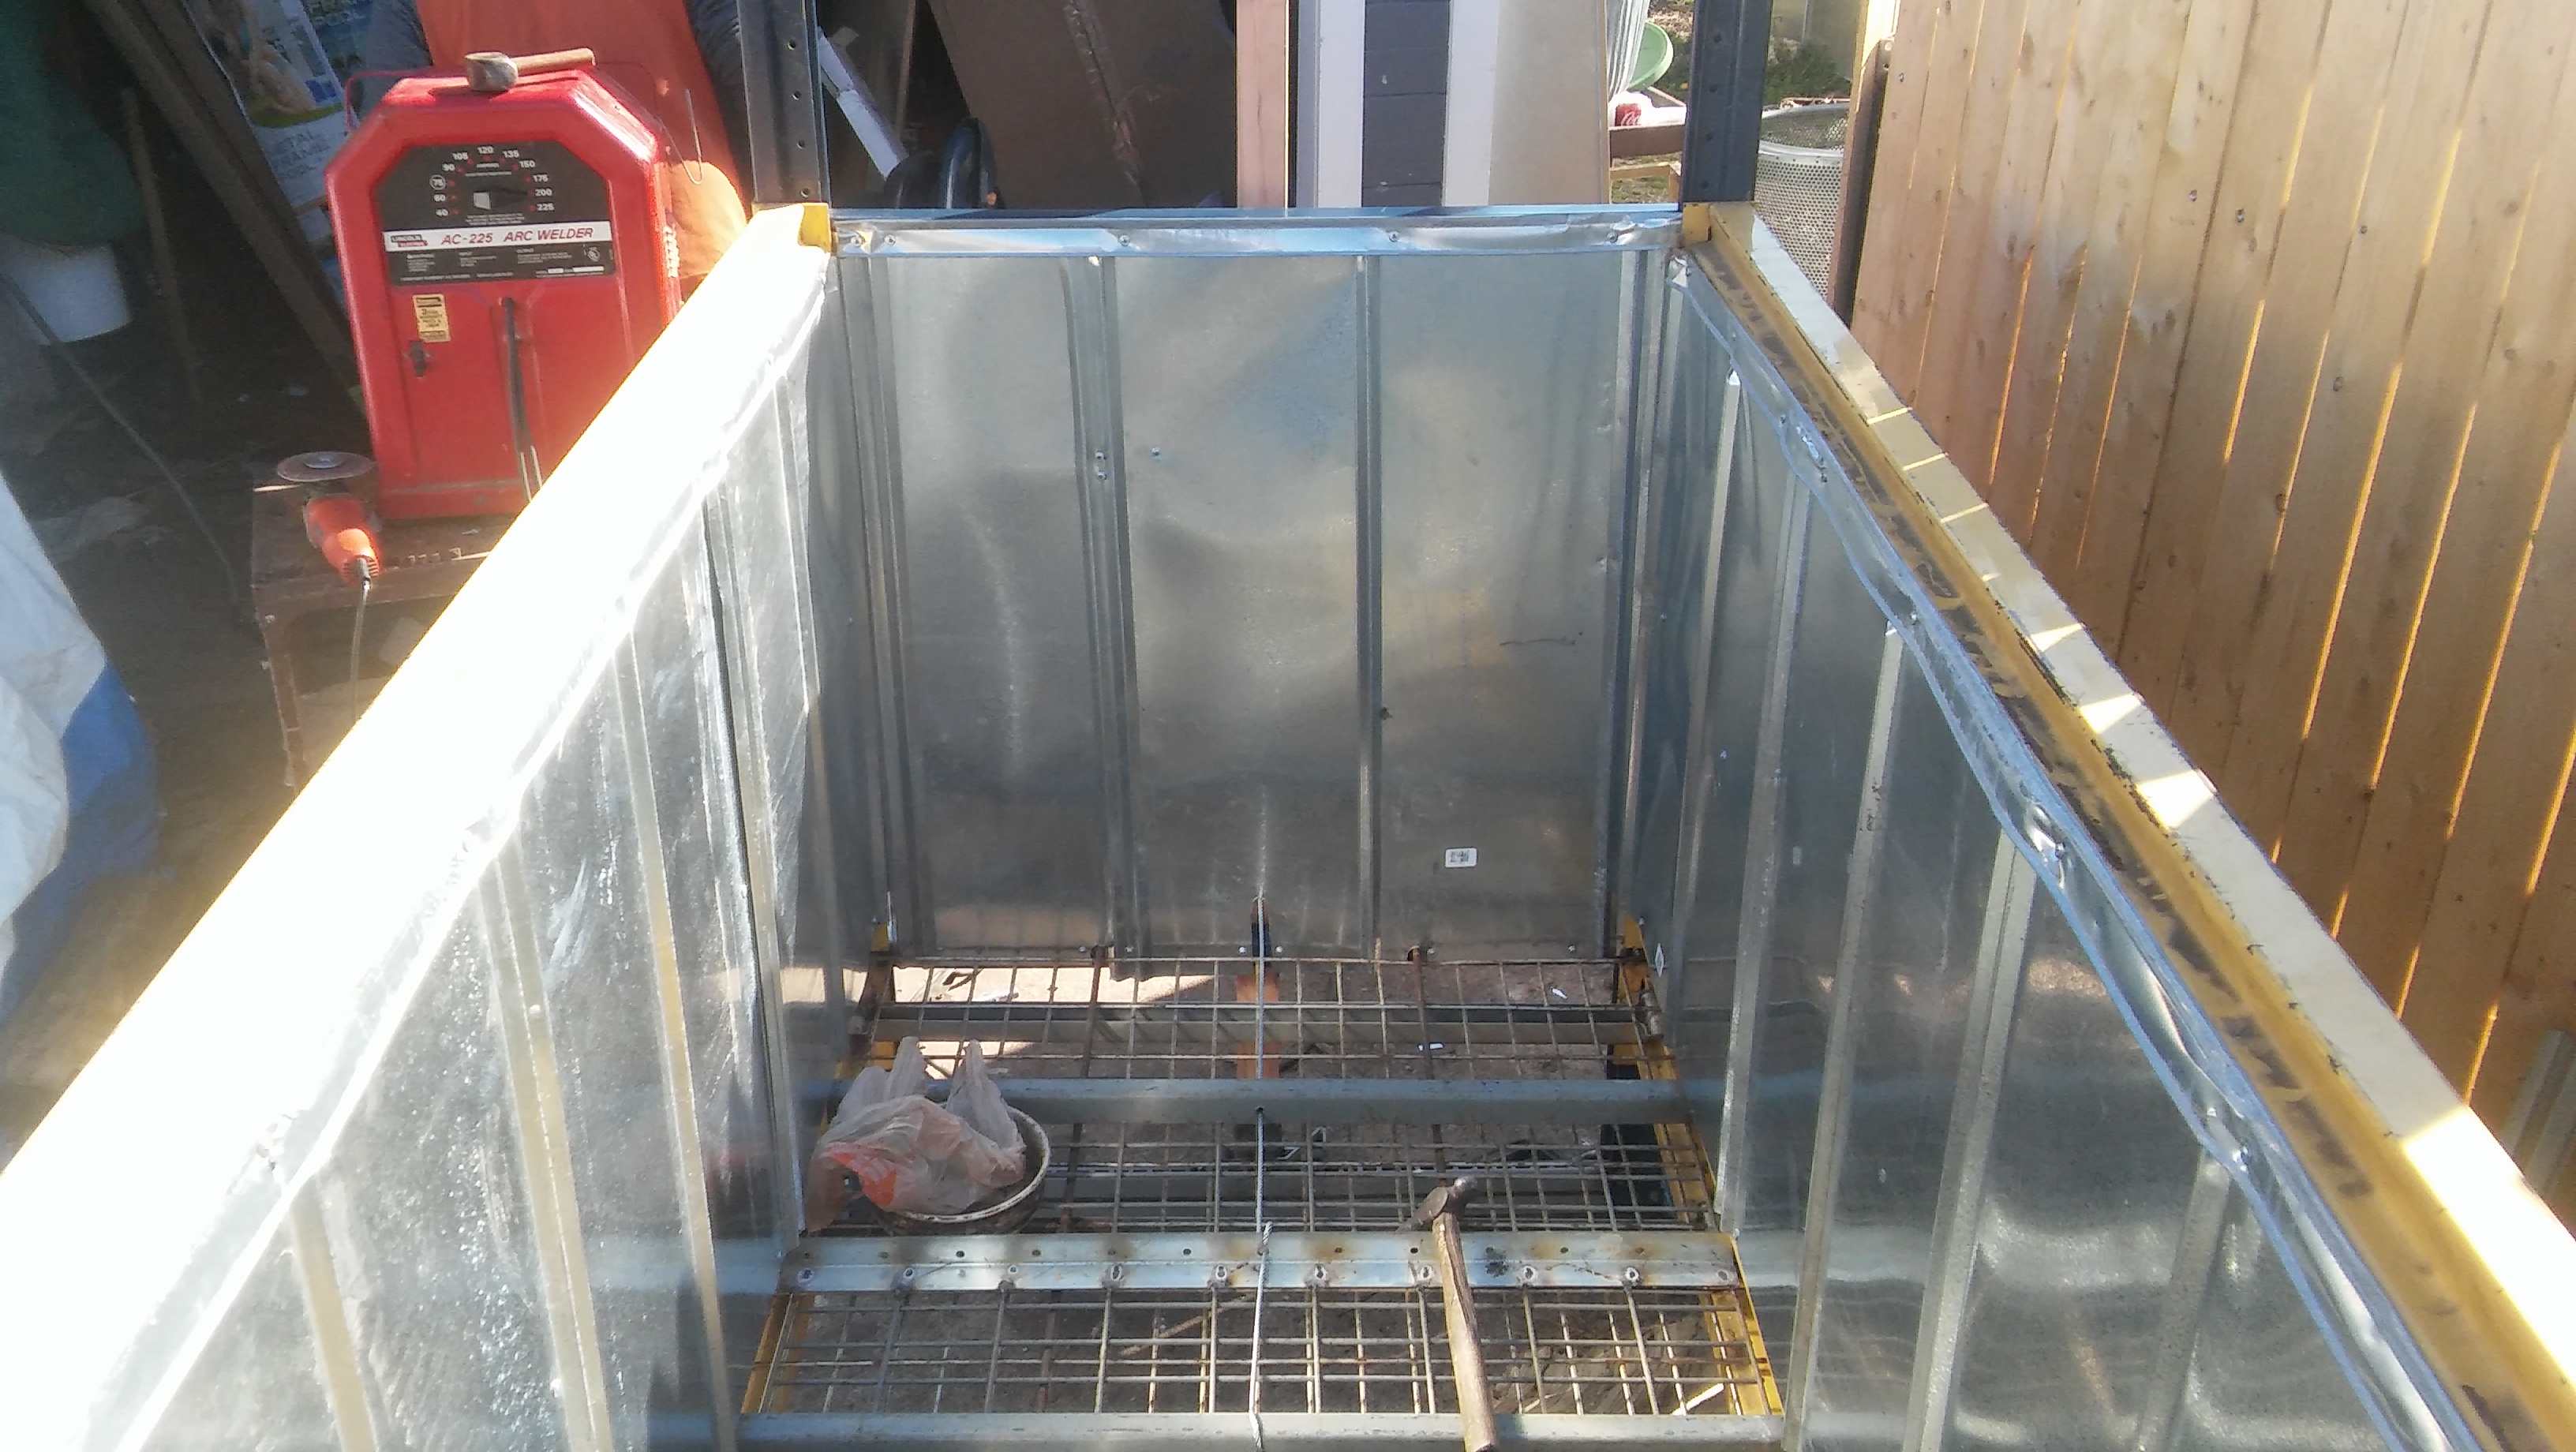
The side walls are made from metal roofing that was cut down to 3ft long pieces (figure 16-17) These pieces are screwed the the uprights and beams. Flashing was added on the top to prevent sharp edges (figure 18) Holes in the side walls are made to accommodate the steel rods and cable (figure 19)
The outside of the vermicomposter is sprayed with a scratch & rust resistant paint. A mechanism is added to keep the levers upright when not in use. (figure 20-22)
Worms:
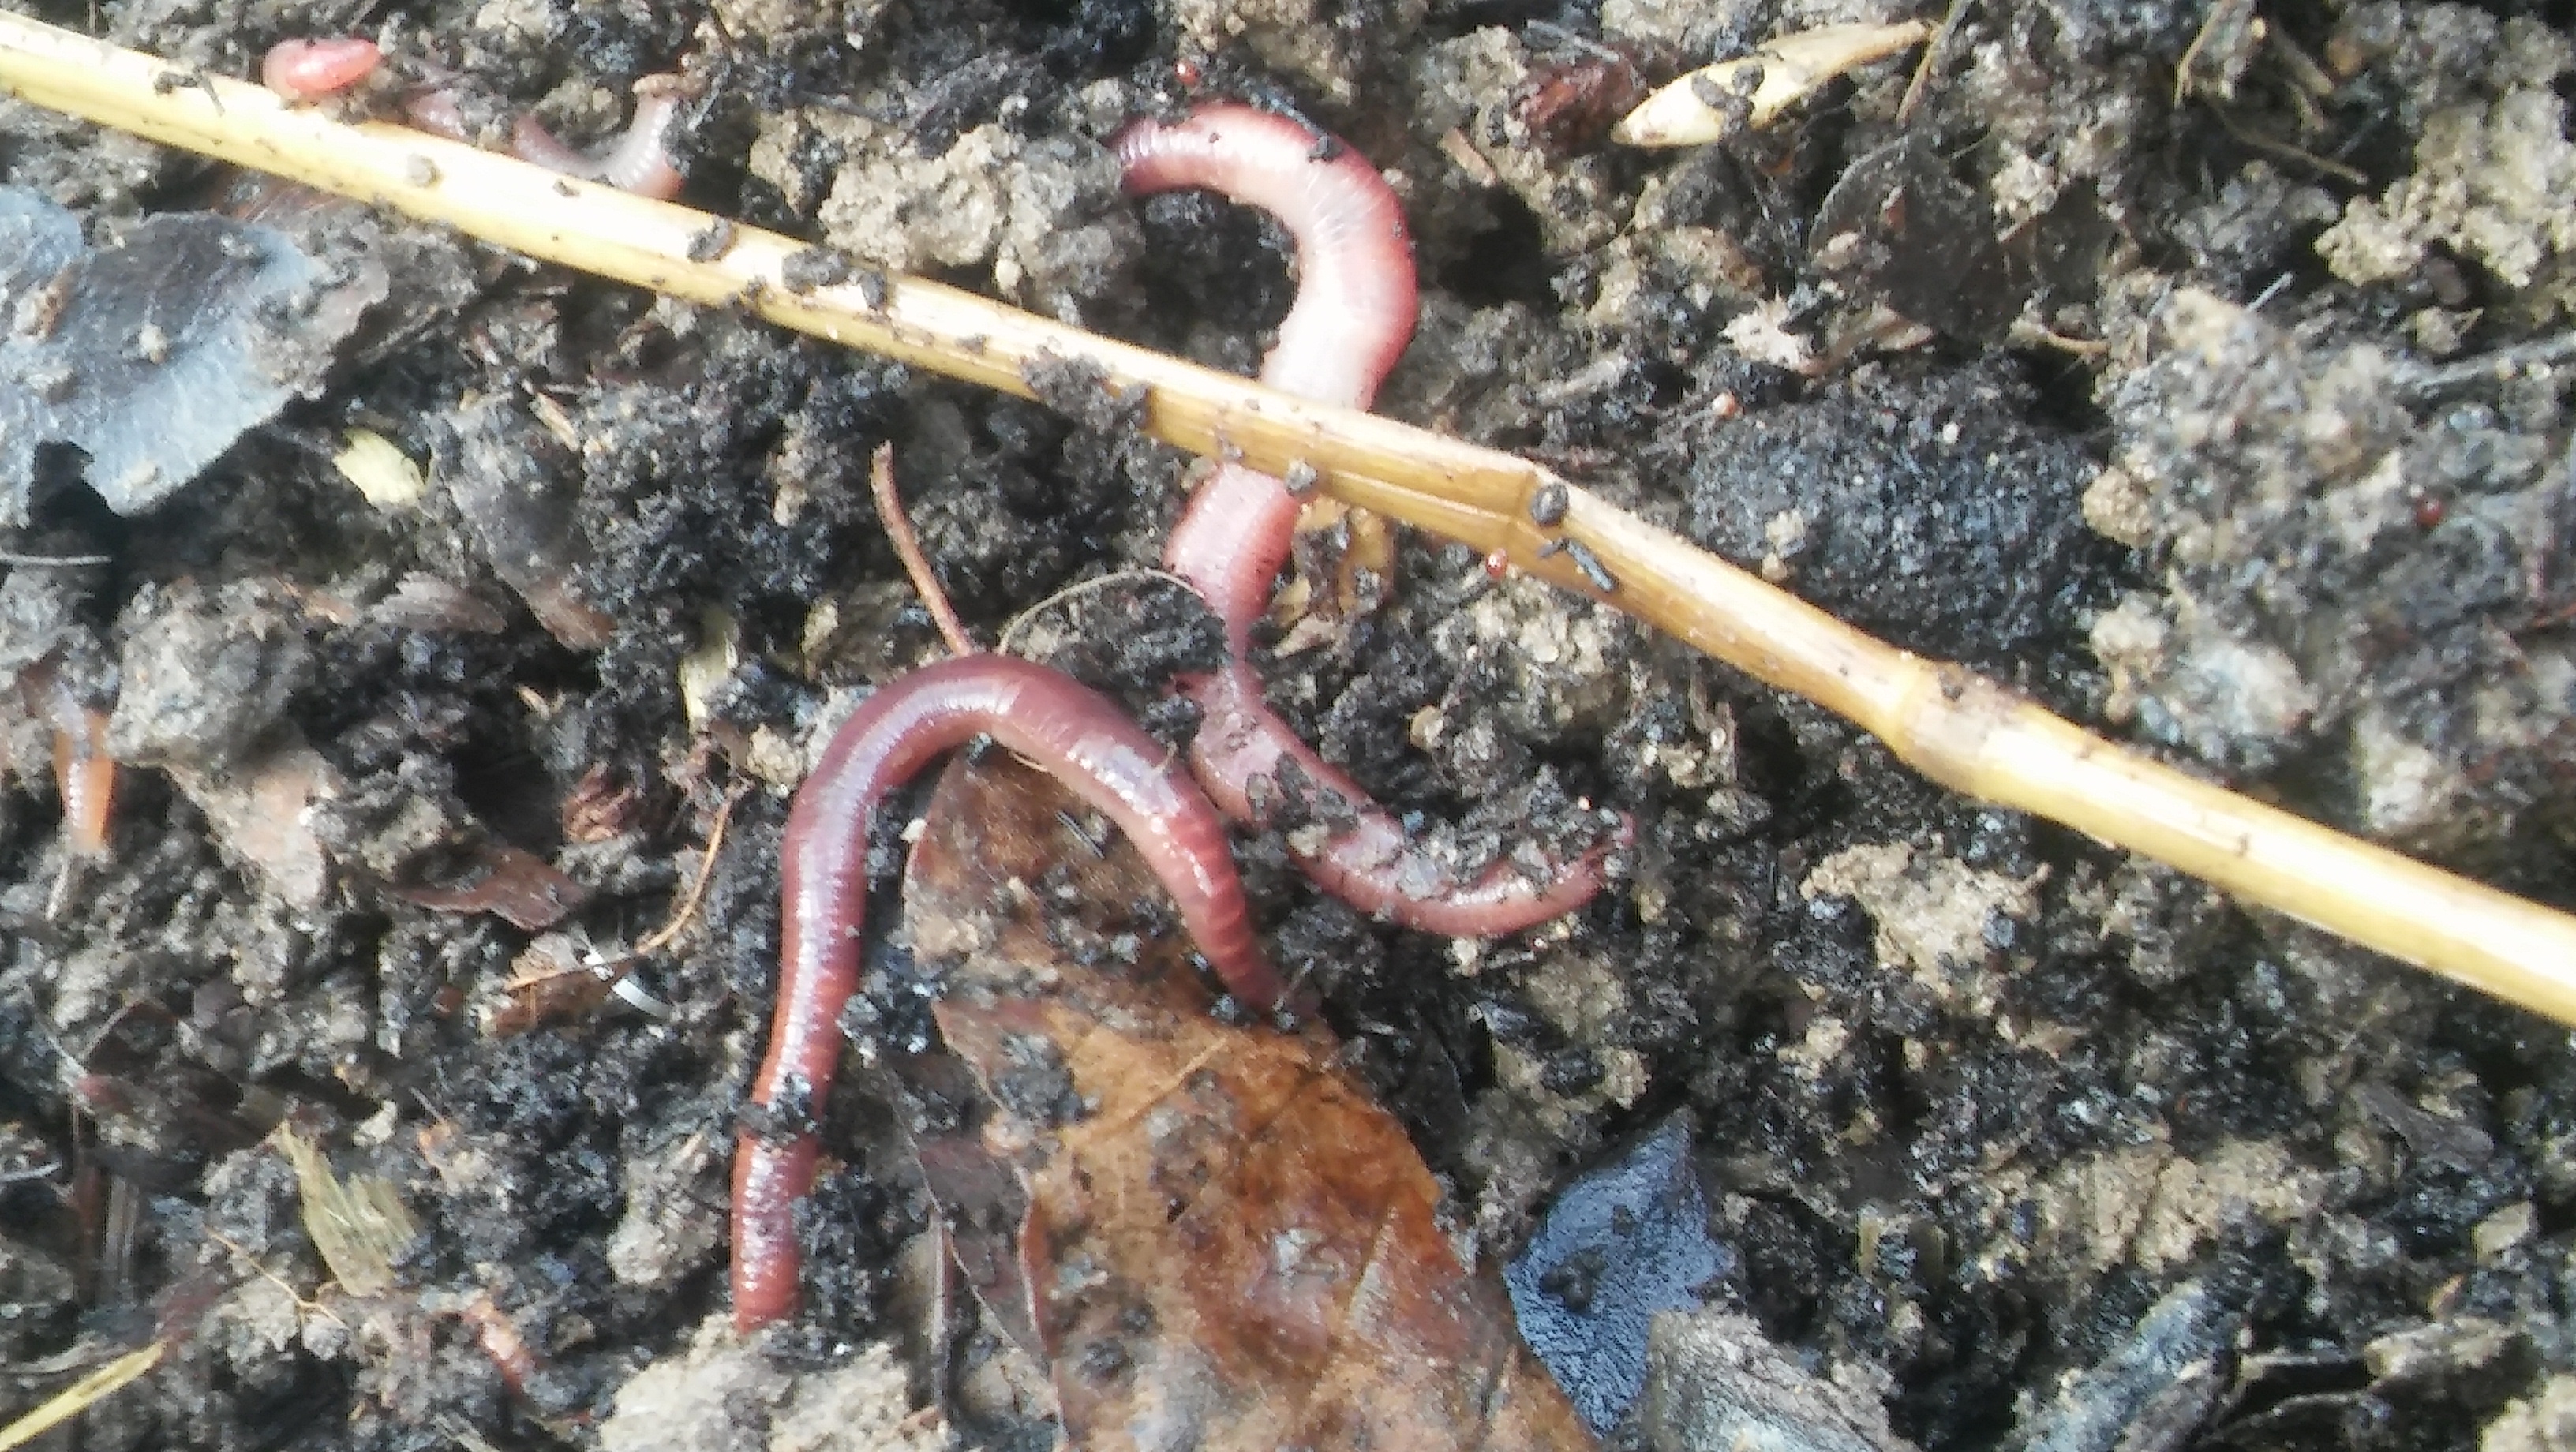
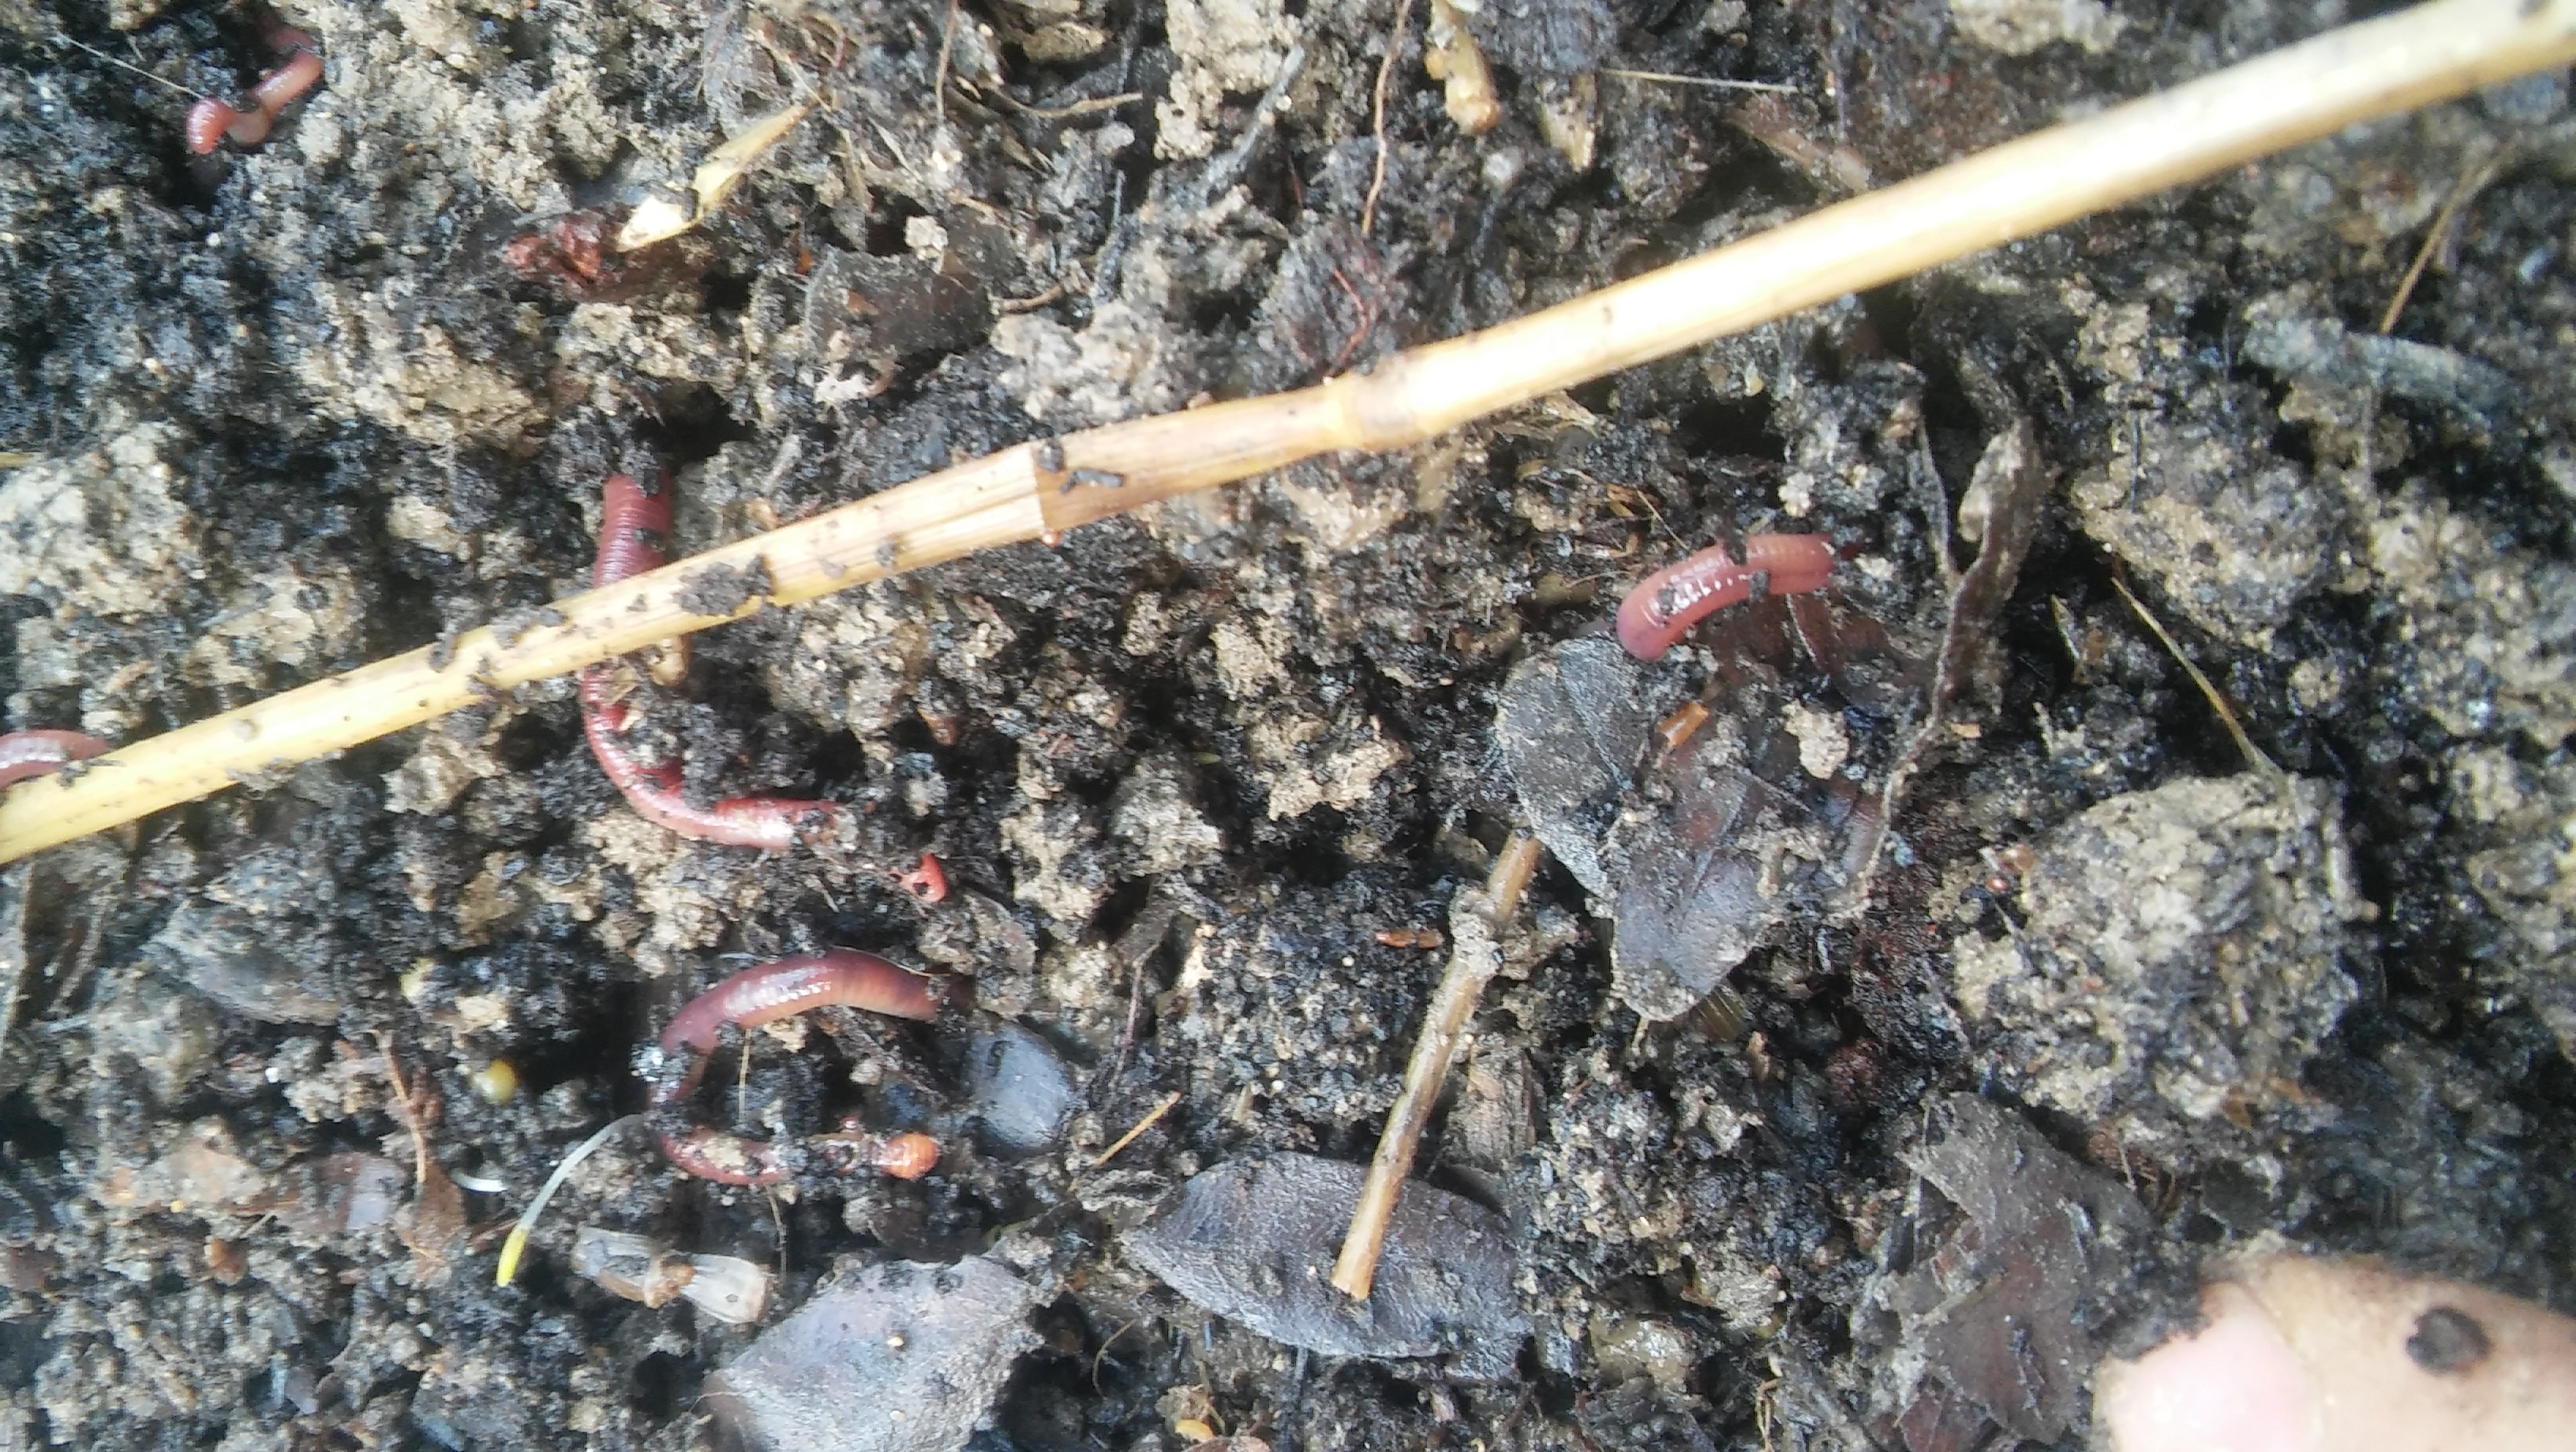
The earthworms that we find in our garden are not the best suited for vermicomposting as these are soil dwelling species. Red wigglers are a popular choice for vermicomposting. The worms for this project were bought online and are a mix of three composting specific species Eisenia fetida, Eisenia hortensis, and Perionyx excavatus.
The worms have working condition between 45-86 degrees Fahrenheit and require moisture levels between 60-90 %
Worms can eat half or even more of their bodyweight in food each day. If there is adequate food and space the population can double every three months. So If you start with 4 lbs of worms in 6 months you could have 16 lbs of worms all working to produce compost for you!
Setting up the bin:
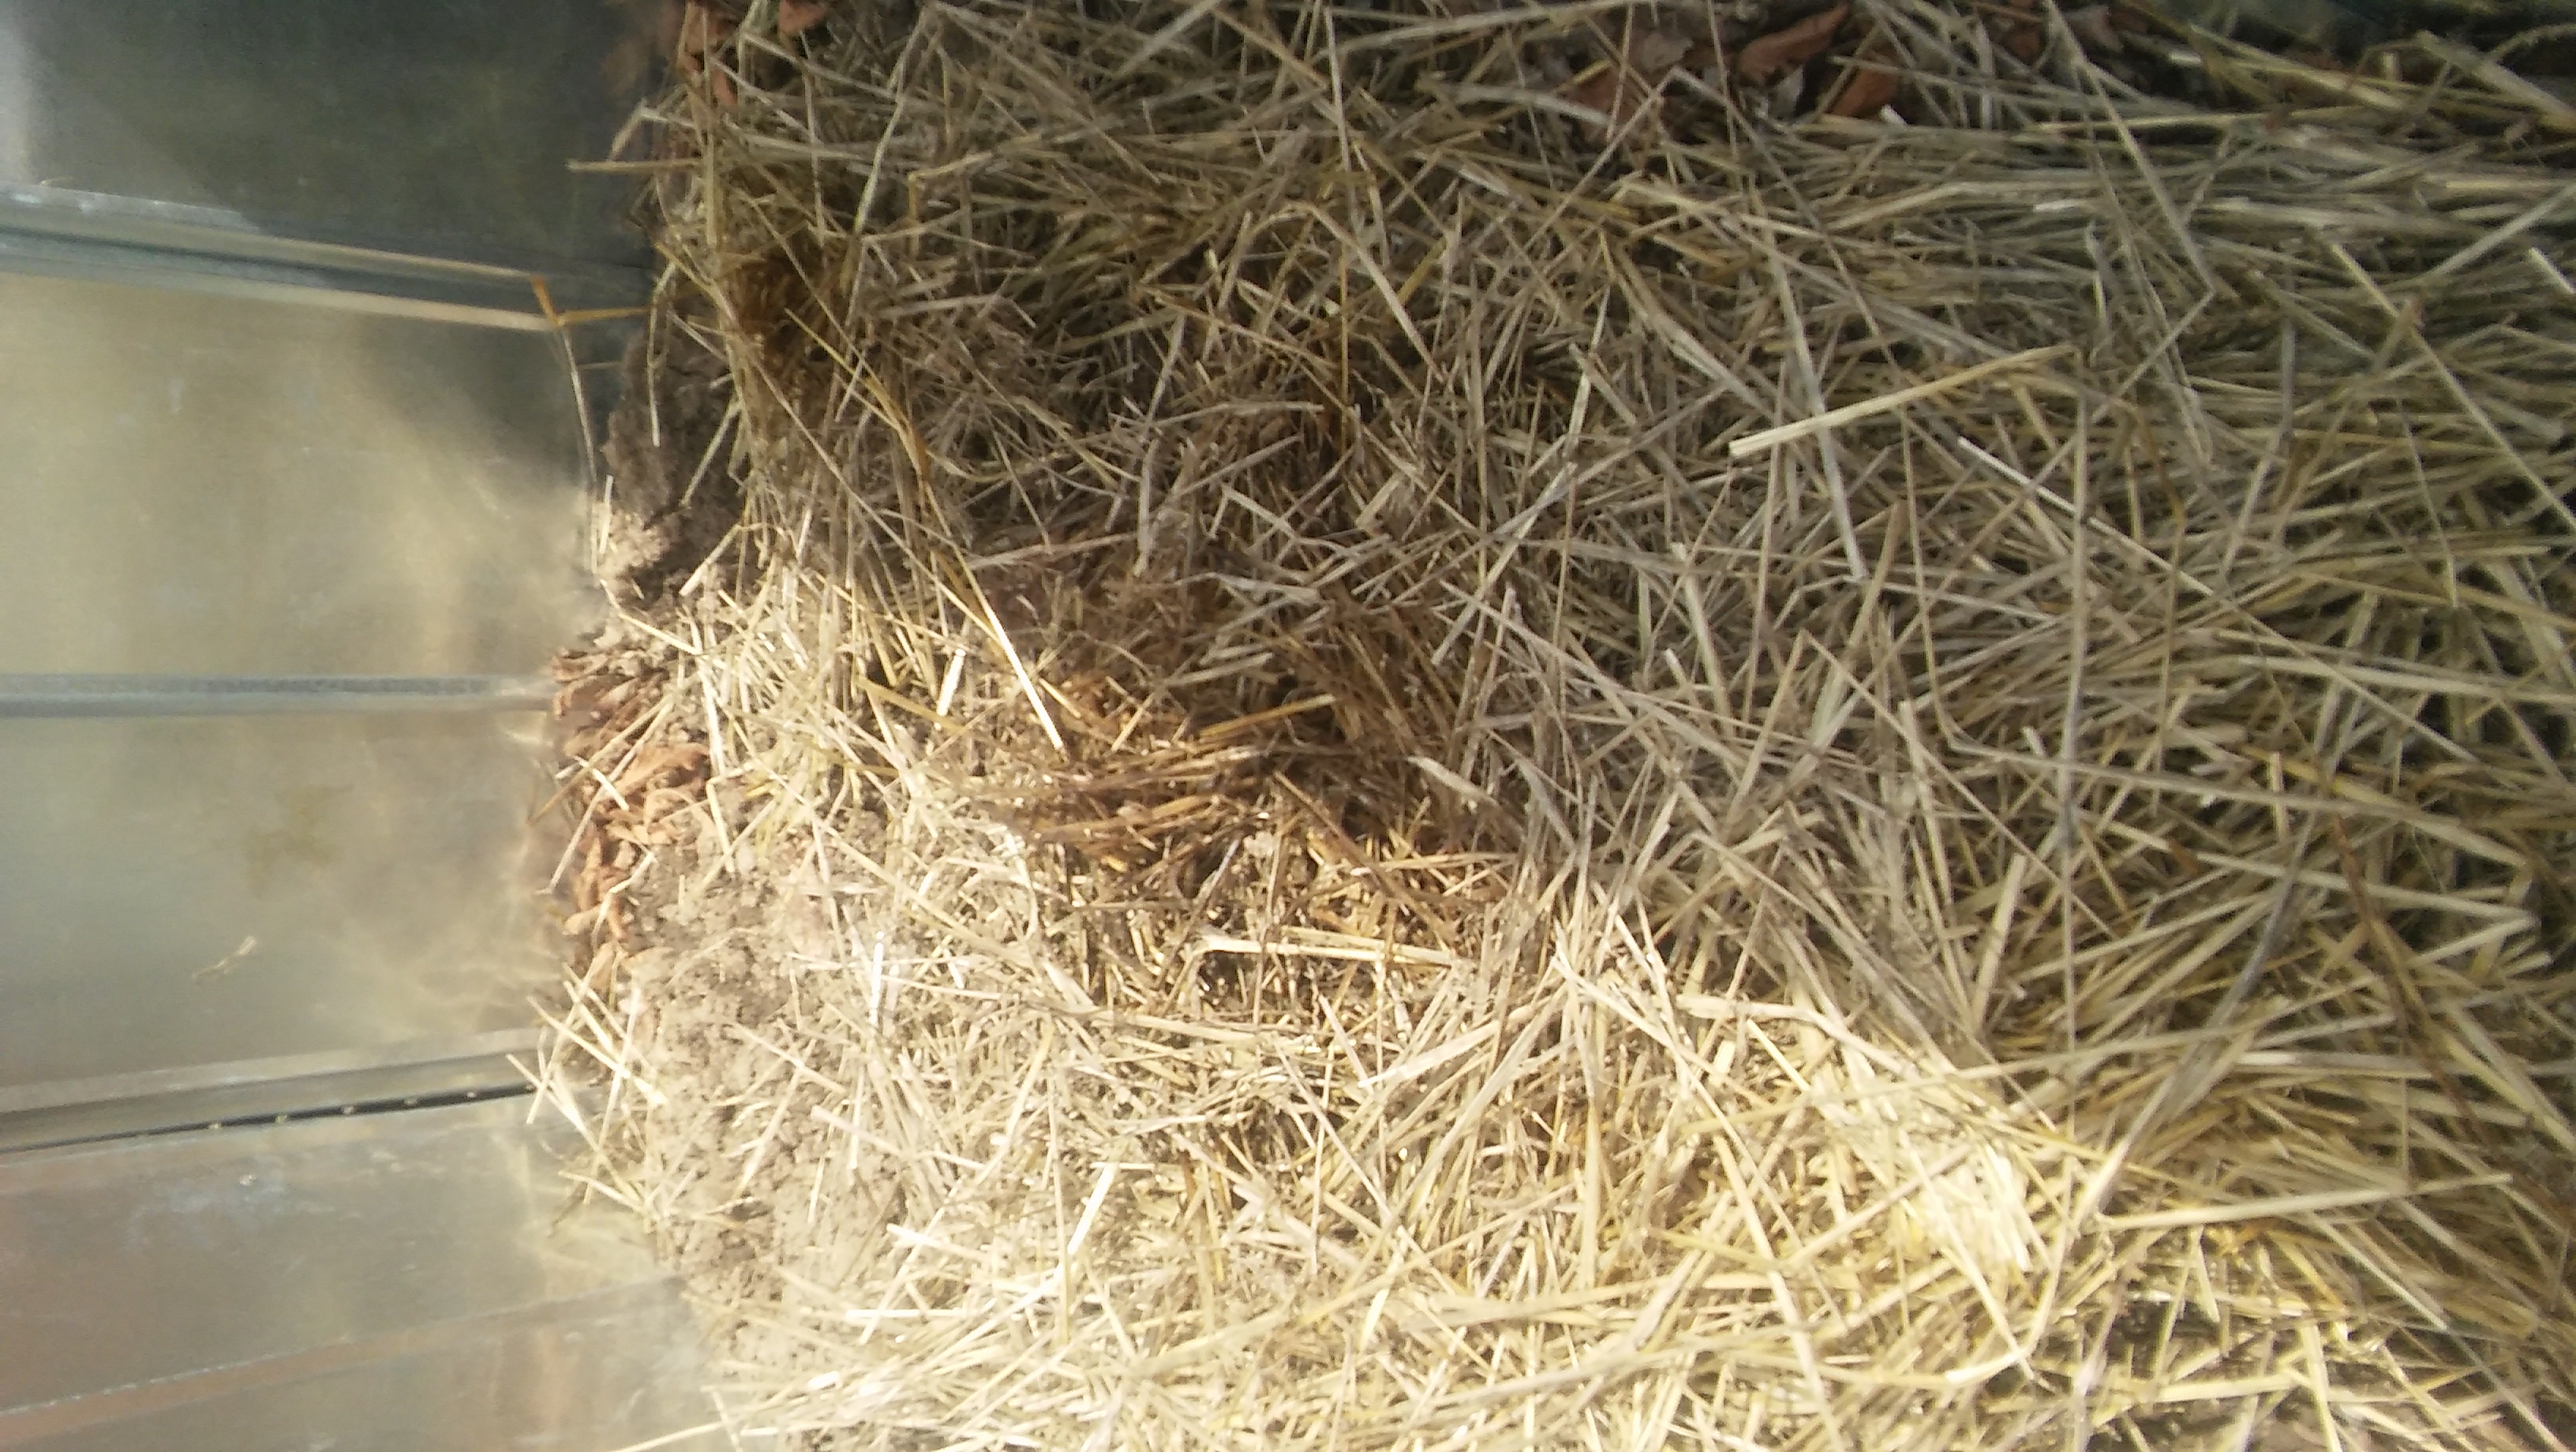
To Start the flow through vermicomposter lay a single sheet layer of newspaper or thin straw directly on the bottom. Then the bedding can be added. The bedding can be anything from coco fiber, shredded newspaper, shredded cardboard, junk mail, straw or leaves. (Figure 23) Different bedding materials have different water holding properties and depending on the worms food source you may have to experiment with bedding and food ratios. Fill the unit with a mixture of bedding and food material and introduce your worms.( Figure 24-25)
How many worms do I need?
Other flow through vermicomposting units have reported worm optimal worm density at about 2 lbs per ft. You can certainly stock the unit with this many worms but it may be best to start with a small population and allow it to grow it its natural carrying capacity.
What can I put in the bin?
Worms can process almost any organic matter. Animal waste, food waste, paper, brewery waste, grape marc and other agricultural waste. There are a few things that should not be added, citrus rinds because of their high acid content, meat and dairy products as these often turn rancid and attract unwanted pests before the worms can break them down.
When adding waste it is best if it has been traditionally hot composted first. When organic waste it piled up it begins to break down and this process generates a lot of heat. When a large amount of waste is added at once to a worm bin it begins to heat up and this heat can kill the worms. So best results can be achieved by pre composing the bulk of the waste you feed the worms and only add raw uncomposted things in amounts that don't raise the internal temperature too high.
After 60 days from first loading the bin you can begin to start harvesting your castings. Pull one of the levers on the side of the unit. Only one pass of the scraper bar is sufficient to harvest. This will pull the scraper bar across the bottom and cause worm castings for fall out the bottom. You can then collect the castings. If you find a few or two just toss them back on top the bin.
After you reached this point you can harvest the castings weekly. Keep adding a thin layer of food on the top each week and you can keep scraping castings from the bottom.
For great resources about caring for worms, vermicomposting and science behind using worms castings check out.
Worms Eat My Garbage: How to Setup and Maintain a Worm Composting System Revised and expanded second edition Edition
by Mary Appelhof
ISBN-13: 978-0977804511
Vermiculture Technology: Earthworms, Organic Wastes, and Environmental Management 0th Edition
by Clive A. Edwards (Editor), Norman Q. Arancon (Editor), Rhonda L. Sherman (Editor)
ISBN-13: 978-1439809877
Comments
HI MNick,
please email me
Planning on upgrading to this