
Image:
Exclude from the Tools list. This is "sandboxed".:
Skills:


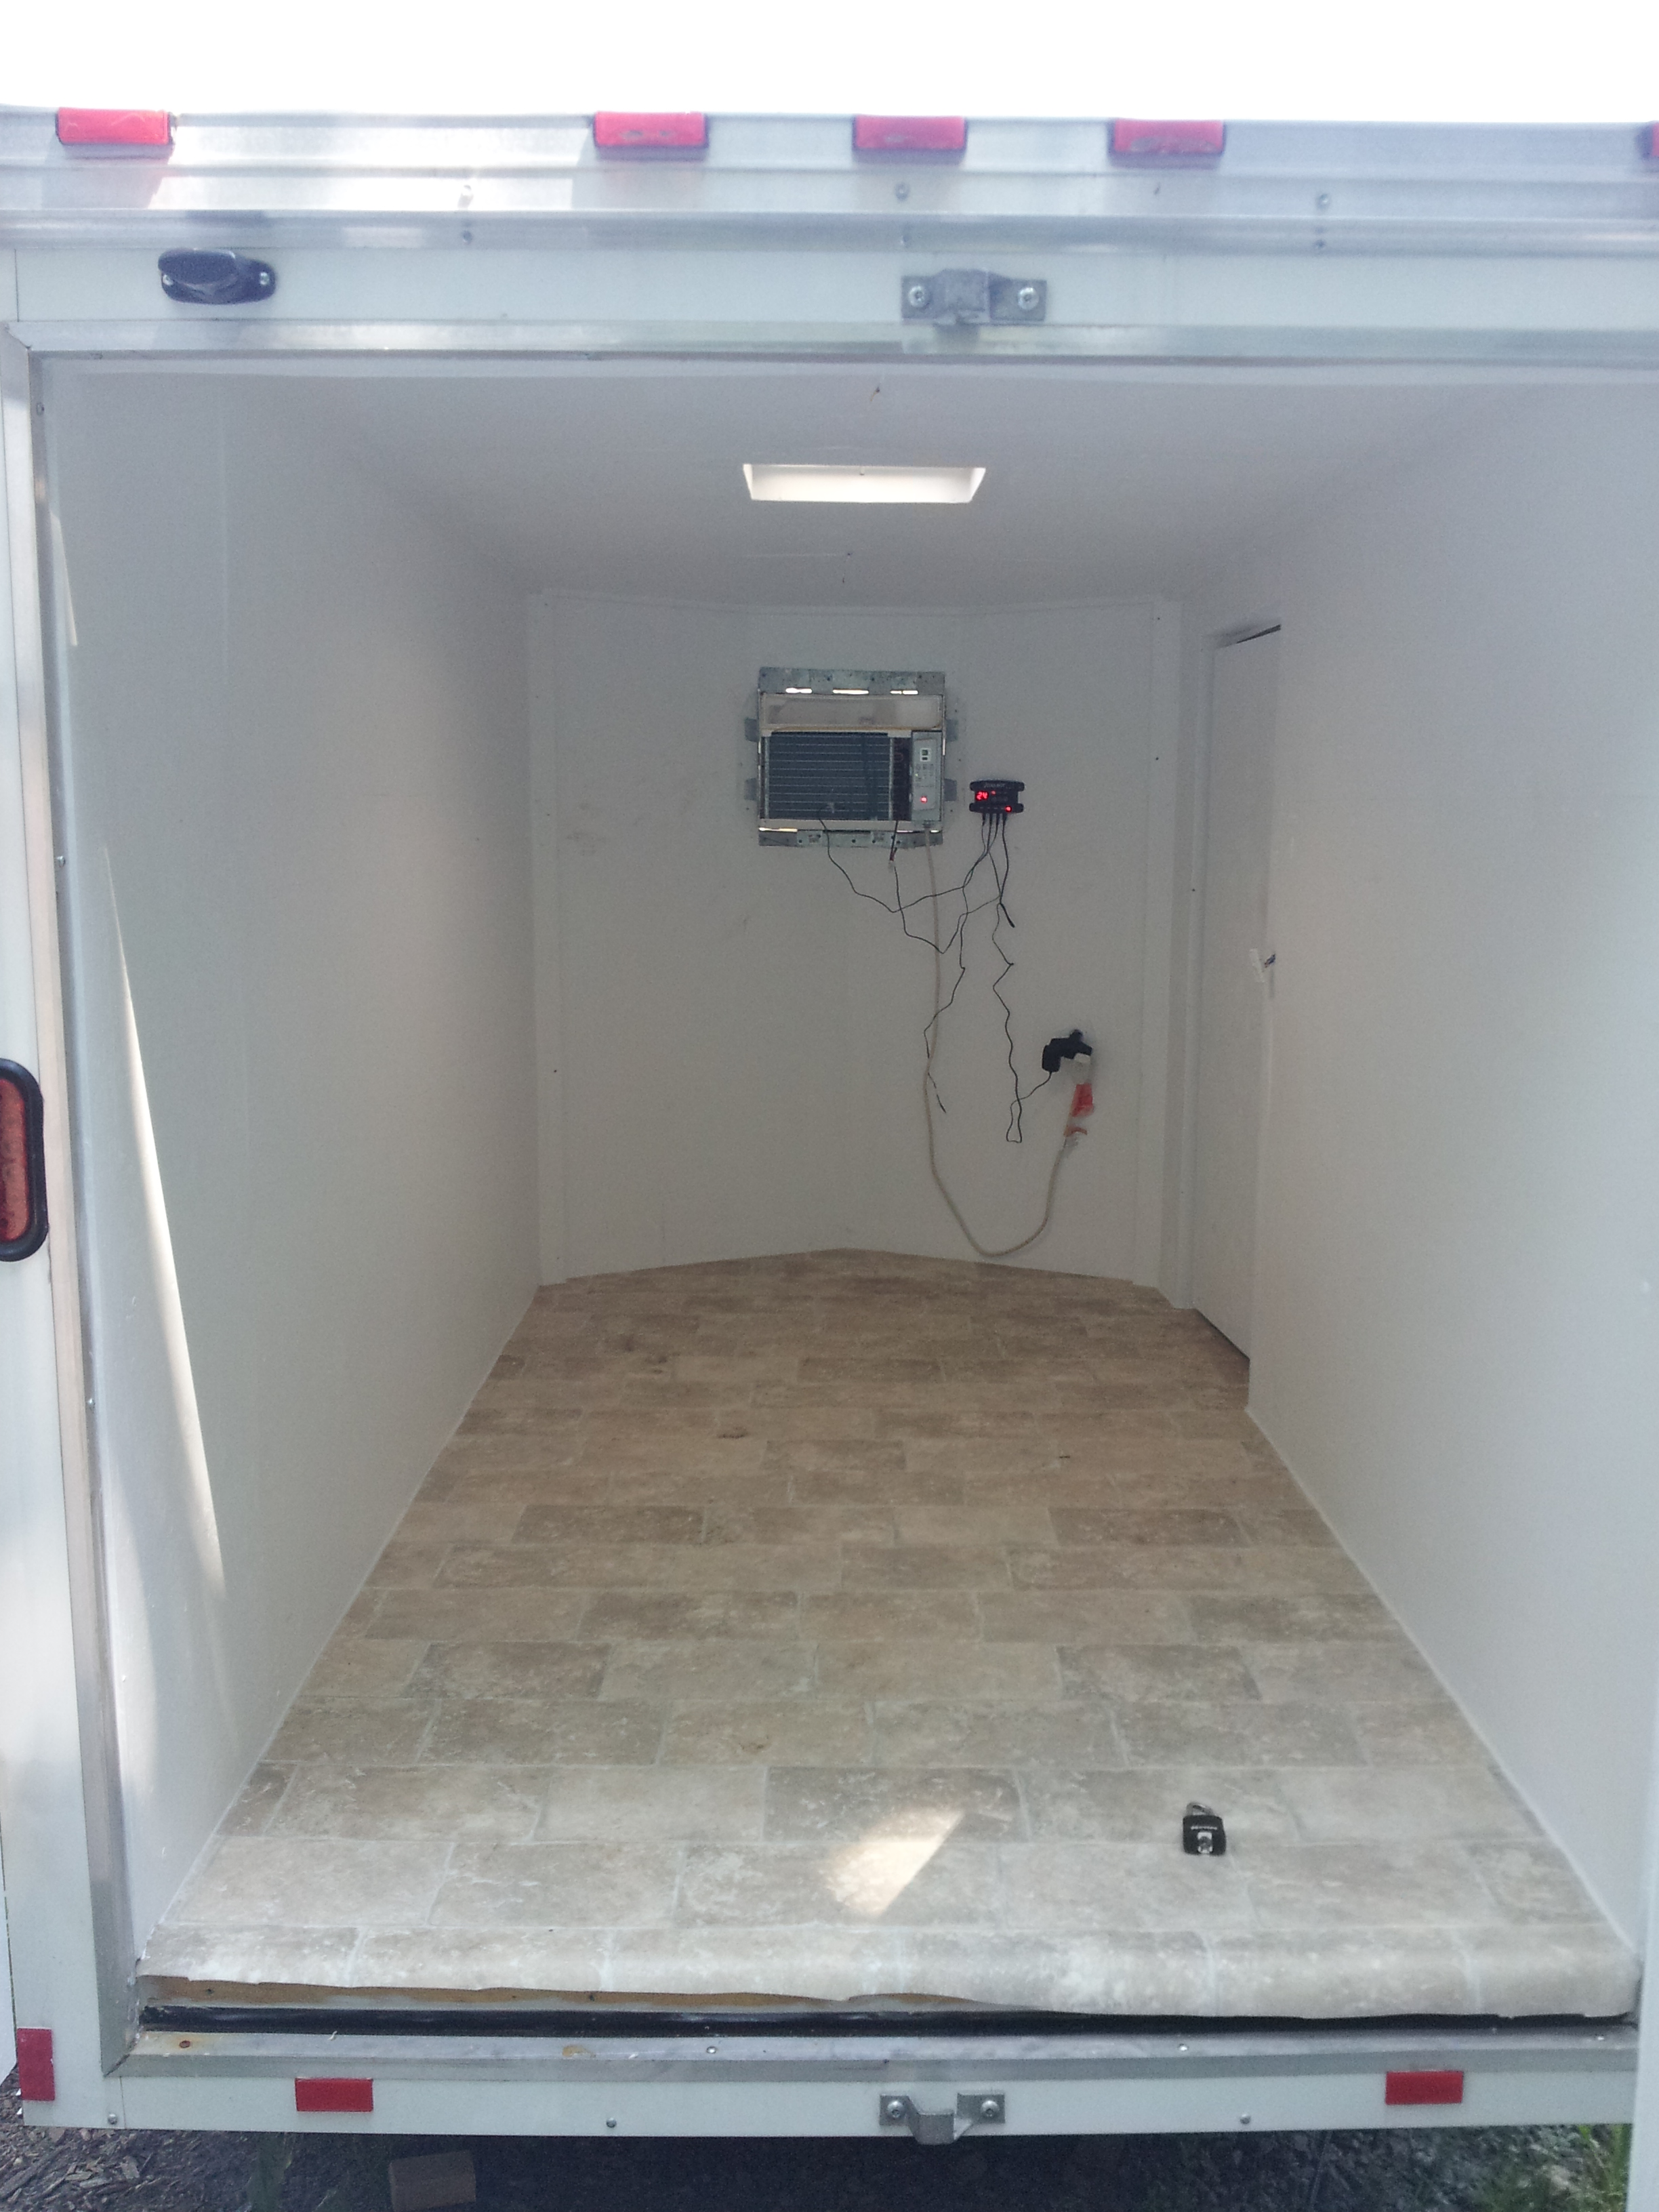

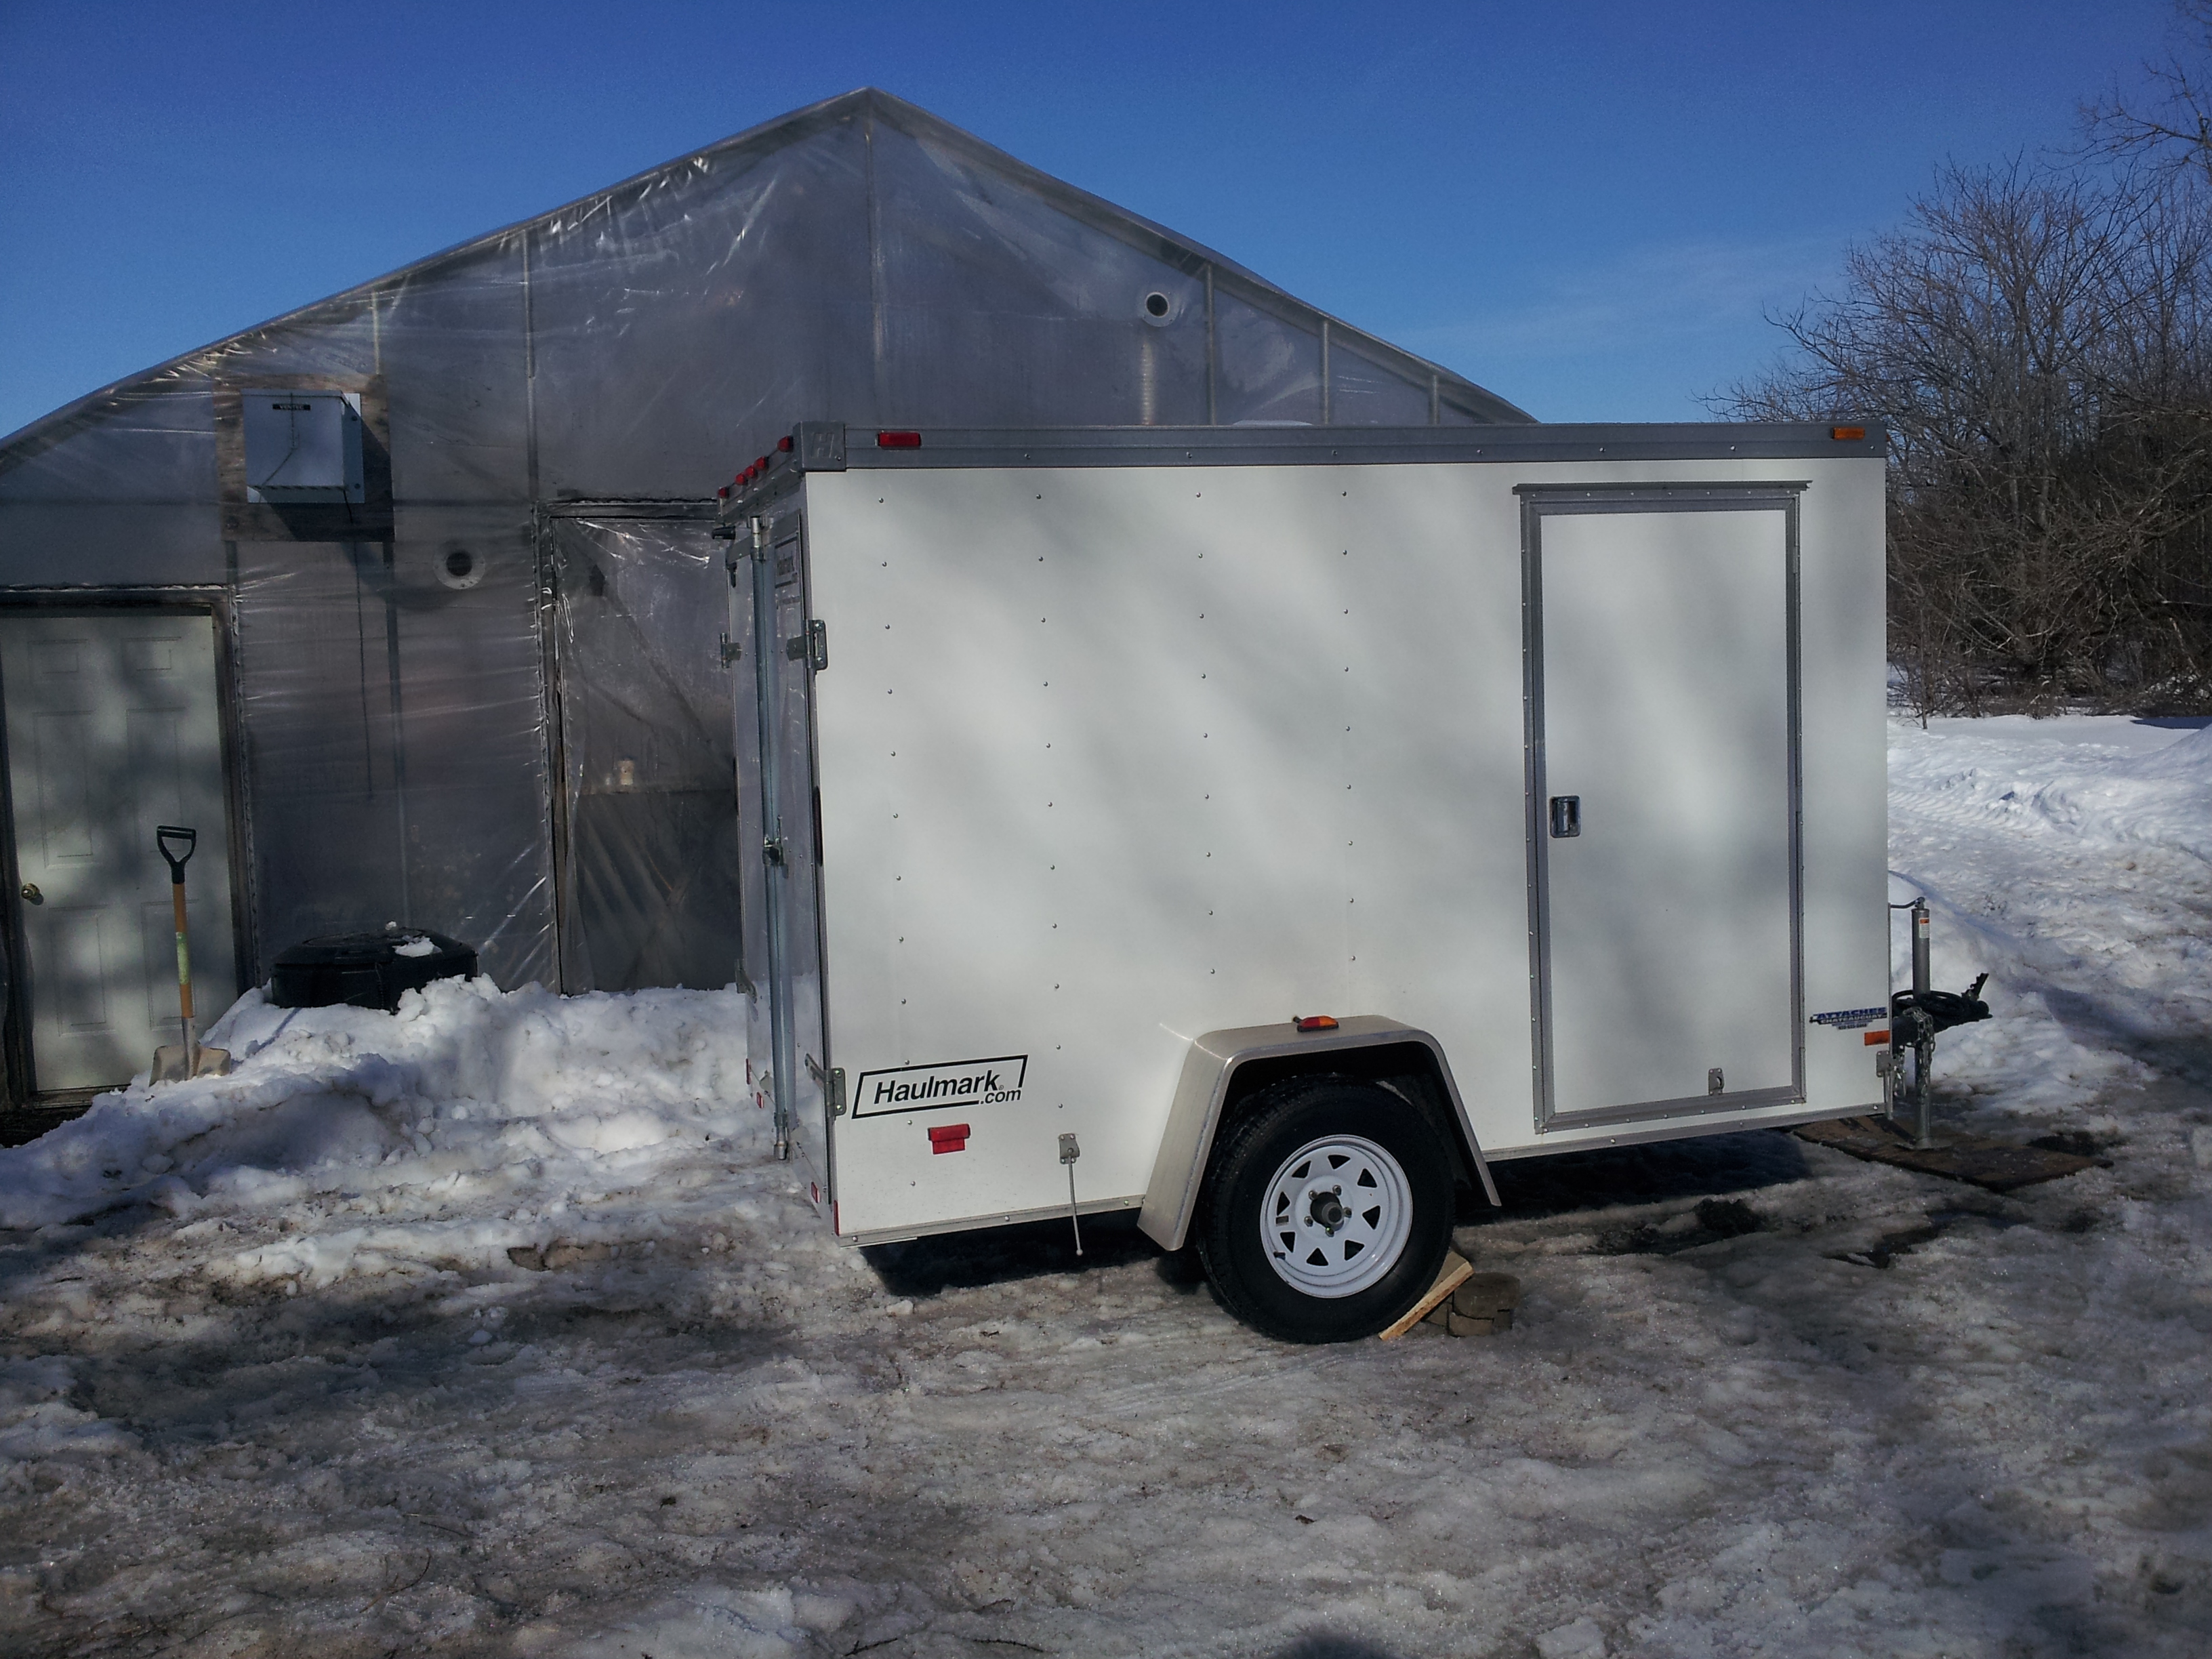
This is a wiki for a cold storage trailer.
Initially conceived and designed to deal with the need for post harvest storage while ensuring the investment in infrastructure would not be lost if the farm moved locations.
The project took around 1 month to build in the spring, that includes taking care of the typical farm tasks that take place during that time of year.
Skills:
Carpentry Basic wiring abilities
Material Needed:
Trailer Air conditioner (10,000 BTU) Coolbot Rigid insulation Spray foam Sealant tape Wire covering 2x4's for framing 5" metal screws 1/4" plywood Dap caulking Mold resistant bathroom paint Lino flooring Eco-friendly lino glue
Tools Needed:
Carpet knives and blades Drills and impact driver Drill bits Skill saw Sawsall Sanders and sandpaper paintbrushes dropclothers caulking gun
Step 1
Remove all the interior plywood
Step 2
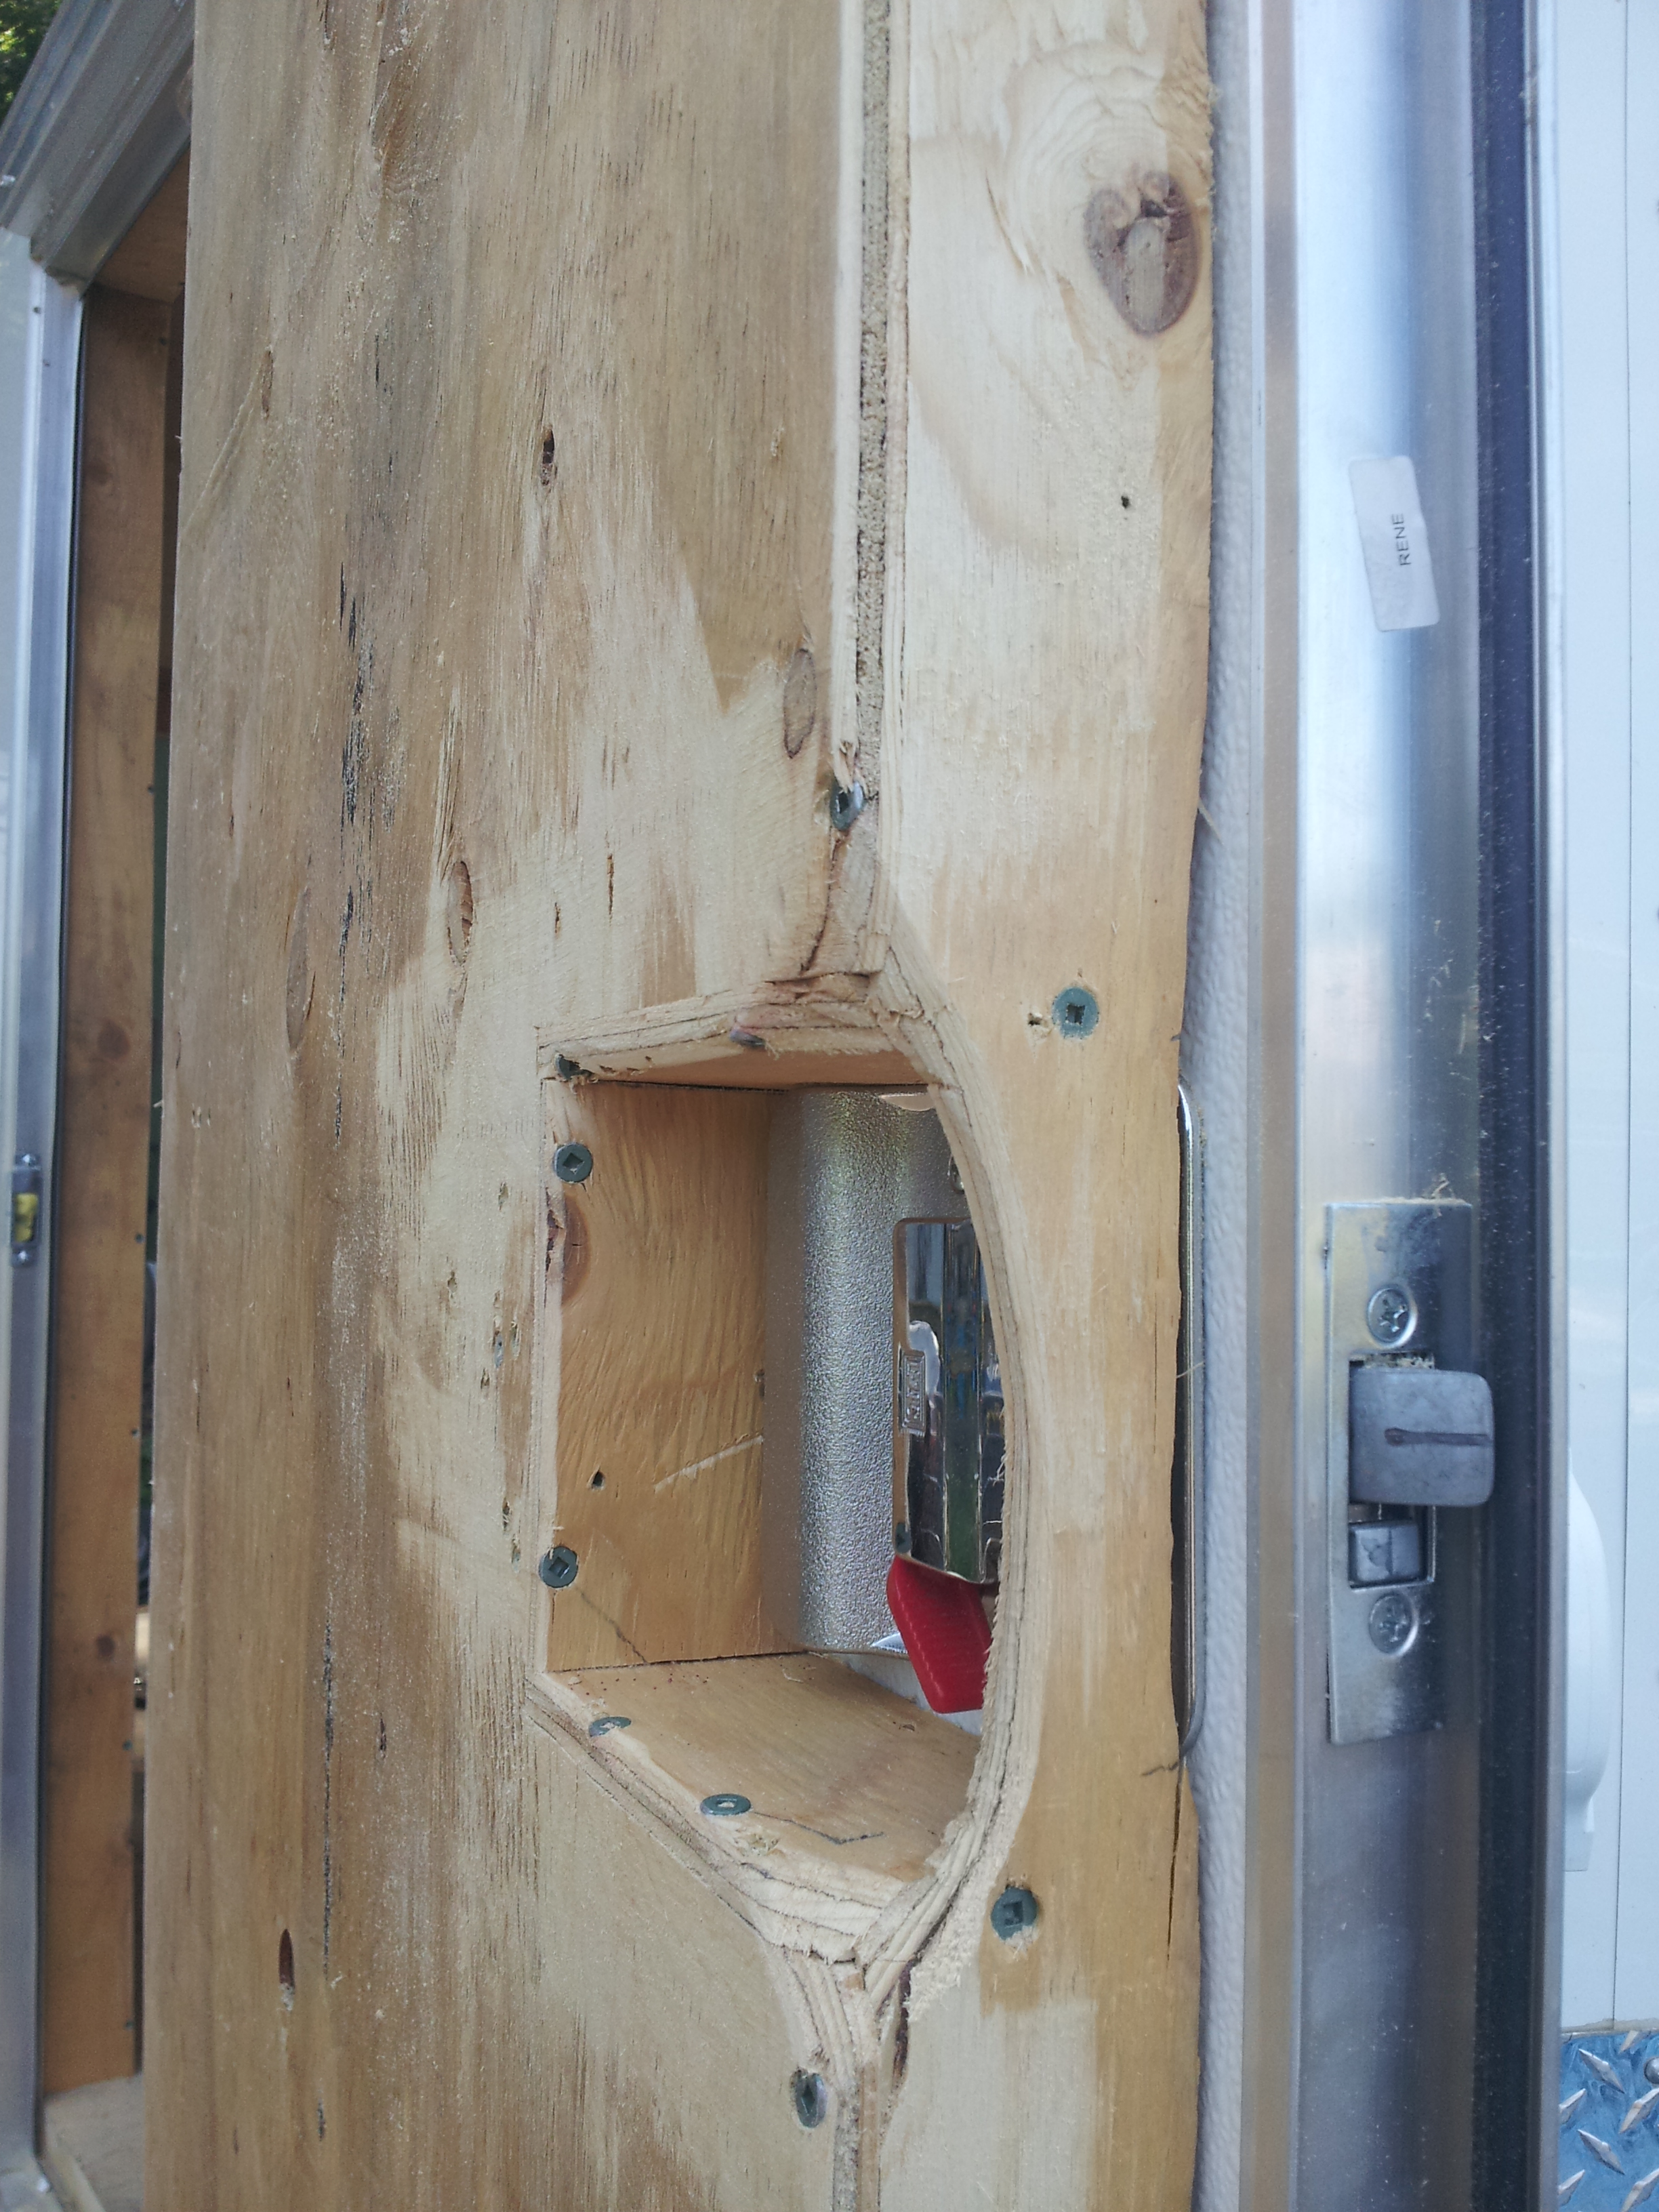
Reroute the wiring and put it into a sheath to protect it from being crushed later one. Also consider that you may have to access this again in the future, so take care to keep relatively easy to get at. Be sure to mark it's location as you continue with each subsequent layer of insulation and finishing material.. keeping a good photo log also helps
Step 3
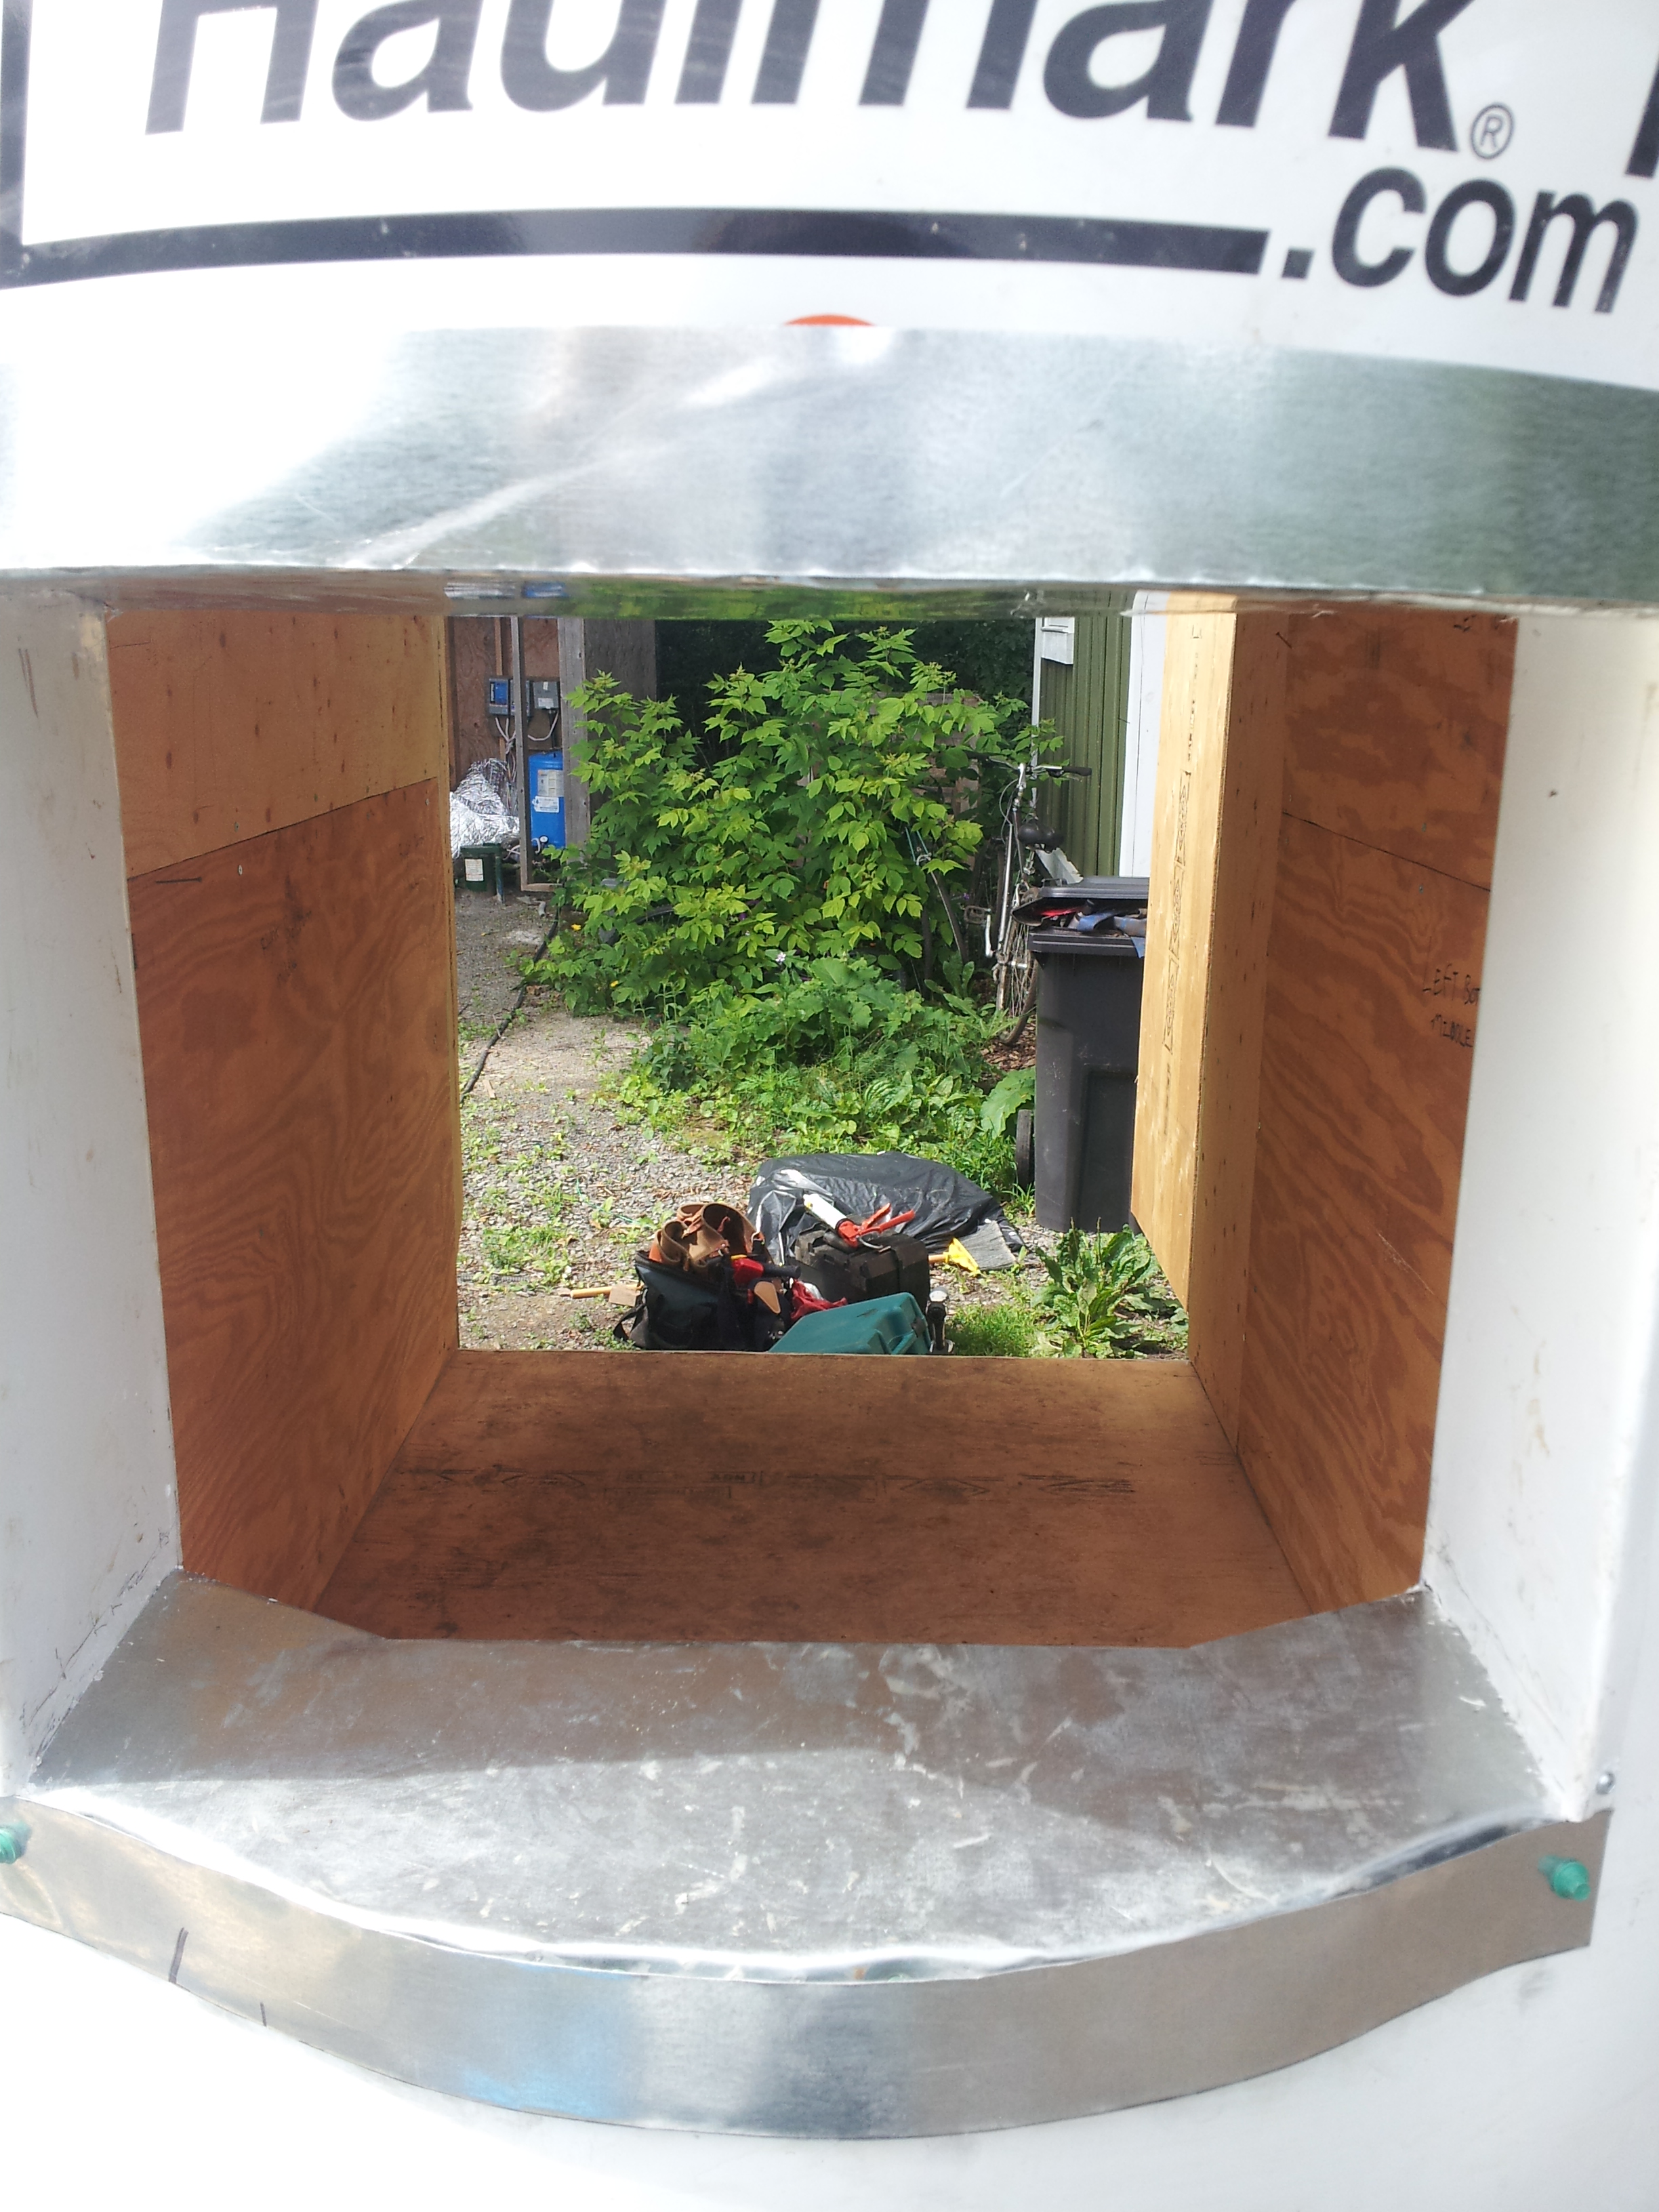
Frame anything that needs to be, such as AC opening
Step 4
Start fitting insulation between studs. This can be a painstaking process, and I would recommend using 1" insulation initially as the studs are around that thickness. Followup with another layer of 1", and finish with 2". Once you've insulation spray foam the joints... once dry you can trim with a knife. Tape all the joints with tuct tape. Be sure to mark studs and wiring as you cover each layer
Step 5
Be sure to test the AC in the opening before commencing with this stage.. also remember that the finished size of the opening will probably be close to 1/8-1/4 inch smaller with metal.
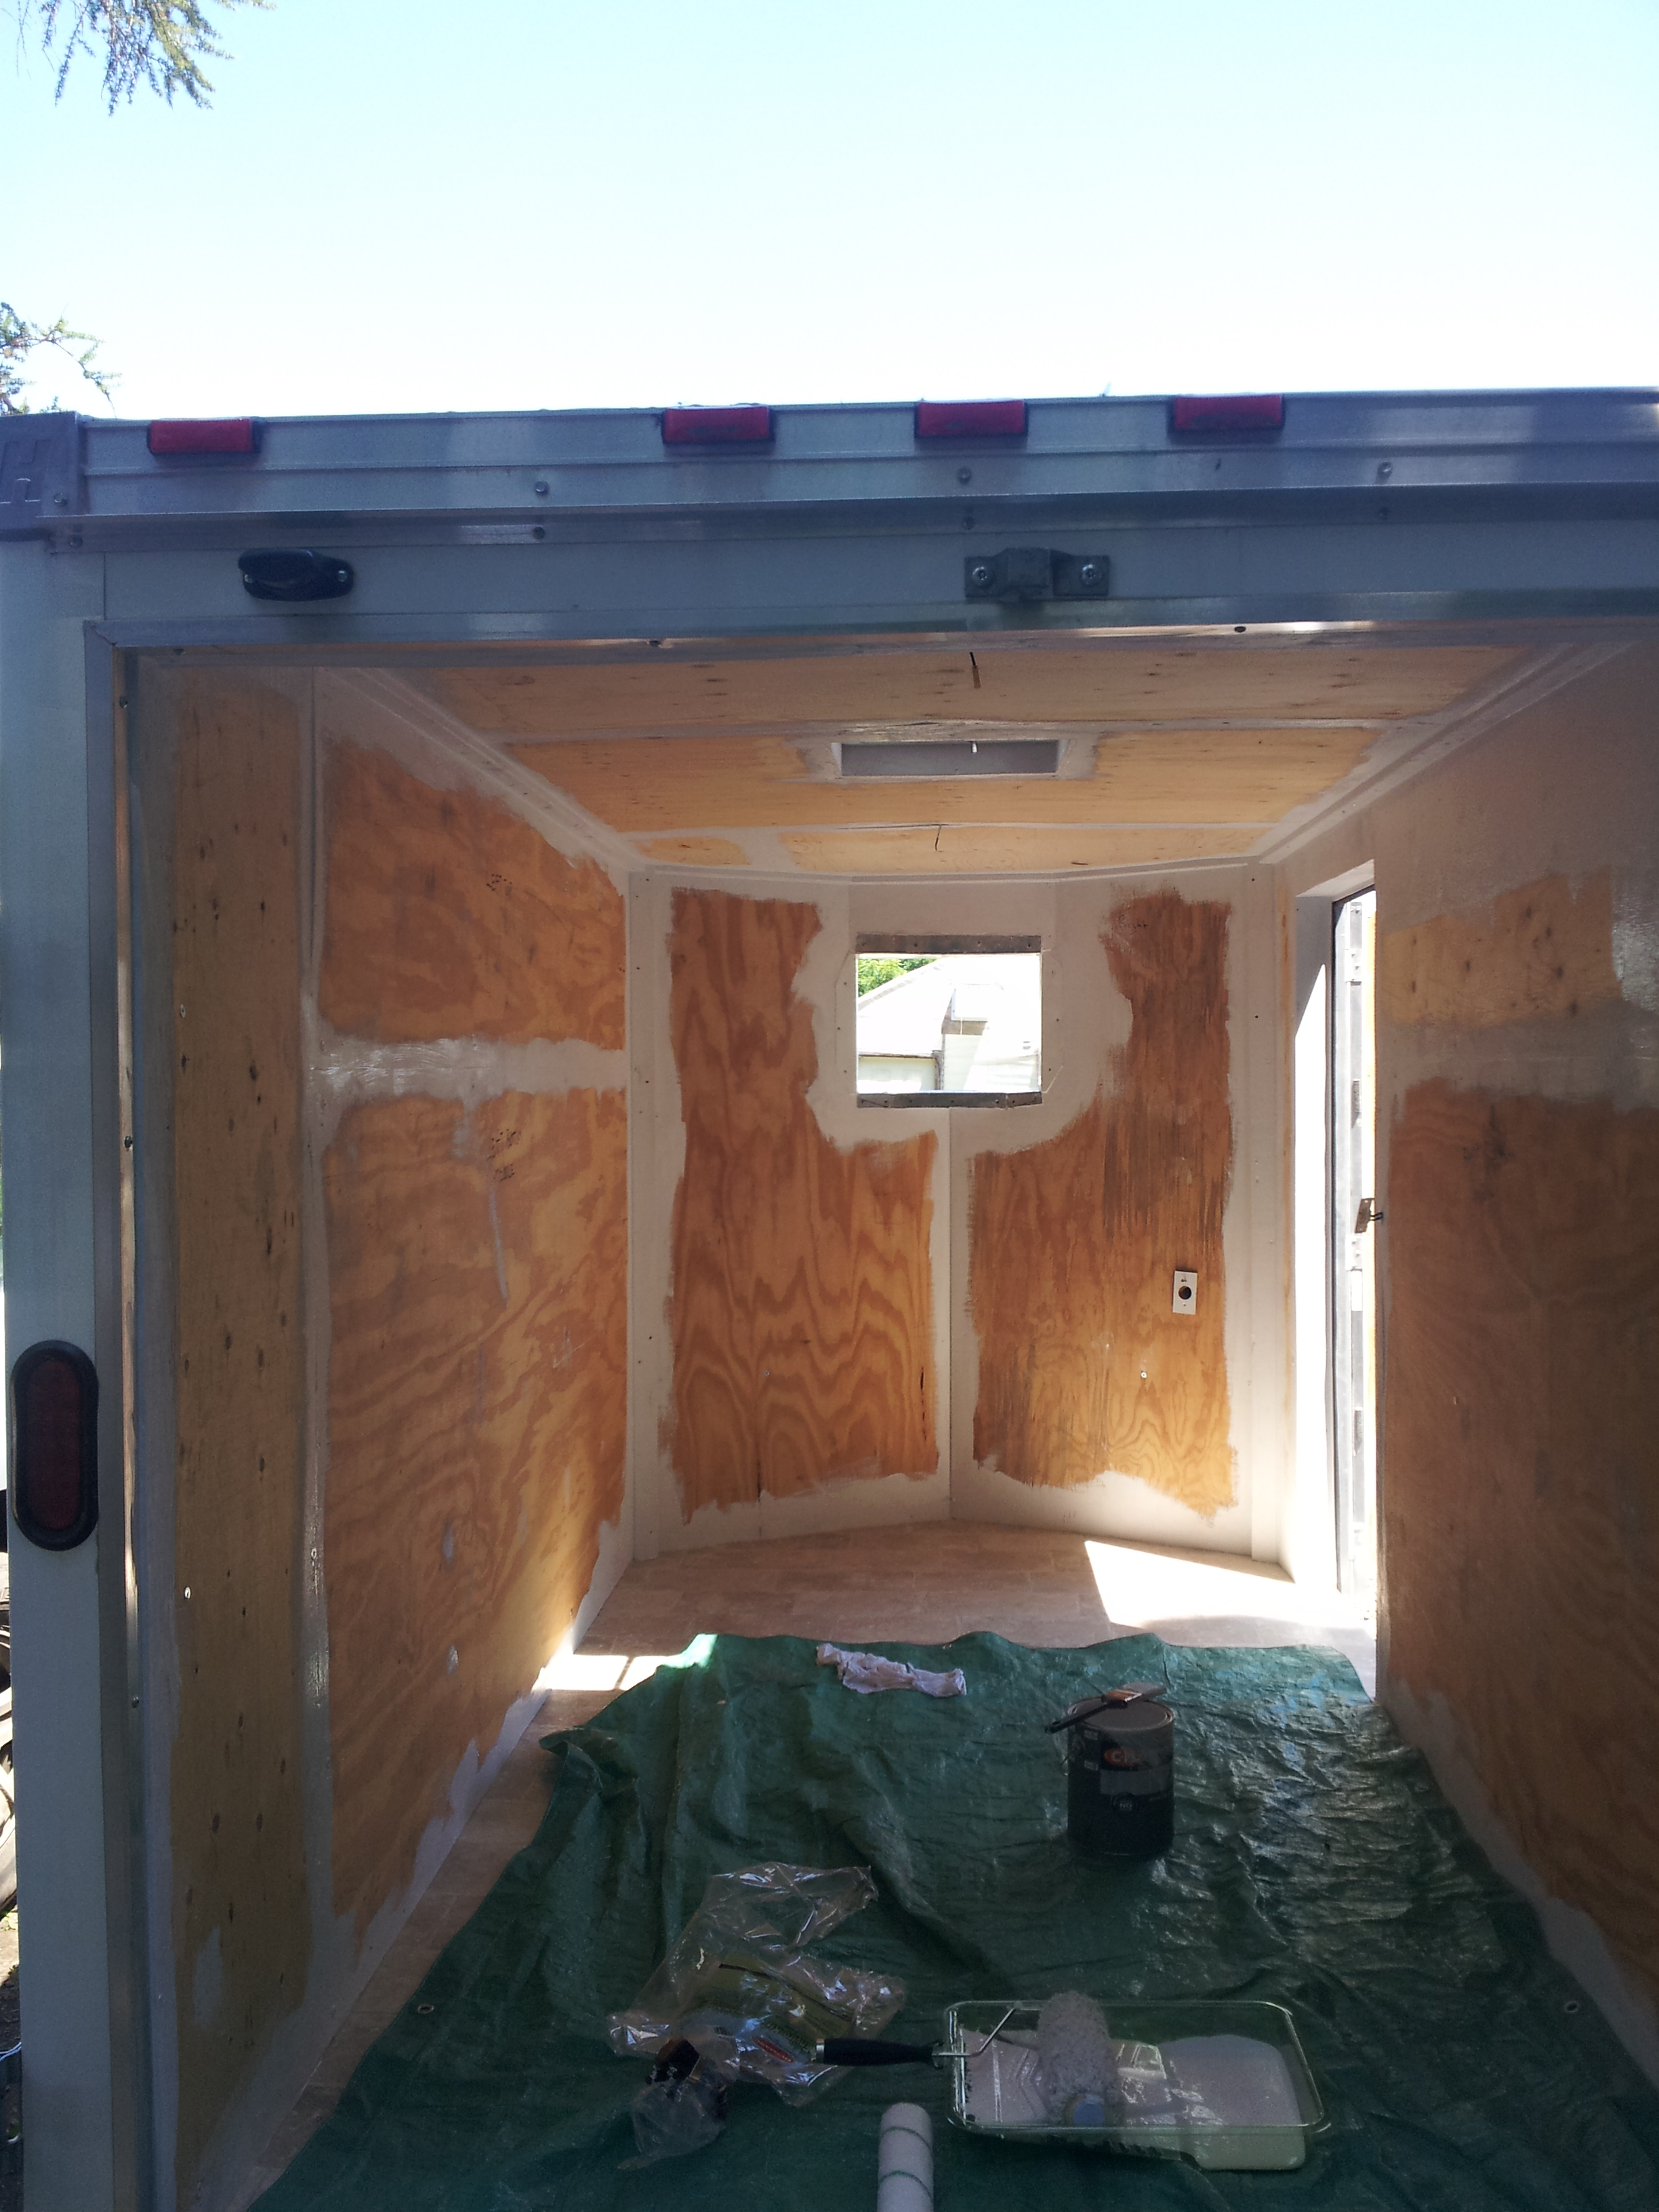
Reinstall the wood paneling. Everything will need to be cut to fit the new size of the trailer. Start with the ceiling, drilling exit holes for the light wires Next do the floor. Next install the wall panels - you may need to scribe some of the joints to get a tight fit.
Step 6
Doors - depending on the trailer, you may have to come up with some creative ways to frame and insulate these. take care to factor in the change in heights and widths of the interior.
Step 7
Sand and fill any woodwork caulk all joints paint with a mold resistant bathroom and kitchen paint
Step 8
Install the linoleum floor