


Tools Needed:
1) Drill
2) Step bit that enlarges to 3/4"
3) 1/8" regular bit to drill pilot holes
4) Dremel tool with cutting wheels and grinding bits
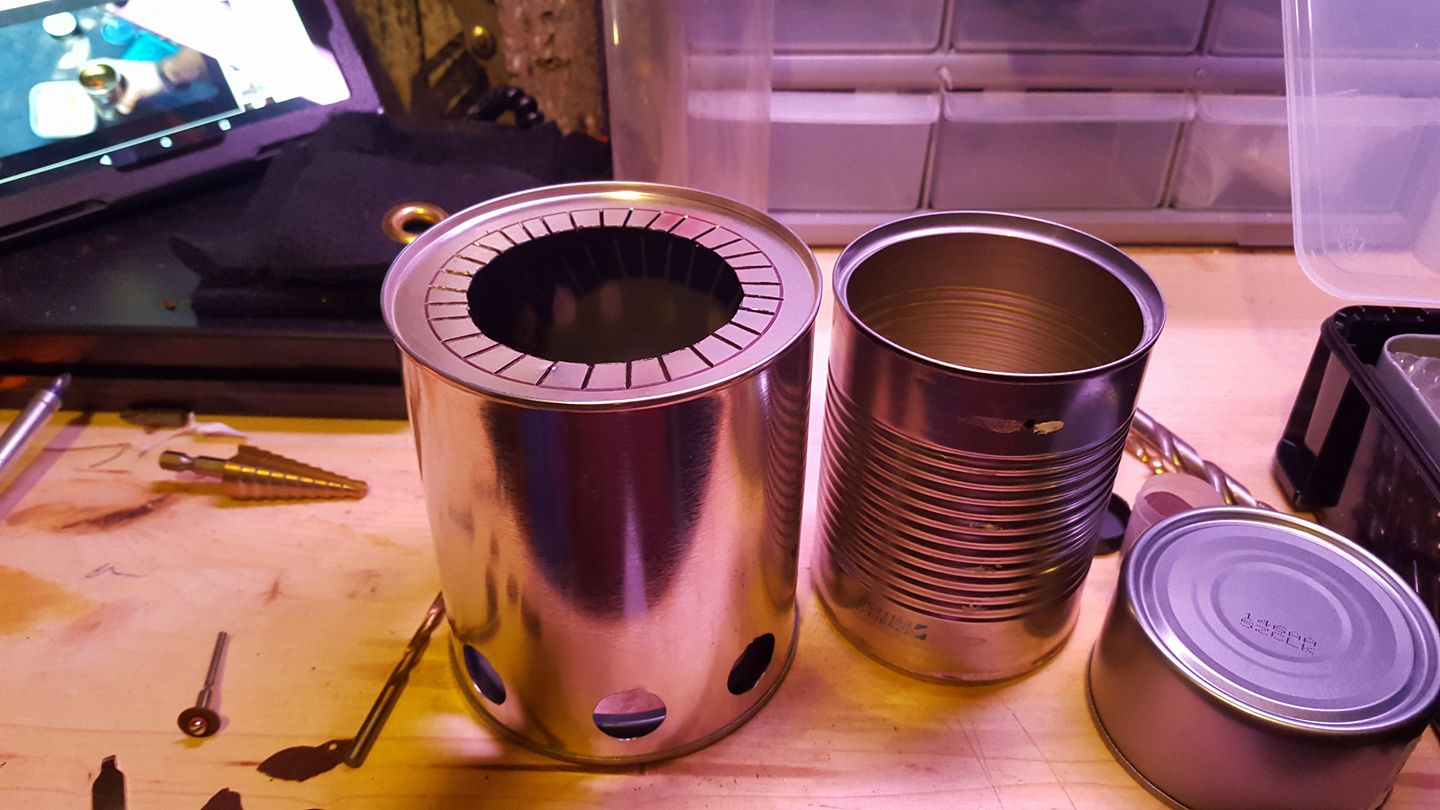
The components to making a DIY Bush Buddy: see photo
1) empty quart size paint can. Can be purchased for under $5
2) 19 oz. Progresso soup can
3) 7 oz tuna can (make sure it is a 7 oz)
4) not pictured: gutter grating or hardware cloth to make rack/grate at the bottom of soup can.
Paint can prep: see photo
Step 1: on the bottom of the paint can trace the soup can, center as best you can. Next, with your dremel cut an inner circle roughly 1/4" smaller than the traced circle and cut notches to the traced line...JUST to the line.
Step 2: Drill eight, evenly spaced, 3/4" holes with the step bit on around the now "bottom" of the paint can. Center the holes about an inch from the bottom.
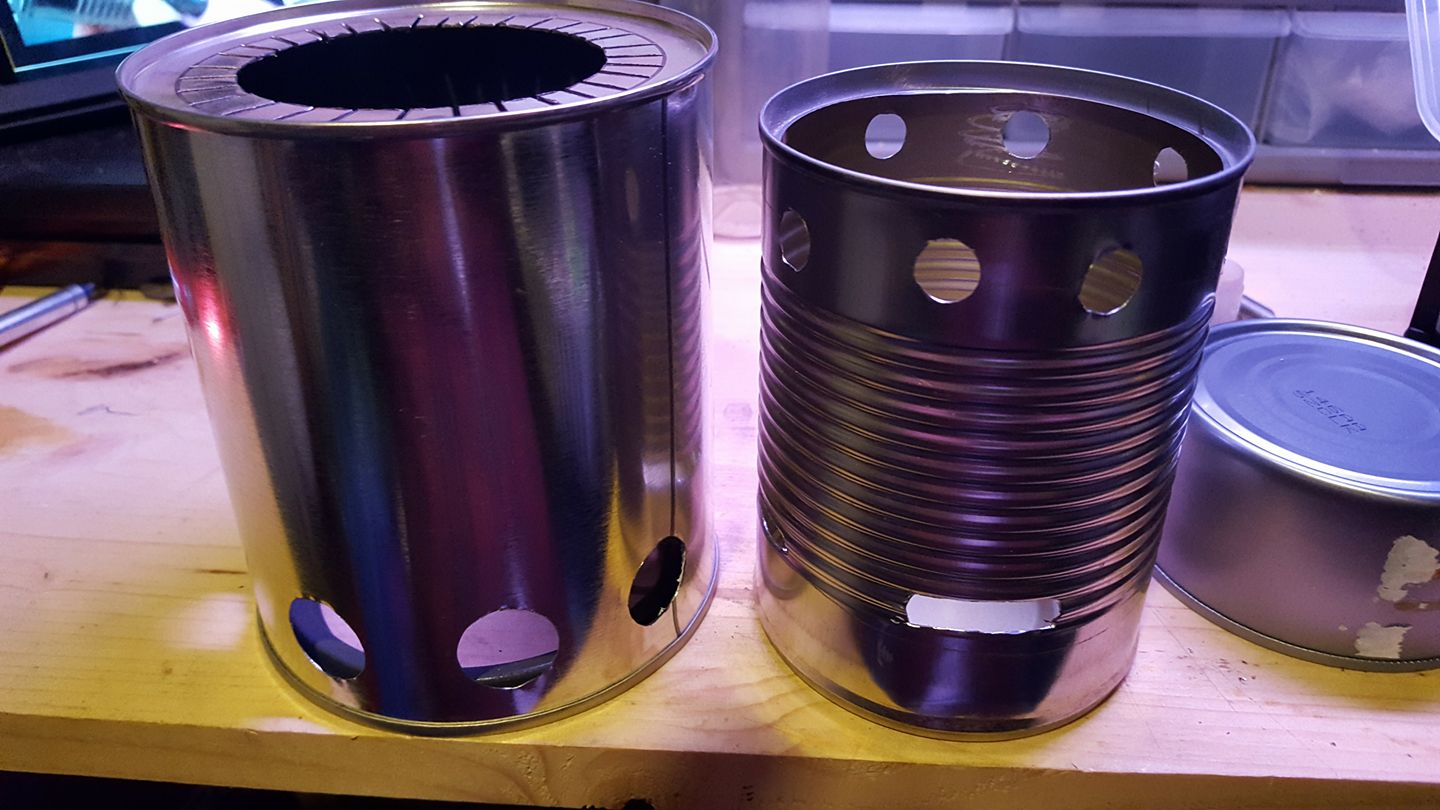
Soup Can prep: see photo
Step 1: Drill eight, evenly spaced, 3/8" holes with the step bit around the lid end of the soup can. These will be your jets.
step 2: With your dremel cut 4-6, evenly spaced, slots around the bottom. Use the lowest groove on the can as your starting point. These will be your air intake slots.
Assembly: see photo
Gently roll down the tabs you cut on the paint can with the bottom edge of the soup and very gently start to push the soup can into the paint can. It will be snug and that's good but too much pressure will bend the soup can. You can see my tabs are still visible after the soup can is fully inserted, I could have cut them a bit shorter, but it still works just fine this way. Once the soup can is through the hole, push it down to the rim and it should feel tight and solid with the paint can. It won't be coming out of here ever again.
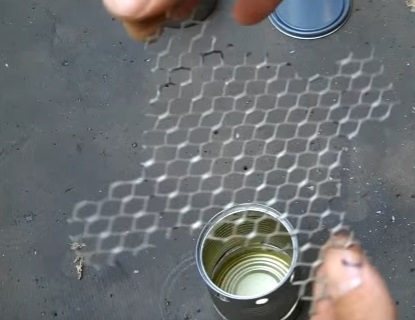
Wire grate/rack: see photo
A wire grate/rack needs to be made to fit inside the soup can to keep the wood off the bottom. You want the grate to sit above the slots you cut in the soup can so that your fire gets a lot of air.
with your dremel grind all burrs smooth around holes and cuts of the paint can.
At this point you are done with the main build and can give it a test burn. Start some kindling on fire throw it in and start feeding small twigs intot he fire. You'll start seeing the jets bloom on the upper holes of the soup can as the fire gets stoked (see video)
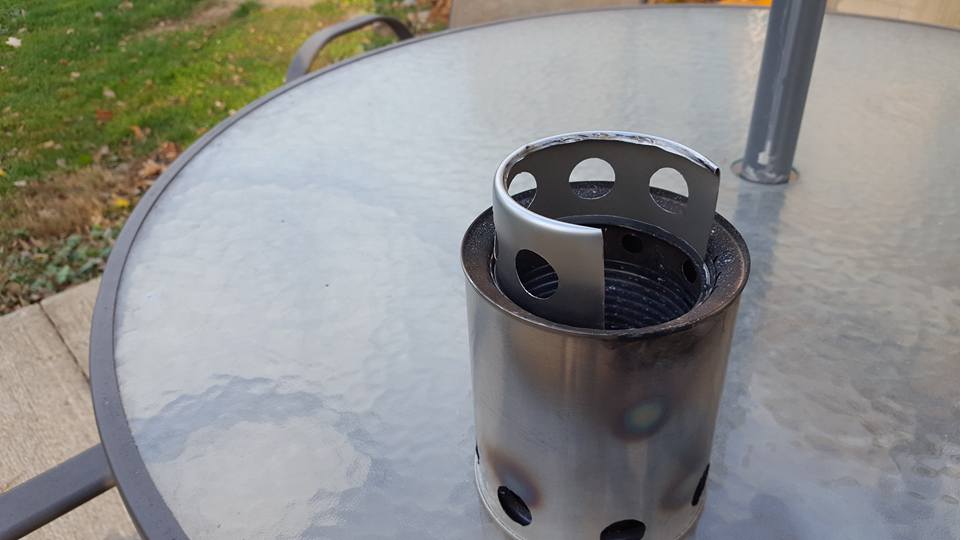
Pot stand: see photo
Step 1: drill eight,evenly spaced, 3/4" holes with your step bit around the side of the can
step 2: with your dremel, cut the bottom out of the can and cut a notch about 2" wide out of the side, this will be your feed slot.
with your dremel grind any burs around cuts edges and holes.
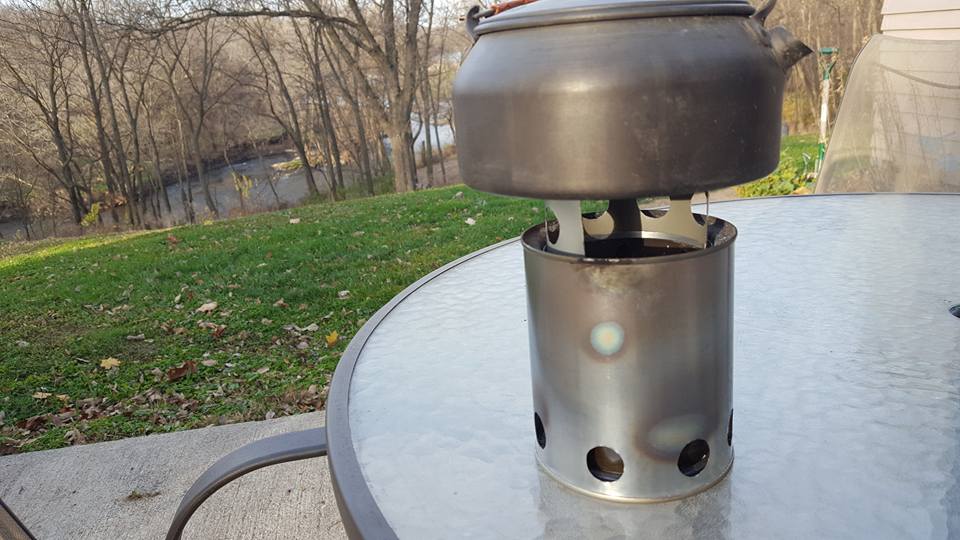
You're done!
The pot stand will nest in the upper rim of the soup can to give you a nice sturdy place to set your pot.
The notched area is where you will feed sticks to keep your fire stoked.
Email any questions to steve.strasheim@gmail.com